Off The Edge Die Cutting Cards | Scrappy Tails Crafts
Hello Friends!
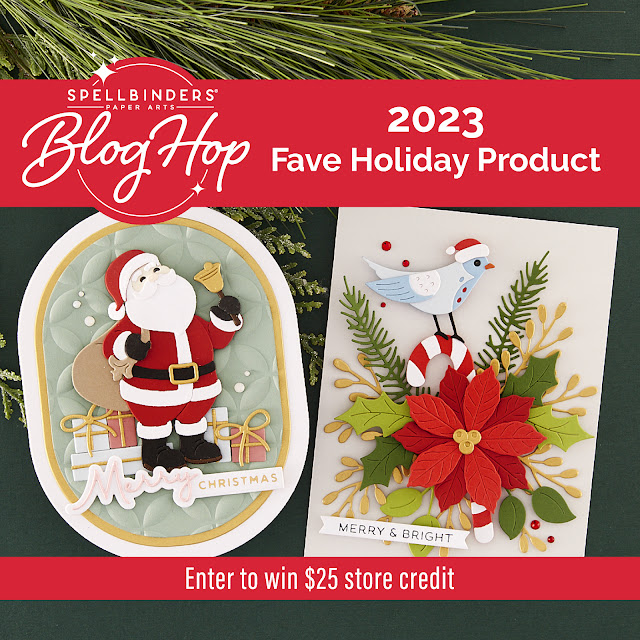
Today I made 2 cards using the "Off The Edge" die cutting method and featuring the Tropical Bliss Collection by Scrappy Tails Crafts. On one card I used the cute flamingoes from the stamp set with a right-hand cut and on the other I used the beautiful parrot with a left-hand cut. And to top it off, I added strips of patterned paper from the 6x6 paper pad which is a new addition to the Scrappy Tails store!

Scrappy Tails Tropical Bliss Collection Save 5% Bundles
.png)
.png)
.png)
Watch the Video Tutorial on YouTube
👇CLICK HERE👇
.png)
Like what you're seeing? Pin this picture for later on Pinterest!
For both of these cards, I started out by stamping the images I chose to use as my focal points and some other supplementary images on white cardstock using Spectrum Noir Alcohol Ink Safe Flagstone ink and my MISTI. I like using the MISTI because I can double and triple stamp to get nice crisp lines. And since these stamps have so much detail, I would highly reccommend this!
Once stamped, I used my Copic Ciaos to colour in these fun images with the following colours:
Leaves: BG09, G05, YG06, YG11
Parrot: YG06, G05, BG09, B05, B24, Y17, Y08, Y00, C-1, 0
Hibiscus Flowers: BV02, R20, RV23
Flamingoes: RV04, RV23, R20, R02, YR00


Next, I used the coordinating dies to cut out the images, which I also reccommend having especially if you hate fussy cutting. These dies are great because they also cut out all of the sentiments too, which is not always the case with all sets!
Next, I worked on my card bases. For the flamingo card, I cut a 5" x 6" card base and folded it. I drew a vertical line 1.5" from the right hand side of the card front and positioned 1 of my flamingoes so that it was over the line and would hang to the right of the card. I adhered the die with low tack tape and put this in my die cutting machine with the top cutting pad lining up with the line so that everything to the right of the line would be cut. (For a more in depth look at this, please click the YouTube tutorial link above.) This partial die cut will create the off the edge flamingo for this card. Finally, I just have to cut along the vertical line above and below the flamingo, keeping in mind NOT to cut through it.


I did the same thing for the parrot card but this time I had the off the edge cut on the left hand side of the card (so within the fold). I cut my card base a bit smaller, as my overhanging parrot would make the card larger if I started with the same card base size as the flamingo. I cut this one to 4" x 6" and positioned the parrot die so the over hang on the left was no more than 1" (making the card 5" in total horizontally). I adhered it with low tack tape and opened my card base flat. I put this through my die cutting machine with the top cutting pad to the right of the vertical fold line. Everything to the right of the fold line will cut and it's important not to cut to the left of the fold line. (Again, the YT video is much more helpful for figuring this part out.) Once cut, all that is left to do is cut off the piece that hangs to the left of the fold line when the card is fully opened and the inside is facing you. So in this case, you will cut through the parrot image unlike the last card base. I also, cut off about 1" from the front of the card base so I could add some patterned paper on the inside that would show in the front.
At this point, I took out two papers from the 6x6 paper pad, a pink and blue, to match the parrot and flamingoes and added a strip on the right inside portion of both cards. (Note: There is also a 12 x 12 pad available which I'll link in the supplies!)I also added a small strip of gold glitter cardstock along the join of the paper and card base to give a finished look. I inlayed the parrot using a die cut foam piece between the image and card base for dimension and adhered the flamingoes in the same way, one on the overhanging piece and one on the card front. I added the supplementary images as well to the flamingo card.


For the sentiments, I did some masked stamping and stamped the printed portion of the "You Are My Paradise" sentiment in VersaFine Clair Nocturne ink and the scripty portion in VersaFine Clair Paradise Blue (how fitting!?) On the flamingo card, the two sentiments are separate so they are easy to stamp in different inks separately (I used Charming Pink VersaFine Clair for the Aloha). I had to use my Tim Holtz Tonic Platform to stamp these on the card base, which I find works best since the card is bigger than a panel at this point.
Finally, I added some Diamond Stickles to the birds and flowers for some shine and I used a few Pinkfresh Studio gems arounds the sentiments in Sapphire and Bubblegum.
I hope you've been inspired to make something similar yourself. All of the products have been linked below for your shopping pleasure!
As always, thanks for stopping by. And don't forget to leave me a comment, as I love hearing from you! And don't forget to follow me on Instagram @deezinesbyd where you'll find a short reel for this card!
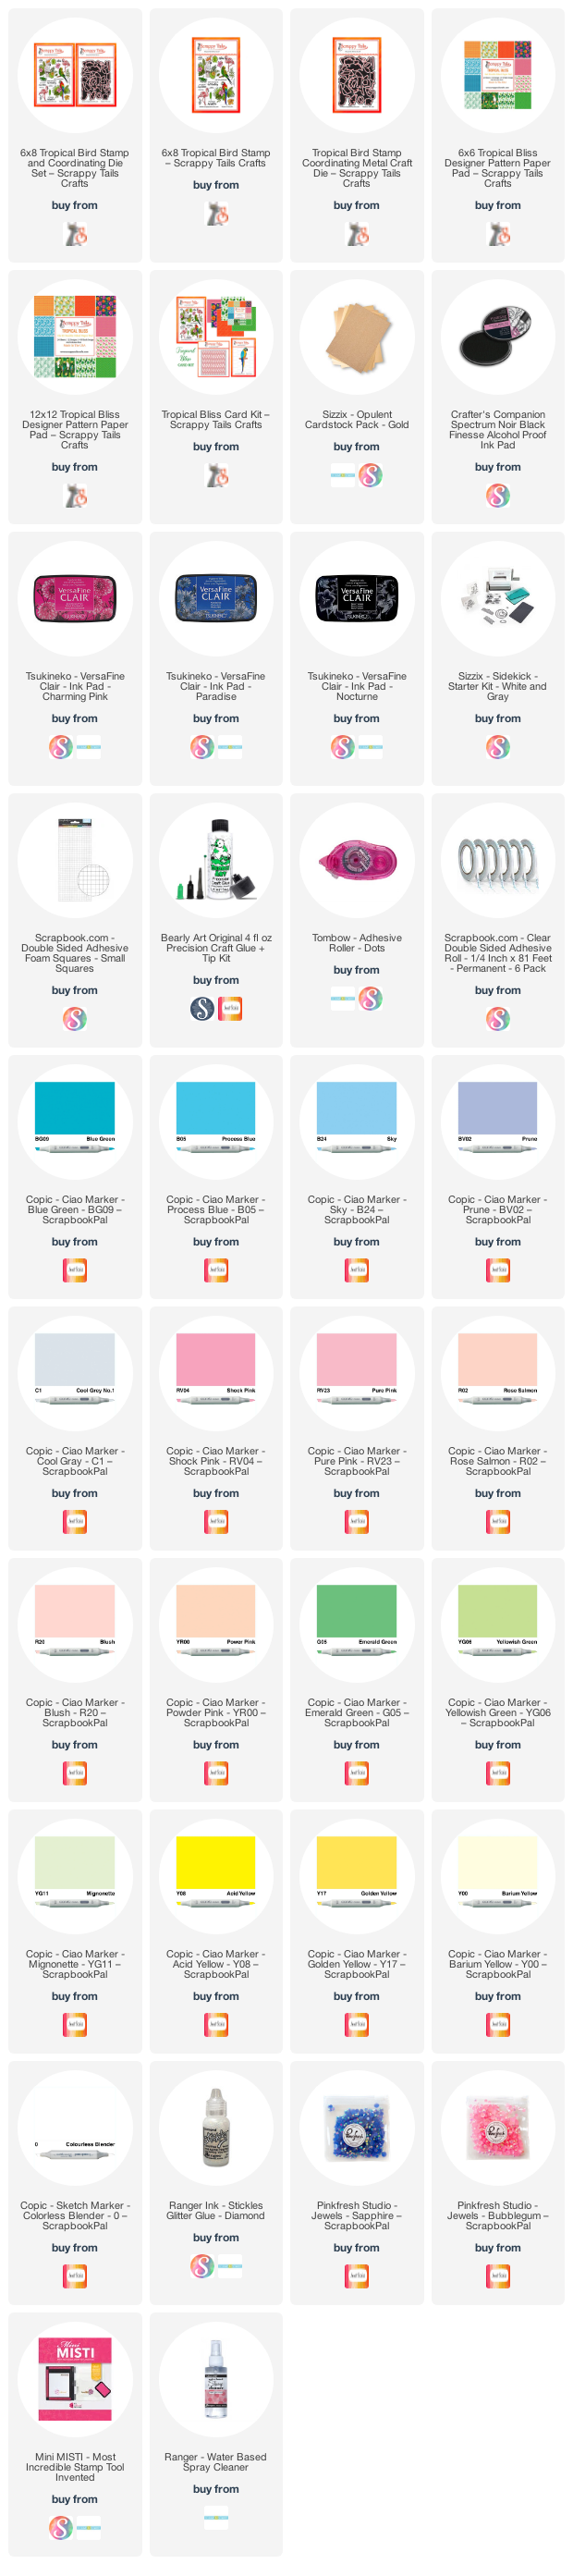
Supplies
(note: Any products not included here are linked within the blog text)

Comments
Post a Comment
Please leave me a comment as I always love hearing from you! 😃