DL Stencils as Backgrounds for Slimline Cards| Creative Expressions
Hello Friends and Crafters!
I have a couple projects to share this week featuring the latest DL or slimline stencils by Creative Expressions. I have two cards to share: one uses the Candy Pops DL Stencil (CEST092) and the second uses the Lunar Eclipse DL Stencil (CEST091). Stencils are so fun because you can use different media to add colour and these are perfect for filling an entire slimline background.

As mentioned, this card features the Candy Pops DL Stencil. I used smaller brushes to add Distress Oxide Inks in Candied Apple, Picked Raspberry, Aged Mahogany and Worn Lipstick to the swirls of the stencil in an alternating pattern. I used light pink cardstock and added a bit of Worn Lipstick ink to the edges of the panel. Then, I used the Sue Wilson Inner Scalloped Dies to cut a Silver Mirror cardstock border and attached it with foam adhesive for dimension. I cut a smaller rectangle in red cardstock and darkened the edges with Aged Mahogany Oxide Ink. I adhered a silver metallic die cut sentiment, cut using the Winter Greetings Die from the Festive Collection. I attached this to the red reactangle, rounded 2 edges with my punch and attached it to the candy pops inked card with foam.
I took some Diamond Stickles and added it in between the swirls of the pattern to make what look like peppermints. And then I added a few white dots with my Sakura Gelly Pen. The final slimline card is 8.5" x 4".
.png)
Like what you're seeing? Click and save this for later on Pinterest!
There is more inspiration below - keep scrolling!

On this card, I used Cosmic Shimmer Glitter Kiss polish in Sky Blue with the Lunar Eclipse Stencil on dark blue cardstock. The panel is about 7.75" x 3.75" and once the glitter was dry, I adhered it to a 8" x 4" white card base. I cut the sentiment from blue metallic cardstock using the Mini Expressions Make A Wish Die. I adhered this to a white banner and added two strips of dark blue cardstock.
To add a bit of decoration and interest, I diecut the cupcake from the Make A Wish Die set and coloured it in with some Copic Markers. I attached this to the card with a foam square and my card was complete!
I hope you've been inspired to make something similar yourself. All of the products have been linked below for your shopping pleasure!
As always, thanks for stopping by. And don't forget to leave me a comment, as I love hearing from you! And don't forget to follow me on Instagram @deezinesbyd!
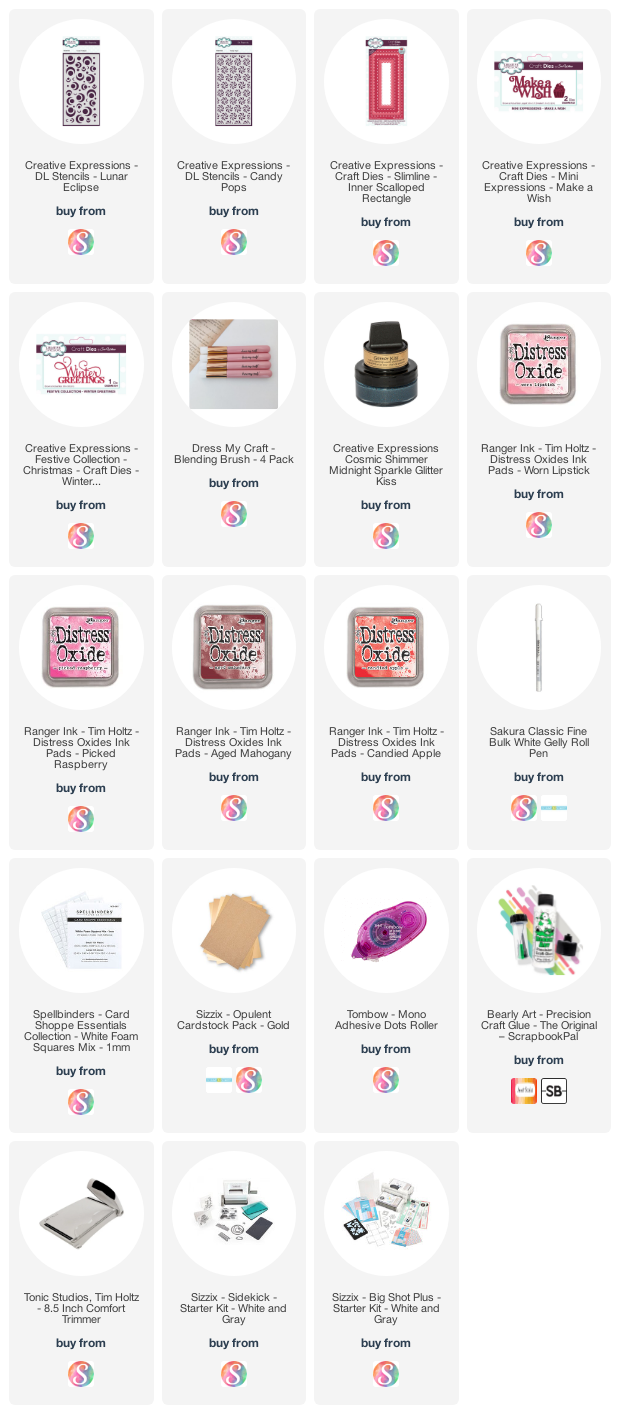
Supplies

Awesome collection
ReplyDelete