Welcome Baby Card | Making Stamps Out of Your Dies
Hello Again!
My post today is a Welcome Baby card and I'm going to show you how to make stamps out of your dies. It's actually really easy to do and you'll save lots of money on coordinating stamps for simple die sets. Not to mention, this method is perfect for creating a coordinating front and inside of your card. So let's get started.

If you would like, please watch the video below for more details:
I started off using some Generic Baby Supply Dies that I got from Amazon. I cut out two sets, one from various colours of pink Recollections cardstock and one set from Gold Metallic Cardstock. I glued the two die cuts together in an off-set fashion to create a shadow with the gold metallic pieces. I also cut out some hearts with some brown Recollections cardstock to add in various places on the die cuts for interest.
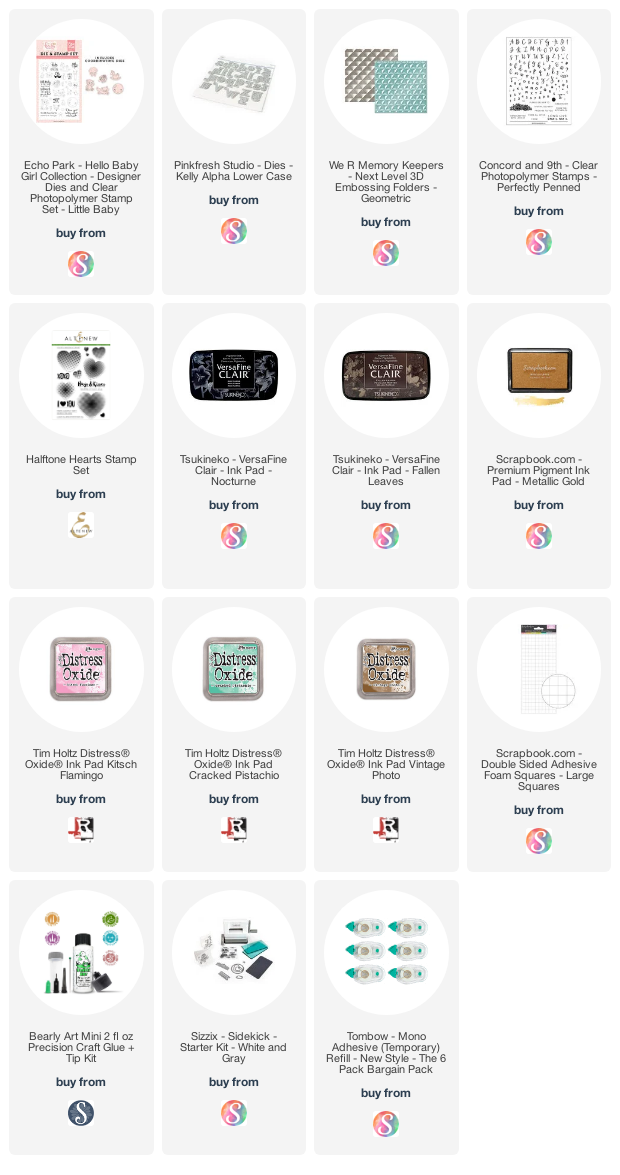
I also die cut two sets of letters for the baby name using PinkFresh Studio Kelly Alpha - Lowercase dies - once in Sizzix Gold Metallic Mirror Cardstock and once in Brown Recollections cardstock. I also assembled these with BearlyArt glue in an offset fashion to create a shadow with the brown cardstock.
Next, I cut a 8.5" x 3.75" piece of Mint Green Recollections cardstock and dry embossed this using the We R Memory Keepers Next Level Dots Embossing Folder. I stamped out the "Welcome sweet baby" sentiment on cream Recollections cardstock using VersaFine Clair Nocturne Ink and the Simon Says Stamp Baby Sentiments Stamp Set. This is a small stamp set but has enough sentiments to build your own phrases. I cut this down to size and then worked on assembling the card front.

I used some foam squares to adhere the sentiment strip on the top left corner and the letter pieces in the center to create the name. I then added the baby supply pieces using foam squares and just BearlyArt glue in some cases. I chose to have some of the supplies hanging off the letters for some interest also. I finished off the front with some AB Crystal Lollibeads .
Next, I cut a 8.5" x 8" top folding card base from some Hammermill Color Copy Digital Cover Paper, 80lb 100 bright white cardstock. Now to work on the card inside before attaching my card front panel.
To make the coordinating stamp from these dies, I used the 2 feet dies. I die cut pieces out from some yellow fun foam. The colour doesn't really matter but you need the foam to create the stamp. Any type of craft foam should work - I got mine from Amazon. I then used some Tombow Mono Repositionable tape runner to attach these foam pieces to acrylic blocks. And there you have your stamps!

I used some Kitsch Flamingo Oxide ink to stamp out the feet on the inside of the card, as if a baby had left footprints all over it. It's important to note that you can easy use your stamp cleaner for die inks and wipe this ink off to stamp other colour if necessary. If you have trouble with this, you can always die cut some extra pieces for different colours. And it's very easy to see that the foam maintains the stitched detail from the die, which I think is great! I also find that this technique works great with both pigment and die inks, as the foam absorbs some of the dye ink creating great impressions.
I then used the same SSS stamp set to stamp out the sentiment on the card inside using VersaFine Clair Fallen Leaves ink and Cracked Pistachio Oxide Ink. To create a confetti look around the feet images, I used the Concord & 9th Perfectly Penned Stamp Set and Altenew Halftone Hearts to stamp out some hearts, squiggles and stars in Cracked Pistachio Oxide Ink, Vintage Photo Oxide ink and Encore Ultimate Metallic Gold Ink. This completes the look on the inside while achieving flow from the card front to the inside using the same colour scheme.

Finally, I attached the card front to the card base after adding two strips of Sizzix Gold Mirror Cardstock on the top and bottom of the front to create a border.
So as you can see, it is very simple to make your own coordinating stamps for simple dies. I encourage you to look through your stash and do the same! I hope you have been inspired and please feel free to leave a comment as I love hearing from you!
I'll leave you with a few more photos for your viewing pleasure!


Comments
Post a Comment
Please leave me a comment as I always love hearing from you! 😃