Adding Gold Foil To Alcohol Ink Backgrounds | Make The Cards Challenge 49
Hello Crafters!
This week's Make The Cards Challenge 49 is a colour challenge and in honour of March being around the corner, we'd love to see any shade of green! I chose to make an alcohol ink background and add some gold foil. Now, I know it may be a bit hard to get the technique down for adding transfer foil to partially wet backgrounds or for adding alloys/pinata brass alcohol ink in the right spots for those pops of metallic colours when creating these backgrounds. So I decided to show you another way to add that gold with acetate, foil and Spellbinders Geo Foliage set!

Challenge Post

Watch the Video on YouTube

Like what you're seeing? Pin this picture for later on Pinterest!
Instructions:
- Use Ranger Clover, Stream and Pearl Mixative Alcohol ink with a blowing tool, Alcohol Blending Solution and A2-sized Glossy YUPO Cardstock to make your alcohol ink background. The mixative creates some shimmer but will blend with the green instead of standing out.
- Cut a 4 1/4" x 5 3/4" panel of HEAT RESISTANT acetate and score at 5 1/2" to create a lip (just score - don't fold yet)
- Foil the hexagon and marble streaks from the Spellbinders Geo Foliage set on the acetate panel with Spellbinders Gold Foil. I usually set my timer with my plate with the foil and acetate in place and only add the shim and spacer after the timer is up to be extra careful with the acetate. Then I add pressure with my Die cutting machine.
- The heat will get rid of the score line so redo this and now you can fold it over. (I initially made the score so I could center the hexagon on the panel.)
- Foil some of the foliage pieces from the same set with the Gold Foil on white cardstock and cut them out with the coordinating dies. (This is where I like to use my scrap cardstock).
- Use Yana's Script Sentiments to cut out the Happy Birthday from Sizzix Opulent Gold Mirror Cardstock and the shadow from white cardstock. Adhere together with Artist-tac dry adhesive or liquid glue.
- Attach your dried alcohol ink background to an A2-sized top folding white card base. Attach the acetate panel by adding strong double-sided tape to the lip created by scoring and attaching the lip to the back of the card base so the acetate panel fold over the alcohol ink background.

-Adhere the sentiment in the center of the hexagon and arrange the foliage pieces around the sentiment.
- Embellish with PinkFresh Studio Metallic Gold Pearls and AB crystal gems.
And that's my inspiration for this challenge! I hope this idea of adding foil with an acetate panel is of use to you and hopefully it makes crafting easier!
I encourage you to check out the rest of the designer's inspiration and create your own card to link up to the challenge page for a chance to be the challenge winner.
As always, thanks for stopping by. And don't forget to leave me a comment, as I love hearing from you!

Click to see the video short on Instagram!☝
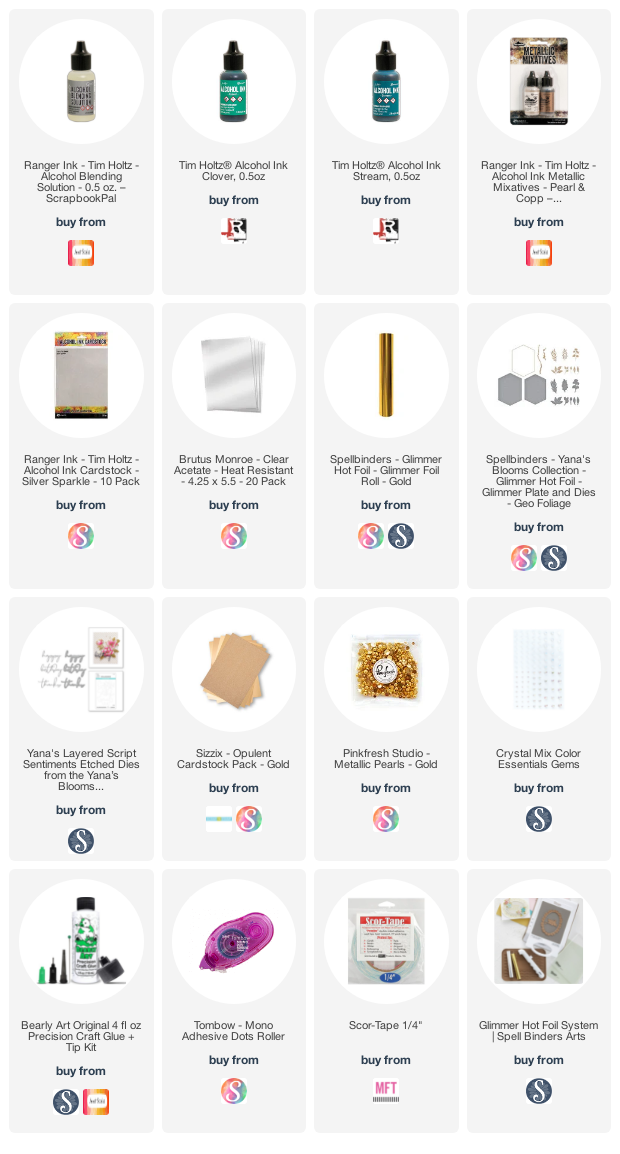
Supplies
(note: Any products not included here are linked within the blog text)


OH WOW this is GORGEOUS! That background is amazing and absolutely beautiful!!! Thanks for fabulous inspiration teamie!!
ReplyDeleteThank you so much for your kind words Darlene!
DeleteThank you so much for your video showcasing your alcohol ink technique for your beautiful background. Gorgeous!
ReplyDeleteYour alcohol ink background is so beautiful and the foiling really makes the card special! It's lovely!
ReplyDelete