Ink Blending Over Foil & Foiling Over Ink Blending | Spellbinders Magnolia Glimmer Blooms
Hello and Welcome Back!
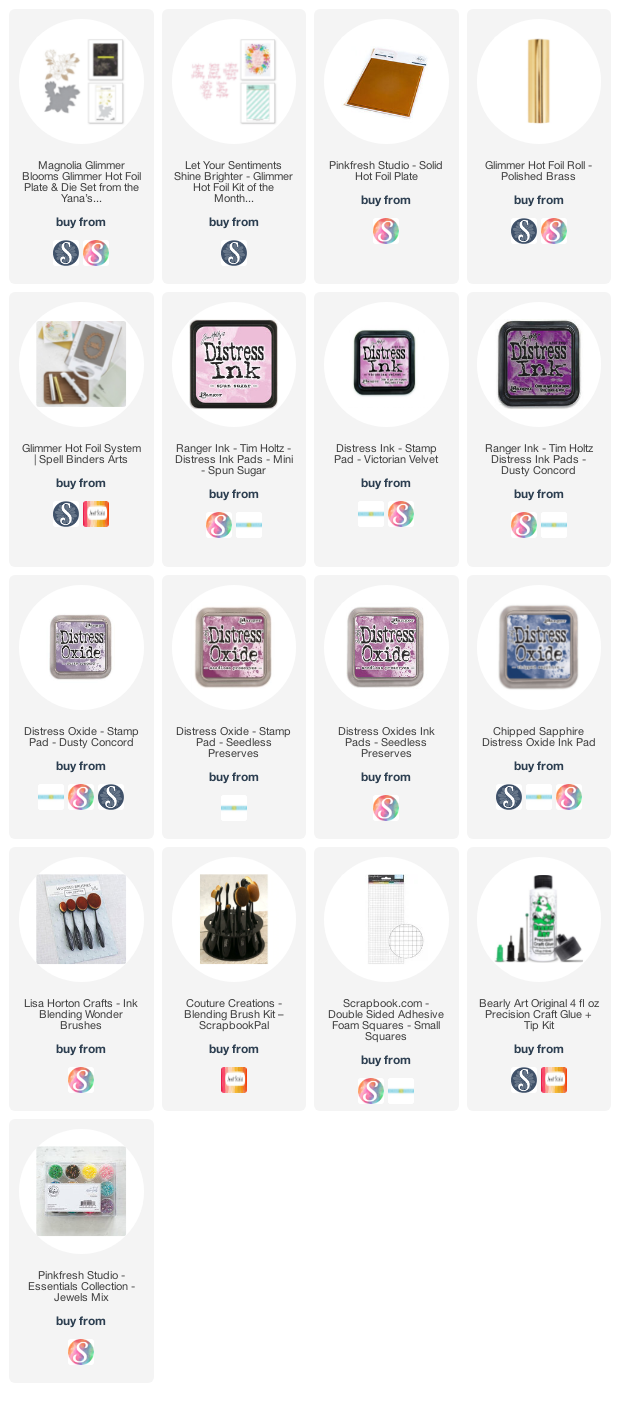
Today I'm using the Spellbinders Magnolia Glimmer Blooms plate to create a beautiful border card. I will be experimenting with ink blending over foil and foiling over ink blending! So get ready for some tips and tricks and check out my YT video for all the details!


1. Use the Spellbinders Magnolia Glimmer Blooms plate and foil the image 4x with Polished Brass Foil white Hammermill Color Copy Cover cardstock
2. Use the Pinkfresh Studio Solid Plate to foil the negative pieces of foil onto Hammermill Color Copy Cardstock (the use of this cardstock here is a must for best results.)
3. Use the coordinating die to cut the 8 images out (4 outlined images & 4 from the solid plate). Set aside the solid foiled images for later.
4. Use a small blending brush and Distress Inks to add color to the magnolias in the following way:
- Dusty Concord in the flower centers
- Victorian Velvet blending out towards the center of the petals
-Spun Sugar blending outward towards the edge of the petals
Note: I used Distress DYE inks as these would be absorbed into the cardstock and be repelled by the foil - a slight dab with a towel takes off any excess ink on the foil. If I had used OXIDE inks which are pigment inks, the ink would sit on top of the cardstock and would create a film on top of the foil. No doubt a little wipe with a cloth may get rid of any residue on the foil as well.


5. Cut a 6.75" x 4.75" white cardstock panel and ink blend as follows with Distress OXIDE inks:
- Seedless Preserves in the center
- Dusty Concord blending out all the way to the edges
-Chipped Sapphire only on the edges
Note: The oxide ink on the panel sits on top of the cardstock as explained earlier. This creates a smooth cardstock just like the Hammermill Color Copy (however I used Neenah here). This allows the foil to stick to the panel flawlessly! So I recommend using oxide inks to ink blend when foiling on top of ink.
7. Use the four magnolia die cuts and arrange them around the edge of the panel. Adhere with foam squares and Bearly Art glue in an alternating fashion to create varying levels of dimension. Cut off excess to create straight edge and use these pieces to fill in the border around the sentiment.
All I used were the 4 die cuts and it was enough to fill this panel made for a 5" x 7" card - so it's actually not as time consuming as you may think. And for an A2 sized card, this should be more than enough!
8. Cut a 5" x 7" white card base and adhere 2 of the solid foiled magnolias to the bottom left and top right of the card inside. Again cut off excess and use extra pieces to fill up the corners/edges.

9. Adhere the front panel to the card base and embellish with Pinkfresh Lavendar Jewels and AB Crystal gems (nail art gems from Amazon).
And that was all it took to create this lovely card! I hope you've been inspired to make something similar of your own! And don't forget to leave a comment, as I do love hearing from you!
Also, please make sure to follow me on Instagram: @deezinesbyd and check out the video reel below!


Comments
Post a Comment
Please leave me a comment as I always love hearing from you! 😃