Lovely Layers | Pinkfresh Studio February Challenge
Hello Crafters and Happy Friday!
Today I'll be using a whole slew of Pinkfresh Studio products to create a rose stenciled and layered card for the February Monthly Challenge, which is all about love! I absolutely love Pinkfresh Studio products and I have to say the Garden Roses layering stencils are stunning all on their own!
For this post I have a short video/reel you can view below!
Watch the Video Short For This Card
Like what you're seeing? Pin this picture for later on Pinterest!
The process for making this card is outlined below:
- Use the layered stencils from the Pinkfresh Studio Garden Roses set to ink up a white cardstock panel as follows:
Stencil 1 - Altenew Pink Diamond Ink
Stencil 2 - Altenew Pink Pearl Ink
Stencil 3 - Altenew Vineyard Berry Ink
Stencil 4 - Altenew Lagoon Ink
Stencil 5 - Altenew Emerald Ink
- Cut out this panel with the Pinkfresh Studio Essential Stitches Cover Plate Die
-Use smallest of the Pinkfresh Folk Edge Circles to cut out a section of the panel in the bottom left along with another circle from Sizzix Opulent Gold Mirror cardstock
- Use the largest two rectangles from the Pinkfresh Studio Folk Edge Rectangles Dies to cut a border from Sizzix Opulent Gold Mirror cardstock
- Foil a white piece of Hammermill cardstock (6" x 4.5") with the Pinkfresh Studio Brushed Sentiments plate (that includes the word love) with Spellbinders Starburst foil
- cut the words out with the coordinating die and then use the Pinkfresh Studio Solid Foil Plate to foil the negative piece of foil (and cut this out with the coordinating die also)
- Use the Pinkfresh Studio Leafy Branch die to cut out a branch from Sizzix Opulent Gold Pearl cardstock
- Use the Pinkfresh Studio Curvy Leaves dies to cut out the 3 leaves from vellum
- Cut an A2-sized top folding red cardstock base and adhere the ink blended panel with Tombow Dot runner
- Attach the gold Folk edge rectangle with foam strips
- Adhere the gold circle to the ink blended circle on an off set fashion with Tombow dot runner and adhere this in its place on the card with foam squares
- Adhere the foiled "Love You" Brushed sentiments (the gold outline version) with foam strips on top of the circle
- Arrange and adhere the vellum and gold pearl curvy leaves and leafy branch (cut up into sections) around the sentiment with Bearly Art glue
-Embellish with Pinkfresh Studio Gold Metallic Pearls and some AB crystal jewels
For the card inside...
-Use the second largest Folk Edge Rectangle to cut a rectangle out of beige paper
- Use the Pinkfresh Studio Garden Roses set again and ink up on of the roses off the bottom corner of the beige rectangle just cut (use the same inks for each stencil as above)
-Attach the beige rectangle to the inside of the card
And that is how I completed this card! You can stamp an inside sentiment or leave it blank. I like to leave mine blank until I know who the recipient is and then I either stamp out an appropriate sentiment or write a personal one.
I hope you've been inspired to make something similar of your own! And don't forget to leave a comment, as I do love hearing from you! Also, please make sure to follow me on Instagram: @deezinesbyd
I will also be entering this card in the Simon Says Stamp Wednesday Challenge "Anything Goes".
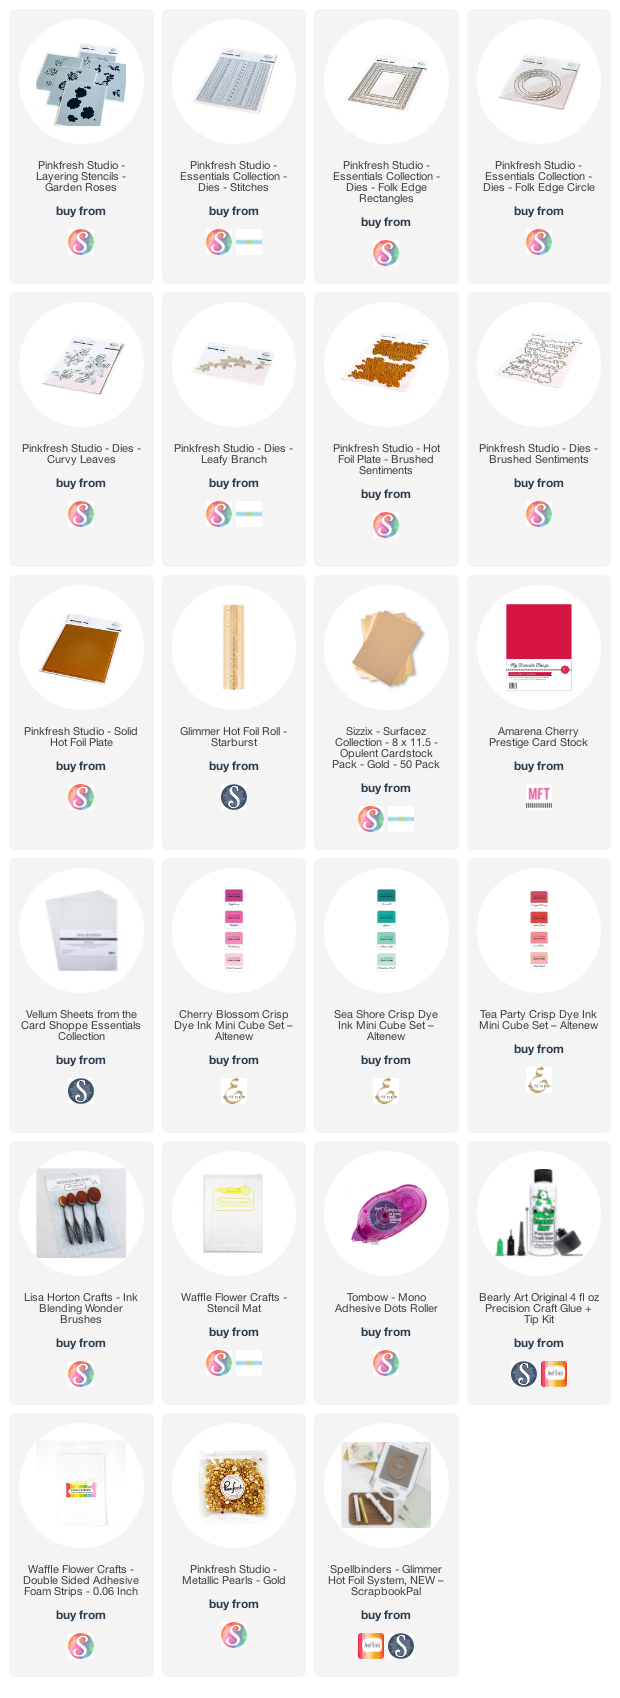
Supplies
(note: Any products not included here are linked within the blog text)


Comments
Post a Comment
Please leave me a comment as I always love hearing from you! 😃