Spellbinders Spring Into Glimmer Collection
Hello Crafters!
I'm so excited to be able to share these beautiful new Spellbinders products with you from the Spring Into Glimmer Collection available in the Spellbinders' store now! I have a few inspiration cards that I've created and I was happy to find that Spellbinders also carries Distress and Oxide inks now. Needless to say, I felt it appropriate to create these bold coloured cards with some Oxide Inks. I hope you like them!

For my first card, I've included a YouTube Video Tutorial below, if you are interested!


For this card I started by foiling those beautiful Glimmer Edge Flowers with Polished Brass Foil and cut them out with the coordinating dies. These flowers are special because the dies cut right up to the edge of the foil so there is no white border, which I love!
I also foiled the "thanks" sentiment from the Be Bold Glimmer Sentiments set with the same foil and die cut it. I used the rest of the foliage dies to cut out the images from Spellbinders Gold Glitter cardstock (which is from the All Aboard Card Kit released during Christmas 2021) and Sizzix Opulent gold cardstock. I assembled all the die cuts with my Bearly Arts glue then worked on that background.
I used Black Soot, Chipped Sapphire, Pine Needles and Tattered Rose Oxide Inks to ink blend a white piece of cardstock in that order. I used the largest 3 rectangles from the Spellbinders Mini Slimline Envelope & Nested Card Creator Die set (July 2021 LDOM) to cut out 2 frames and the center of the ink blended panel.
I then adhered the outside frame and center piece (with craft foam) onto a mini slimline card base. I arranged the floral elements and foliage with a combination foam squares and liquid glue. And I attached the sentiment with foam strips. I finished this card off with some Spellbinders Gold Mix Jewels.
I also decorated the inside a bit (see the video) with a couple of strips of the ink blended background and more floral elements!

I cut the letterpress background down to size (4.75" x 6.75") and adhered it to a 5" x 7" white card base. I adhered the banner with foam squares and arranged the flowers and foliage around the banner with liquid glue. Finally I added some AB clear jewels to the background and on some of the die cuts.
It is really hard to pick up that letterpress on the background but I hope you can see some of it. It is really a great way to get more use out of your foil plates!

I adhered the panel onto an A2-sized top folding card base. Then I finished this panel off with some AB Clear jewels, especially placing them in the centers of the acetate flowers to cover up the adhesive.
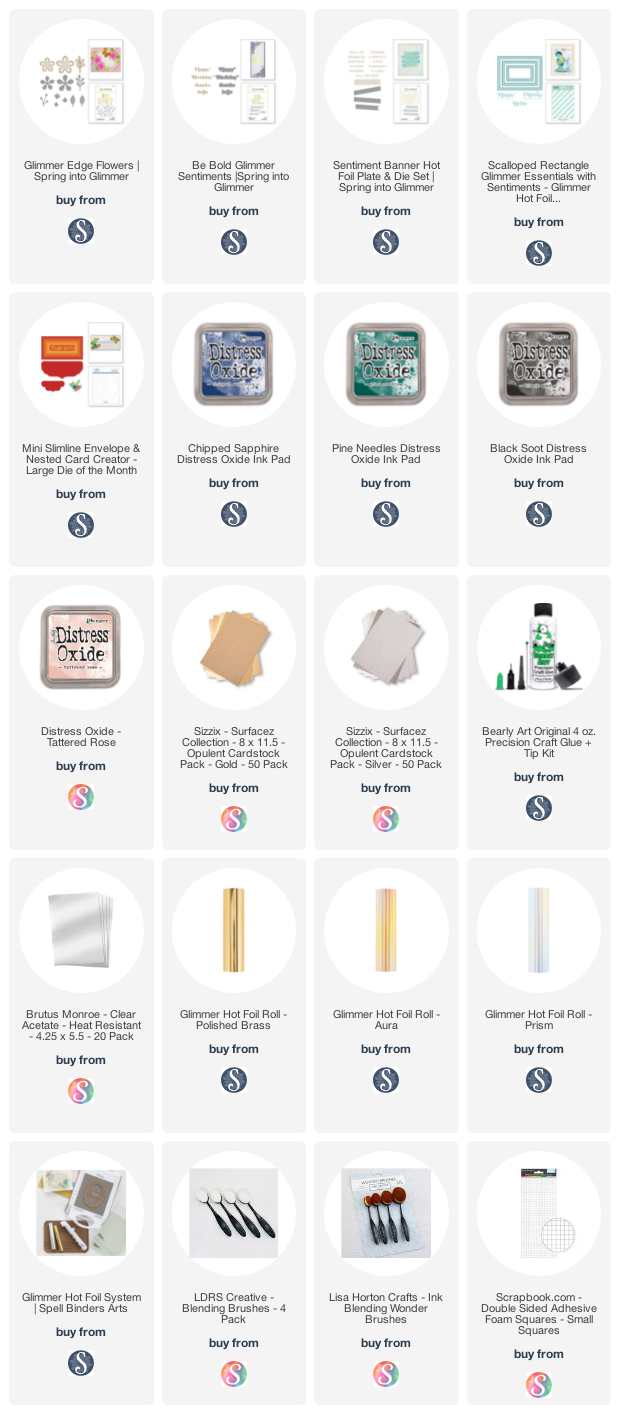
And that is my inspiration for this great release! These are some really cool products and all of the supplied are listed below.
Also, don't forget to check out/follow me on my Instagram account @deezinebyd. I will be posting reels of the 3 cards throughout this week along with more Spellbinders inspiration next week!
Have a Crafty Day!


Comments
Post a Comment
Please leave me a comment as I always love hearing from you! 😃