Using Accompanying Dies as the Main Focus | Spellbinders Lemon Zest
Hello and Welcome Back!
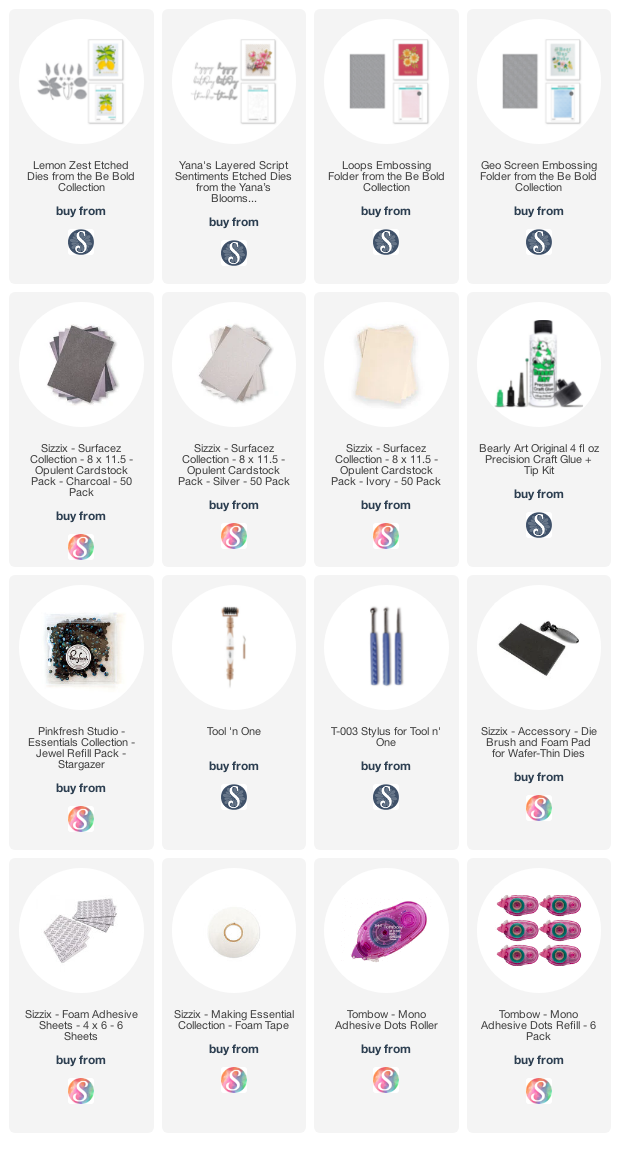
For today's post I'm using the accompanying dies from the Spellbinders Lemon Zest set as the main focus of two cards. I love taking sets and using them in unconventional or extraordinary ways like this. I find using your craft sets this way helps you create unique cards with different looks and stretches the use of your crafty stash!


Card 1 - Blue and Silver Leaves
1. Use the Spellbinders Lemon Zest leaf die and cut it 3 times out of Sizzix Opulent Silver Glitter cardstock.
2. Use the 5 smaller colour block leaves and cut the set 3 times: once from Ivory Glitter cardstock, once from Charcoal Metallic cardstock and once from Silver Metallic cardstock.
3. Use Yana's Script Sentiments "Thank You" Die to cut out the script from Silver cardstock and the shadow from dark blue cardstock (the same one used for the background). Adhere together with Artist-tac dry adhesive.
4. Emboss a 4.75" x 6.75" panel of dark blue cardstock using Spellbinders Geo Screen Embossing Folder. (This is one of the new 5.5" x 8.5" folders which is great for larger cards including slimline and A7-sized cards like I'm making today!)


Card 2 - White Tiny Flowers and Pink Vines
1. Use the Spellbinders Lemon Zest vine/stem die and cut it 5-6 times out of Light Pink Glitter cardstock.
2. Use the 2 small flower dies and cut the images 5-6 times from Sizzix Opulent Ivory Glitter and Silver Sheen cardstock.
3. Assemble the side facing flowers and stems with Bearly Art Glue (you will end up with about 10-12 flower stems).
4. Use Yana's Script Sentiments "Happy Birthday" Dies to cut out the script from Silver Mirror cardstock and the shadow from dark green cardstock (the same one used for the background). Adhere together with Artist-tac dry adhesive.
5. Emboss a 4.75" x 6.75" panel of dark green cardstock using Spellbinders Loops Embossing Folder. (Another 5.5" x 8.5" folder!)


As always, thanks for stopping by and please don't forget to leave me a comment, as I love hearing from you!


Comments
Post a Comment
Please leave me a comment as I always love hearing from you! 😃