Assorted Tag Cards | Spellbinders Celebrate You Collection
Welcome Back!
Here's the second half of my post sharing these Spellbinders products from the Celebrate You Collection! I have a couple of cards that I created using the Assorted Tag dies and Glimmer Sentiments.

All of these products can be found in the product list at the end of this post. Please feel free to click and shop. These are affiliate links, meaning that if you click on them and purchase something, I will earn a small commission at no additional cost to you. It simply helps me keep bringing you more inspiration! I appreciate any and all support - Thank you! 💜
I've included a Video Short of the creation process below, if you are interested! You can also follow me on Instagram for the second reel which I will post tomorrow - @deezinesbyd
Watch the Video Short on YouTube

Like what you're seeing? Pin this picture for later on Pinterest!
CARD 1

For the background I cut a 4.75" x 6.75" piece of royal blue cardstock embossed it with the This Plus This embossing folder. Again, this is a nice big embossing folder so I could emboss this larger A7 card-sized panel easily. I decided to add some VersaMark Embossing ink to this background and brush over some blue Perfect Pearls powder to add some shine and highlight those embossed plus signs from the folder. Once complete, I adhered the tags with foam squares (for the tags) and Bearly Art glue (for the strings) as though they are hanging at different heights on the card panel.
I also decorated the top of the card and areas beside the tags with some die cut blooms from the Spellbinders Be Bold Blooms and Christmas Blooms sets. I coordinated these elements by using Gold Mirror, Gold Glitter, light and dark pink, white and Ivory Glitter cardstocks. I cut off any overhanging pieces to create straight edges and adhered the panel to a landscape 5" x 7" top-folding white card base.
Finally, I embellished this panel with some AB crystal gems.

CARD 2

For this card, I wanted to use the Celebrate You Glimmer plates to create a foiled background and make a card that can be used for a masculine birthday. I simply too the long sentiment plates and lined them up and taped them together with some washi tape. I did the same thing with the larger rectangle shaped plates. Then, I used some Polished Brass Foil which I had cut into strips using my Spellbinders Quick Trimmer (fitting the height of the plates) to foil each row one at a time. Since this process can take a bit of time I chose to make this a smaller A2 sized card and used a 4" x 5.25" white panel. Once the foiling was done I had a nice sentiment background. Please keep in mind that I had to shift the strip of sentiments to the left and right each time I foiled a row in order to make the pattern look random.
I then used the H, A, P & Y letters from the Open Road Sentiments stamp set (also released this month) to stamp and heat emboss with Ranger Gold Embossing powder the letters to spell happy. I spaced these letters far apart on red cardstock since I also cut them out using the circle tag die from the Assorted Tags set. Again, I backed these onto a duplicate die cut from Gold Glitter cardstock (from the All Aboard card kit). I then threaded the thin strip of Gold Matte cardstock through the tags to spell HAPPY and carefully adhered them to the foiled sentiment panel with foam squares. I folded the ends of the gold matte strip around the panel and tapes it securely.

To finish off the sentiment, I heat embossed the "birthday" from the same Open Road stamp set using the same embossing powder on royal blue cardstock. I cut it down to size and backed it onto a duplicate Gold Glitter cardstock to match the first part of the sentiment. I then adhered it to the card panel with a foam strip.
I attached the panel to a white top folding A2 card base and embellished with a few AB Crystal gems. I feel this card is suitable for any birthday and changing that sentiment makes it versatile for any occasion.
And that is my card inspiration for the Celebrate You Collection! All of the products used here have been listed below - Happy Shopping!
Also, don't forget to check out/follow me on my Instagram account @deezinesbyd. I will be posting reels of these and other creations featuring this months' Spellbinders release throughout the month!
Have a Crafty Day!
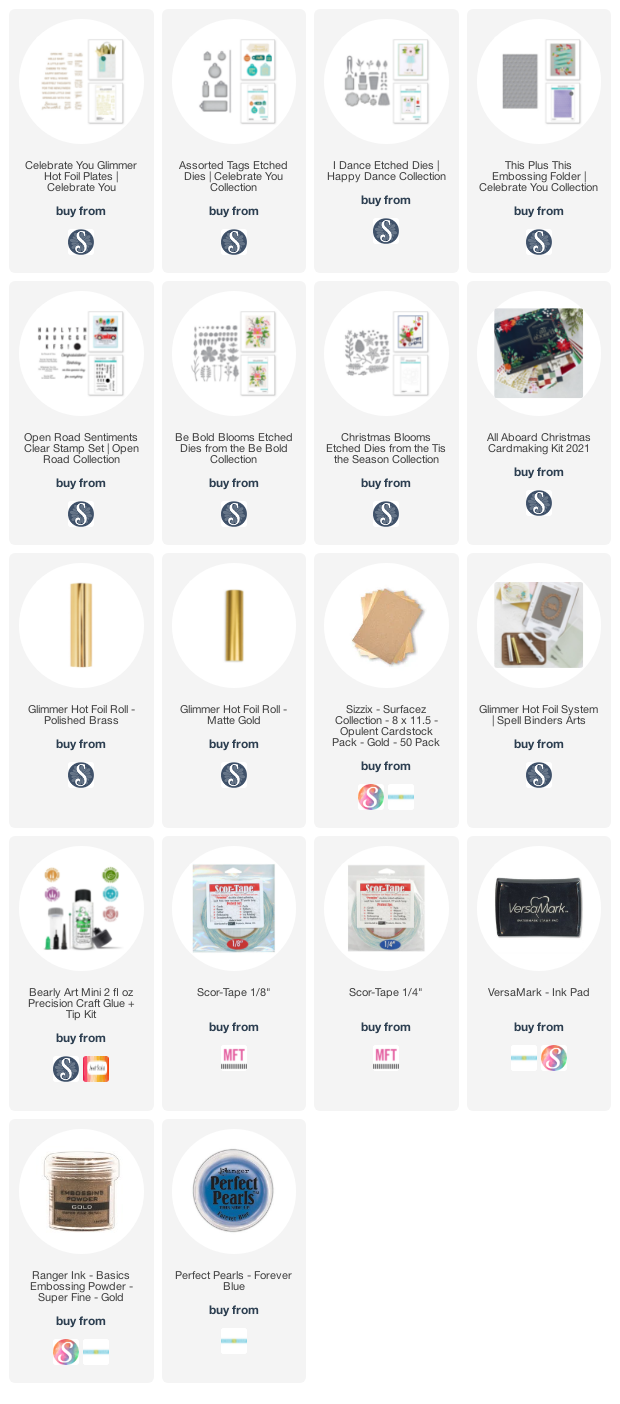
Supplies
(note: Any products not included here are linked within the blog text)


Comments
Post a Comment
Please leave me a comment as I always love hearing from you! 😃