Vibrant Watercolour Backgrounds
Hello Crafters and Welcome Back!
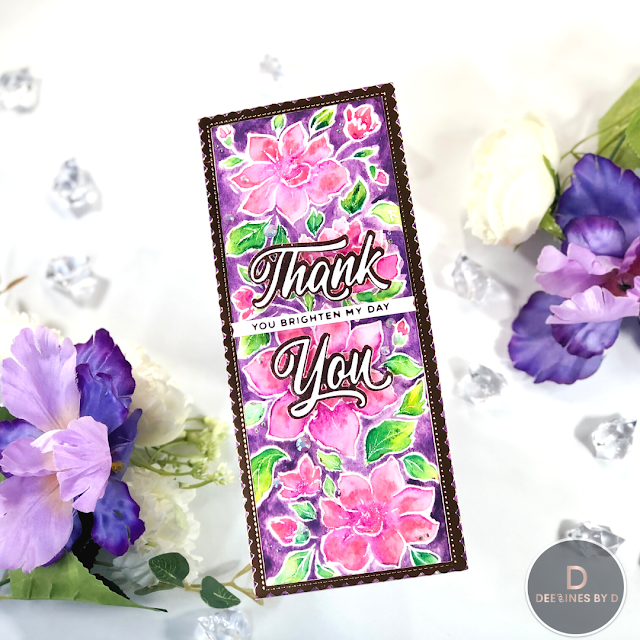
In preparation for March Break next week, I decided to get some craft therapy in before the kids are home! I pulled out my watercolours, which I haven't used in a while, to paint this beautiful slimline floral background from Pinkfresh Studio. I also chose to "Frame It Up" and enter it in the Pinkfresh March Monthly Challenge!
For this post I have a short video/reel you can view below!
Watch the Video Short For This Card
Like what you're seeing? Pin this picture for later on Pinterest!
The process for making this card is outlined below:
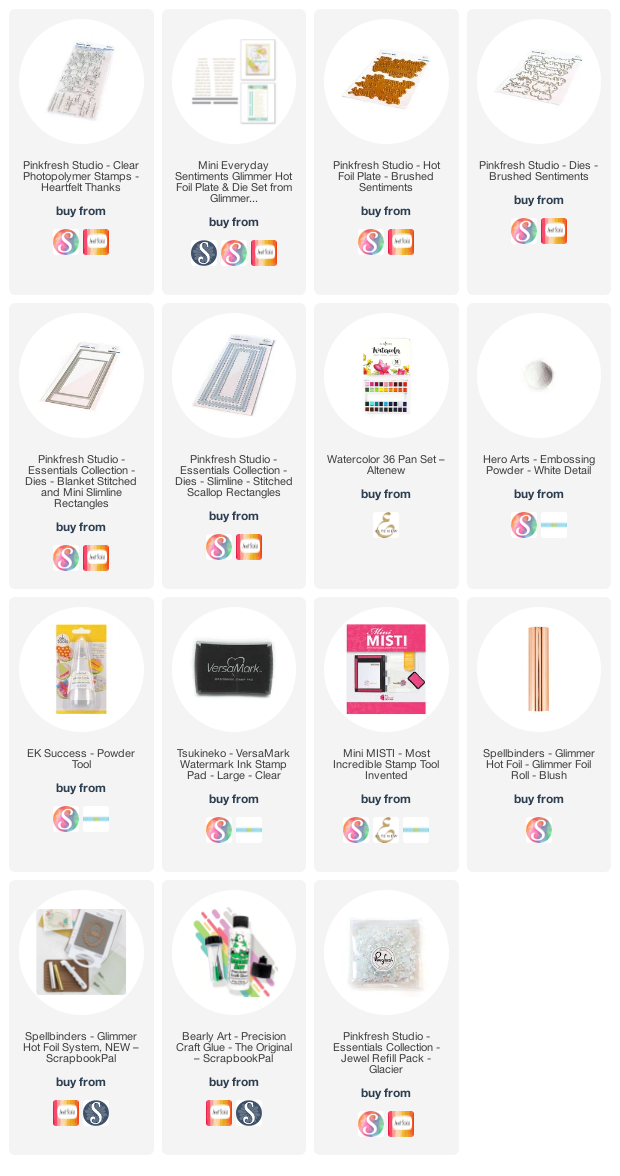
- Cut a piece of Canson Watercolour Cold Press cardstock to 9" x 4" and heat emboss the Pinkfresh Studio Heartfelt Thanks image with Hero Arts White EP
- Use Altenew's 36 Pan Watercolor Set to paint this image in. I'm in no way skilled at watercolouring as you may be able to see 😜which is why painting on a heat-embossed image is ideal. I basically added plain water to the areas I wanted to paint and then added concentrated paint with a smaller brush in the darkest colour. I then dragged out the colour with a wet brush and then added the next colour and continued in this manner on the entire panel. The colours I used were as follows:
Flowers : Cosmic Berry & Coral Berry
Leaves : Emerald & Bamboo
Background : Deep Iris & Lavender Fields
- While setting this aside to dry, foil the Pinkfresh Brushed Sentiments Set with Spellbinders Rose Gold Foil and then the negative foil piece with the Pinkfresh Solid Plate and cut with coordinating dies.
- Use Spellbinders Rose Gold foil to foil "you brighten my day" from the Spellbinders Mini Everyday Sentiments set and cut with banner die included in set
- Cut the dried painted panel with the Pinkfresh Essentials Blanket Stitched Slimline die (the largest)
- Cut a frame from Sizzix Opulent Rose Gold Mirror Cardstock using the largest of the Pinkfresh Slim Stitched Scalloped Rectangles die. Adhere the outer frame to the watercolour panel.
- Use foam strips to adhere the "Thank You" sentiment and sub-sentiment strip
- Cut a white side folding slimline card base and adhere the panel. Embellish with Pinkfresh Glacier Jewels and some small AB Crystal Gems
And that is how I completed this card! With such a vibrant background you can keep the rest of the card simple and I love how easy it makes this process! I definitely think I need to do some more water-colouring!
I hope you've been inspired to make something similar of your own! And don't forget to leave a comment, as I do love hearing from you! Also, please make sure to follow me on Instagram: @deezinesbyd
I will also be entering this card in the Simon Says Stamp Wednesday Challenge "Bit O' Green" and the Simon Says Stamp Monday Challenge "Add Some Green".
Supplies
(note: Any products not included here are linked within the blog text)


Comments
Post a Comment
Please leave me a comment as I always love hearing from you! 😃