Hello Friends!
I have some more pretty Spellbinders products to share with you from the Color Block Mini Shapes Collection available in the Spellbinders' store now! Here are 3 more card ideas, one of which I have a YouTube Tutorial below. And I will have video reels for the other 2 in the days to come on my Instagram account --> @deezinesbyd !
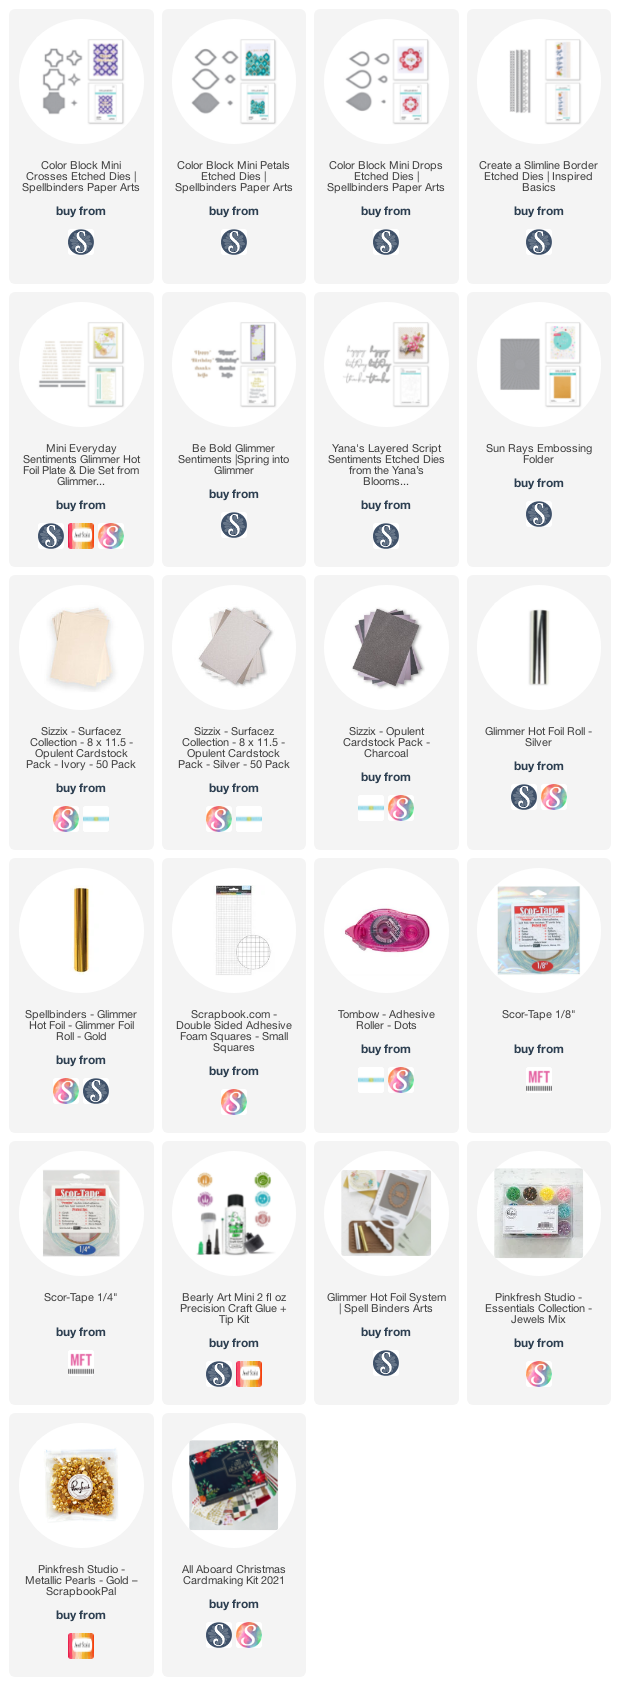
All of these products can be found in the product list at the end of this post. Please feel free to click and shop. These are affiliate links, meaning that if you click on them and purchase something, I will earn a small commission at no additional cost to you. It simply helps me keep bringing you more inspiration! I appreciate any and all support - Thank you! 💜
I've included a YouTube Video Tutorial below, if you are interested!
Watch the Video on YouTube
Like what you're seeing? Pin this picture for later on Pinterest!
Card 1
For the first card, I used the Color Block Mini Crosses Die set to create the cross border with different shades of blue. These Color Block Mini Shapes are ideal for making masculine cards, which I usually struggle with, so I'm really excited about this collection! For a more in- depth tutorial on this card, just click the YouTube link above!
.png)
Card 2
I used the Color Block Mini Petals die set to cut out the petals from light pink, Sizzix Rose Gold Pearl, Silver Matte, Sizzix Silver Pearl and Sizzix Ivory Glitter cardstocks. This set has 2 dies, one is the base and cuts out a solid petal (which I cut from white cardstock 8 times) and the other is the layers and is what I used to cut out the various colored petals from the cardstocks listed. I then used a foam square in the top half of the petal and Tombow Dot Runner in the bottom half and assembled the petal in the order in the picture above 8 times on top of the white petal bases. The foam gives the petal a bit of dimension at the tips.
I used the Sun Rays Embossing Folder on an A2-sized Sizzix Opulent Ivory Pearl cardstock panel. I adhered the 4 center petals with foam squares and the remaining 4 with Bearly Art Glue. I foiled the sentiment from the Everyday Mini Sentiments set and cut it out with the coordinating banner die along with a Silver Matte cardstock shadow. I adhered the sentiment below the flower and attached the panel to a white A2-sized top folding card base. Finally, I embellished this simple card with Pinkfresh Studio Ballet Slipper Jewels and a large clear gem in the center of the flower. This card is quick to make and the majority of the time is spent on cutting out the layers, which is also therapeutic!

Card 3
For my final card, I used the Color Block Mini Drops Dies to cut out 3 drops each from Royal Blue cardstock and Gold Glitter cardstock (from the Spellbinders All Aboard card kit). I also cut out about 9-10 extra mini drop layers to build a layered piece in the end. Then I used the solid mini drop to cut out 6 mini drop bases from white cardstock. Now I layered 3 white drops under the colored cardstock for the two outer layers, 2 for the third outermost layer, 1 for the second outermost layer and just the colored cardstock for the centers, for all 6 drops. Of course I created 3 drops with Blue as the center piece and 3 drops with Gold Glitter as the center piece.
Next, I used the base mini drop to cut out 6 drops on a white 4" x 5.25" panel measured and spaced out allowing room for a sentiment in the center. I adhered the panel to an A2-sized top folding white card base with foam tape and inserted/adhered the mini drops inside. I foiled the Happy Birthday sentiment from the Be Bold Glimmer Sentiments in Polished Brass Foil and cut them out with the coordinating dies. I adhered them to the center of the card with foam strips and embellished it with Pinkfresh Studio Gold Metallic Pearls. This card has tons of dimension that pops out on the edges and falls inwards in the centers of the mini drops. It's a bit hard to capture in a photo but in real life it looks really cool!
And that is my card inspiration for the Color Block Mini Shapes Collection! So I tried my best to use these geometric layers with foam for added dimension. I hope you have been inspired! All of the products used here have been listed below - Happy Shopping!
Also, don't forget to check out/follow me on my Instagram account @deezinesbyd. I will be posting reels of these and other creations featuring this months' Spellbinders release throughout the month!
Have a Great Day!
Supplies
(note: Any products not included here are linked within the blog text)


.png)
.png)
.png)
.png)
.png)


Comments
Post a Comment
Please leave me a comment as I always love hearing from you! 😃