Ho Ho Ho Marshmallow Cocoa Christmas | The Maker's Movement
Hello Crafters and Welcome!
We're finally in one of my favourite months and it's my fave not because of the weather, but because of Christmas in July! This is the best time to get a jump on your Christmas cardmaking to make December a bit less hectic. And it doesn't hurt that I LOVE all things Christmas! Today I've used some older products from The Maker's Movement to make this cute slimline card! And don't you think they forgot about Christmas 2022 - a new release is on the horizon, so stay tuned!

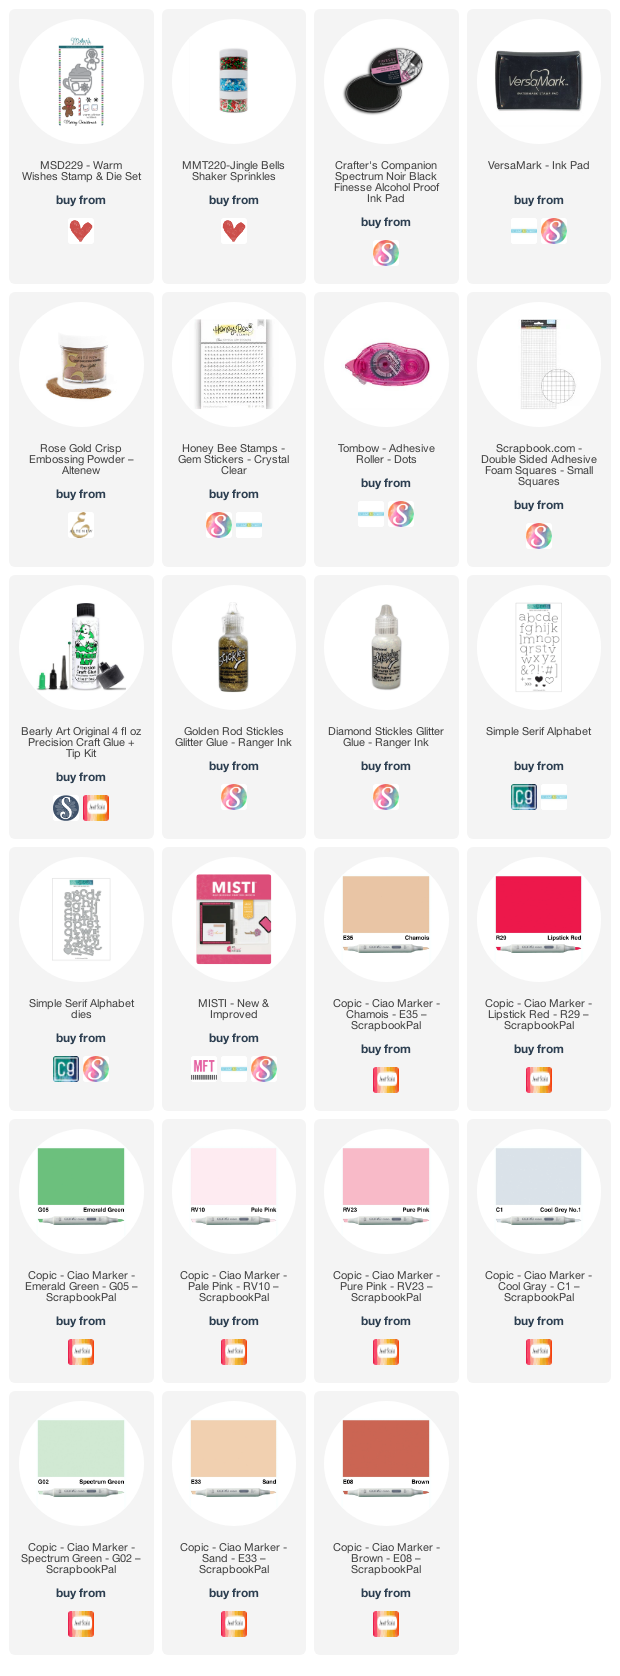
Shop The Maker's Movement based on this Card
.png)
Watch the Video Short on YouTube
.png)
Like what you're seeing? Pin this picture for later on Pinterest!
This card was a simple and fun one to make. I simply stamped out the images from The Maker's Movement Warm Wishes Stamp & Die set with some Spectrum Noir Alcohol Ink Safe ink. I stamped out 3 marshmallows and 3 stir sticks where it concerns stamping multiples. For colouring with alcohol markers, Memento ink would also work well to prevent smudging. I then coloured in these cut images with my Copic Ciao markers Set A (specific colours listed in the supplies list).
I then used my die cutting machine and the coordinating dies to cut out the images. My idea here was to have the marshmallows be the "o" in "ho ho ho", so I also needed some h's. So I stamped 3 h's using the C9 Simple Serif stamp set and cut them out with the coordinating die.

For the background, I cut a 3.75" x 8.75" white cardstock panel and matted it onto a 4" x 9" matte gold panel. I adhered this to an equal sized slimline card base and worked on assembling the cocoa cups. I propped up the cups and whip cream tops with foam squares and then I stuck in the green and white candy stir sticks. I adhered the marshmallows with foam squares and added the h's in front to spell "ho" with liquid glue.
To get the cups evenly spaced, I suggest placing the top and bottom cups close to the edges and then fitting in the middle cup as these cups are fairly large. I placed the cute gingerbread man near the bottom cup. Then I heat embossed the "Merry Christmas" sentiment with Altenew Rose Gold EP on dark grey cardstock and cut it into a banner. I propped it up with foam tape on the center cup.

Finally, I embellished the background with the peppermint shaker bits from The Maker's Movement Jingle Bells Shaker Sprinkles set. I also added some clear gems and some Golden Rod and Diamond Stickles to the images. And I couldn't resist adding some of those Tinsel sprinkles to the top of the ship cream on the cups.
And there you have it! I hope you've been inspired to make something similar yourself. All of the products have been linked below for your shopping pleasure!
As always, thanks for stopping by. And don't forget to leave me a comment, as I love hearing from you! And don't forget to follow me on Instagram @deezinesbyd where you'll find a bunch more inspo!!
Supplies
(note: Any products not included here are linked within the blog text/or are linked to something similar)


Comments
Post a Comment
Please leave me a comment as I always love hearing from you! 😃