3D Rainbow Sparkle Butterfly | The Maker's Movement
Hello Crafters and Welcome Back!
Today I'm sharing this beautiful 3D sparkle butterfly card that features the Abre Tu Alas Stamp & Die set by the Crafty Chica from The Maker's Movement. I added 5 layers of vellum die cut butterflies behind the ink blended one to create a 3D effect that, from the right angle, really looks like the wings are opening up as the sentiment says.
I started off with the focal point butterfly. I took a piece of white cardstock big enough to fit the large butterfly from the Abre Tu Alas stamp set and used some mini brushes to add inks in the colours of the rainbow such that it would fill in the center of the butterfly once stamped. I used my Altenew Crisp inks in the following colours:
-Pinkalicious
-Sunkissed
-Warm Sunshine
-Volcano Lake
-Ocean Waves
-Lavendar Fields
I dried the inks fully with my heat tool so that I could heat emboss the butterfly on it. I used my WOW! Embossing Powder in Midas Touch. This gives a great metallic gold with flecks of iridescent glitter. I then die cut this with the coordinating die. I also cut 5 more with the same die from shimmer vellum. I added strong double sided adhesive to the centers/bodies of the butterflies and attached each layer together, adding foam squares on either wing in between each layer. This way the body of each layer would be attached and sit flat while the layers of wings would become 3-dimensional. I set this aside to work on the background.
For the background, I took a 6.75" x 4.75" white cardstock panel and used my Altenew Mini Ink Pads (square) and ran the pads down the panel from the top and slightly overlapping to create streaks of ink in a rainbow pattern. I stopped each streak at different lengths to give a varied effect. The colours of ink I used were the following (in this order from left to right):
- Blush
- Rose Quartz
- Buttercream
- Peach Perfect
-Mountain Mist
- Sea Glass
- Arctic
-Soft Lilac
-Pale Mauve
I tried to choose colours that were more muted or the lightest shade in each colour family. I then took some transparent Mod Podge and a paintbrush to add the glue overtop of the streaked rainbow I just created. I made sure to only add the glue halfway or 2/3 of the way down each streak so the plain colour could also be seen. I then added some Simon Says Stamp Unicorn Confetti Glitter on top of the glue. I tapped of the excess and let the panel dry for about 10-20 min. You could let it dry overnight depending on how much Mod Podge you added. I will mention that the more Mod Podge, the more glitter, the better the look! I used a moderate amount because I wanted to finish the panel in one sitting.
Once the panel was mainly dry, I carefully put it in my MISTI and stamped out the sentiment from the Abre Tu Alas stamp set in VersaFine Clair Nocturn Ink. I attached the panel to a 5" x 7 White card base and adhered the 3D butterfly from earlier. To finish this card off, I added some Pinkfresh Studio Iridescent Clear Drops.
And that's how simple it was to create this 3D butterfly beauty! I hope you've been inspired to make something similar yourself. All of the products have been linked below for your shopping pleasure!
As always, thanks for stopping by. And don't forget to leave me a comment, as I love hearing from you! And don't forget to follow me on Instagram @deezinesbyd where you'll find a bunch more inspo!!
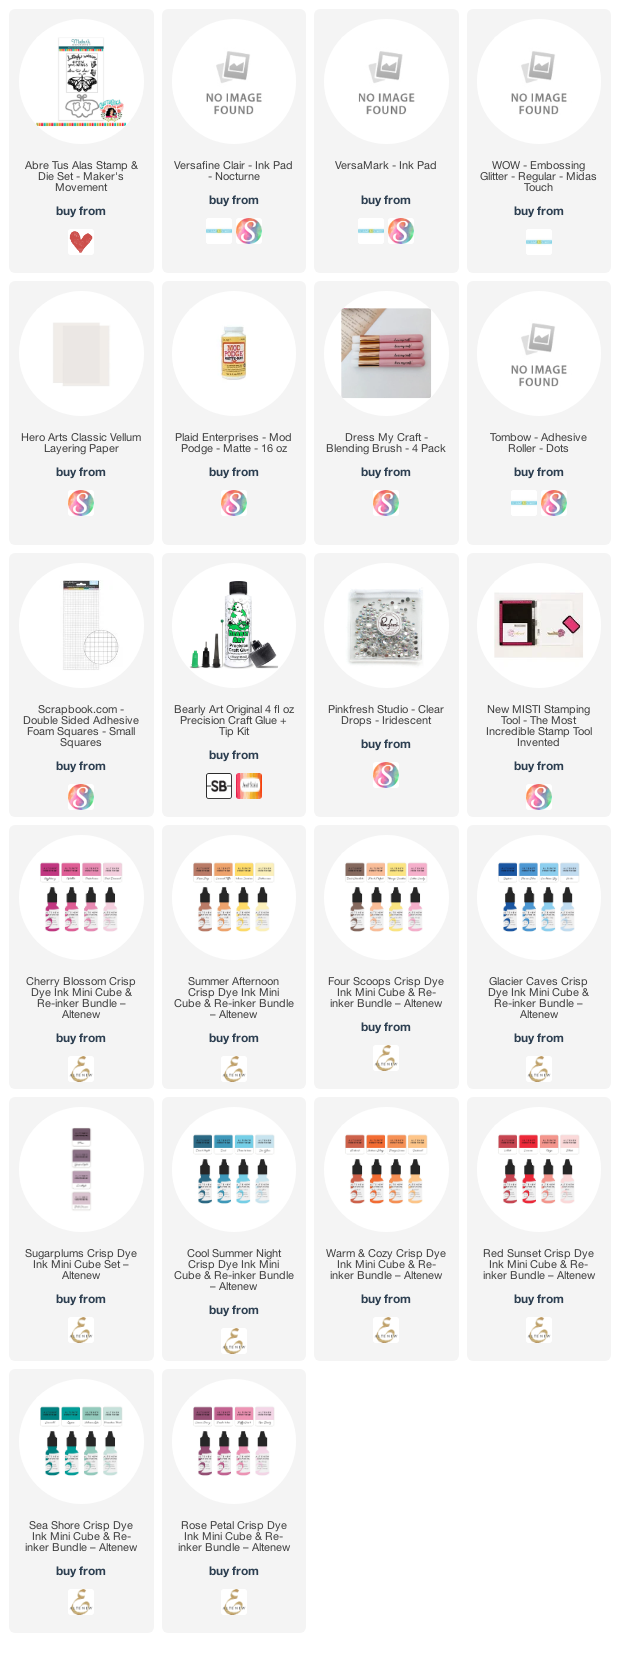
Supplies
(note: I will always try to link the exact product or something similar)


.png)


Comments
Post a Comment
Please leave me a comment as I always love hearing from you! 😃