Hello Friends and Crafters!
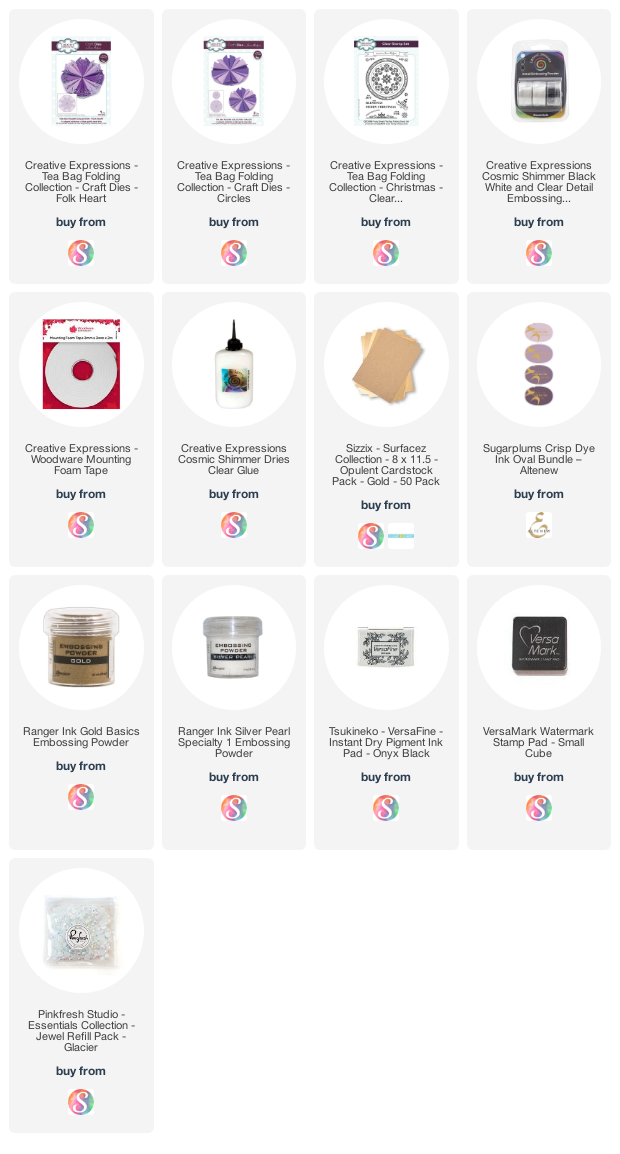
I used the tea bag folding technique to make the 3 cards I'm sharing today. I have to admit that I'm new to this technique but I'm hooked! It gives such a unique look and you can use it to make anything from more classic-looking cards to cards with a modern touch, which is what I've done! Making cards like this is easily done using Jamie Rodgers' line of tea bag folding products available at Creative Expressions. The tea bag folding dies I used are CEDJR039 and CEDJR014 and the coordinating stamp set is CEC1006.
There are so many ways that you can fold these tea bag circles and there any various designs available. I stuck with simple folding to get the hang of the technique.
Watch The Reel
Card 1

My first card has a more classic look. I used the large circle die from the Tea Bag Folding Circles set (CEDJR014) to cut 4 circles from deep red cardstock. I then stamped out and heat embossed with gold EP the circle pattern from the Frosty Wreath Tea Bag Folding Stamp set (CEC1006) onto all 4 circles. I then folded each circle with a valley fold on the score lines that run North to South and East to West. And I folded mountain folds on the score lines that run Northeast to Southwest and Northwest to Southeast. I folded the east and west score lines so they meet to get a triangle pie shape. I then folded in either side of the top triangle pie fold. It sounds confusing and is hard to clearly explain but there is a quick clip of it in the YT Reel linked above. I added some glue in between the folded layers so they would sit flat. I taped all 4 folded pieces together to form a complete circle and adhered this to the center of a red 5.75" square panel that I had heat embossed with the circle border "Merry Christmas" stamp. I matted this onto a 6" square gold cardstock panel and adhered this to the same sized white card base.
I stamped out the "Warm blessings" sentiment with VersaFine Onyx Black ink on white cardstock and cut it out and matted it onto glitter gold cardstock. I adhered this to the center of the folded circle with foam squares and added a few gems for shine.
Card 2
I chose to make this card with a bit more of a modern touch and with a non-traditional colour scheme. I used the smaller circle die from the Tea Bag Folding Circles set (CEDJR014) to cut 12 circles from white cardstock. I used Altenew inks in Plum, Grape Agate & Amethyst inks and added the inks to 4 circles each. After they were dry, I folded them each in the same way as I did for the first card.
I cut a blush coloured panel of cardstock to 8.75" x 3.75" and used the snowflake stamps from the Frosty Wreath stamp set to heat emboss the images randomly through the panel in gold EP. I also heat embossed the snowflake lined borders spaced apart and the sentiment separately on white cardstock. I cut both out and adhered the sentiment to the lined borders with foam adhesive. I adhered this to the blush panel and attached the folded circles radiating from the sentiment so they look like fans. I used the gradual change in tone of the purple fans to create a more modern/bold look and thought this card came together nicely. I adhered the panel to a 9" x 4" white slimline card base and embellished the panel with some white iridescent gems.
Card 3

I tried to make this card in between the modern look of the last card and the traditional look of the first card. I used turquoise cardstocks for the background and the center circle and some shimmer vellum for the Tea Bag Folding Folk Heart Die (CEDJR039). After I cut everything out I folded everything in the same manner as the first two cards except I folded the top triangle pie flat. I assembled the vellum and light turquoise tea bag folded circles, fastening them together with tape and adhered them together with foam adhesive. I used a bone folder to get the vellum layer flat and had to use adhesive on the insides of the smaller circle to get it to lay flat. I adhered these to a 5.75" square turquoise panel, heat embossed with pearl EP using the circle border from the stamp set. I also heat embossed the much JOY sentiment with gold EP and cut it out with a small circle punch. I attached this to the center circle with foam adhesive and adhered the panel to a 6" square white card base. Finally, I added small gems around the perimeter of the turquoise background using gem strips.
Overall, tea bag folding really easy to do the possibilities are endless! I hope you've been inspired to make something similar yourself. All of the products have been linked below for your shopping pleasure!
As always, thanks for stopping by. And don't forget to leave me a comment, as I love hearing from you! And don't forget to follow me on Instagram
@deezinesbyd!
Please note that browsing and purchasing through these affiliate links basically means that I get a small commission and you don't pay a penny more than the listed price. It just helps me keep bringing you more inspiration! Any and all support is greatly appreciated -thank you!


.jpg)


Comments
Post a Comment
Please leave me a comment as I always love hearing from you! 😃