Hello Friends and Welcome Back!
As promised, I'm back today sharing a couple bowls I made using the Deep Etched Vintage Handcrafted Bowl Dies from the Cathe Holden's Christmas Flea Market Finds Collection. I have a Vintage vs. Modern theme here just to show you how versatile these dies are! One bowl features the beautiful vintage papers from the collection and the second uses papers with more of an Art Deco feel. Aside from gifts, I know I'll be making a ton of these bowls for my craft room to sort die cuts, supplies and more!
All of these products can be found in the product list at the end of this post. Please feel free to click and shop. These are affiliate links, meaning that if you click on them and purchase something, I will earn a small commission at no additional cost to you. It simply helps me keep bringing you more inspiration! I appreciate any and all support - Thank you! 💜
Watch the Reel YouTube
Like what you're seeing? Pin this picture for later on Pinterest!
The Vintage Bowl
These vintage handmade bowls are so adorable and perfect for Christmas gifts, especially when paired with the stunning paper pads from this collection! The Vintage Handcrafted Bowl Die set comes with 3 metal deep etch dies - a round side die, a pointed side die and a square base die. To make this bowl I simply cut the selected papers with the pointed side die in 4 sets for each of the 4 sides of the bowl. For each side of the bowl I cut 2 papers from the paper pads and one piece of plain white 90lb cardstock to give the panel sturdiness. I adhered the 2 papers to either side of the white cardstock panels. I also did the same thing for 1 square base. So you end up with 4 pointed sides and one square base. Here's a quick tip that speeds up die-cutting - you can cut 2-3 papers at the same time since this die is deep etched and the papers are quite thin.
I then used a blanket stitch with a tapestry needle (size 22) and some black floss to stitch the outer edges of each panel. I did 3 stitched in each hole and 6 stitched in the corner holes. I then stitched each panel together to form the bowl using the same blanket stitch. and that's really how simple it is!
If you are looking for help with the stitching, you can check out my reel linked above or a more comprehensive video is on the Spellbinders YT channel👉
click here. They also show you how you can do this with a crochet needle, which I have yet to figure out.
This is such a fun and relaxing thing to do while watching TV. I find it helps me stop from snacking because it keeps my hands busy! And once you get the hang of it, I guarantee you'll be hooked! (no pun intended, if you're crocheting😉)
The Modern Art Deco Bowl
I think the best thing about these dies are that they can be used to make any type of bowl and you can create different looks simply by changing up the papers you use. I grabbed some plain and foiled cardstocks I have on hand from 12" x 12" scrapbooking pads to create this Art Deco Modern Bowl. I cut 4 sides (twice for each side) using the round side die and 1 square base. I didn't use a center cardstock panel for sturdiness this time as these were not papers but cardstock, so it was not necessary. Don't be afraid to modify the design depending on the materials you use. I glued the 2 pieces for each panel together with the fancy side out and then stitched these just as I did for the last bowl.
In keeping with the modern theme of this bowl, I used some shiny gold twine that I got off of Amazon. Now since this is thicker than floss, I only stitched 2 blanket stitches in each hole (4 on the corners). Once all the panels were stitched, I stitched them together and this time I did not use the blanket stitch to join the panels as this makes it too bulky a stitch for an edge. I did simple loop stitching without pulling the needle through each stitch. And for the round sided bowls, it is important to note that you don't stitch all the way up the sides, since it curves. I only stitched up to the fourth hole from the corner and tied off my twine.
And that's pretty much all it takes! I have to mention that the photos do not give this bowl justice! It is absolutely stunning and I can't wait to make more bowls experimenting with different papers! As always, all of the products used here have been listed below for your shopping convenience!!
Also, don't forget to check out/follow me on my Instagram account @deezinesbyd. I will be posting reels of these and other creations for future releases!
Have a great day and I hope to see you again!
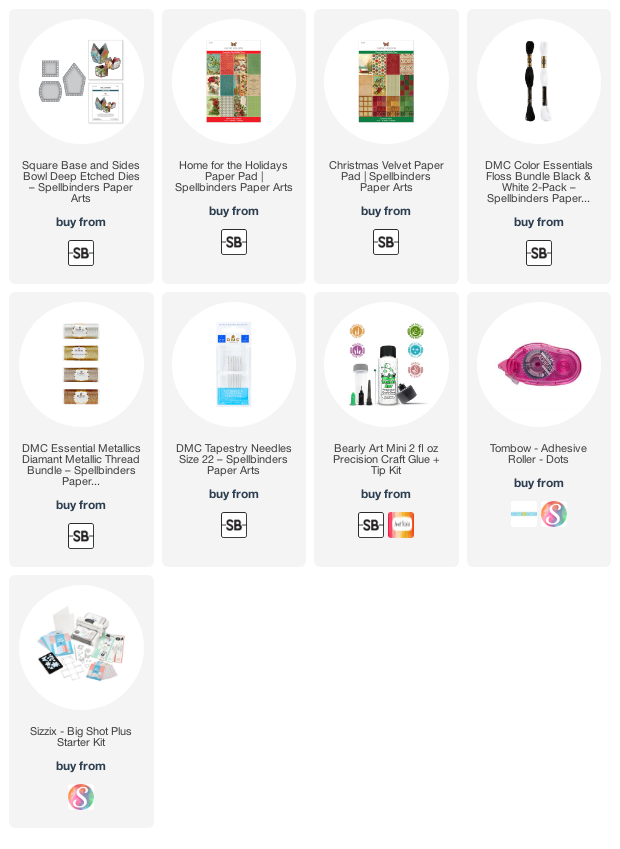
Supplies
(note: Any products not included here are linked within the blog text)
.png)
.jpg)
.png)
.png)
.png)


Comments
Post a Comment
Please leave me a comment as I always love hearing from you! 😃