Snowy Stocking Shaker | Kat Scrappiness
Hello Friends and Crafters!
Today's card features the Christmas Stocking Shaker Card Kit by Kat Scrappiness. These inexpensive kits really make it easy to put together quick shaker cards with lots of dimension and tons of space for pretty shaker bits! And I love that they come is so many different shapes and designs. For my fillers, I chose to use a mix of Pearl Glass Dots and the Gold Mine Rhinestone Mix.

.png)
Like what you're seeing? Pin this picture for later on Pinterest!
To start, I used the Christmas Stocking Shaker Kit and I took the main stocking image and sprayed it with Fired Brick and Candied Apple Distress Stain Sprays. I also added a couple squirts of the Tarnished Brass Mica Spray. I then set this aside to dry.
I cut a panel of white cardstock to about 4.5" x 6.5" (in preparation for a 5" x 7" card). I layed the 5" x 7" Foliage Frame Die on top of the panel and put it through my diecutting machine with the embossing mat. This created a nice embossed impression of the frame which I thought would make a nice subtle background. I finished this background off with a splatter of Tarnished Brass and Brushed Pewter Mica Sprays and set this aside to dry with the stocking.

While everything was drying, I die-cut all my foliage pieces and my sentiment. I cut out some holy leaves and the berries from dark and light green and red cardstocks. For this I used the Holly Leaves & Berries Die Set by Kat Scrappiness. To save time, I kept all the leaves together and only detached the berry dies so I could cut all the leaves easily in one go, for each tone of green cardstock. I added some white pigment ink lightly to the dark green hollies and Pine Needles Oxide Ink to the light green leaves for a variation in colour.
I also die cut a few fronds from the Stitched Foliage Die set in gold glitter, mirror and white cardstocks. I used the Christmas Wishes Word Dies With Shadow to cut the sentiment once from Sizzix Opulent Charcoal Mirror cardstock, and 3 times from black cardstock. I adhered all 4 die cuts together to create a sturdier sentiment. In this case, I did not use the shadow die.
Once everything was cut out all I had to do was put it all together. I matted the white embossed panel on gold and black cardstock and adhered this to the white 5" x 7" card base. I then adhered the foam outline/well piece fromt he shaker kit to the card. I added the Pearl Glass Dots and Gold Mine Rhinestones Mix and adhered the acetate and stocking on top.

I took the foliage and holly die cuts and arranged them around the stocking. And then I adhered the sentiment to the bottom of the stocking. I made sure to keep the dots for the i's and adhered those on the stocking and background. To create a snowy look, I took some Diamond Stickles and added it to the tops of the foliage pieces and the top of the stocking. I then sprinkled some Distress Mica Flakes on top. And my final touches were to add some more of the gold rhinestones to the background, in the centers of the snowflakes and on the stocking .
And that's how easy this card was to put together! I love embellishments/fillers and shaker cards so this one was right up my alley. Please keep in mind that this card has a lot of dimension, so I would recommend it for cards that are hand-delivered vs. being sent in the mail.
As always, thanks for stopping by. And don't forget to leave me a comment, as I love hearing from you! And don't forget to follow me on Instagram @deezinesbyd where I have a short reel for this card!

xxx
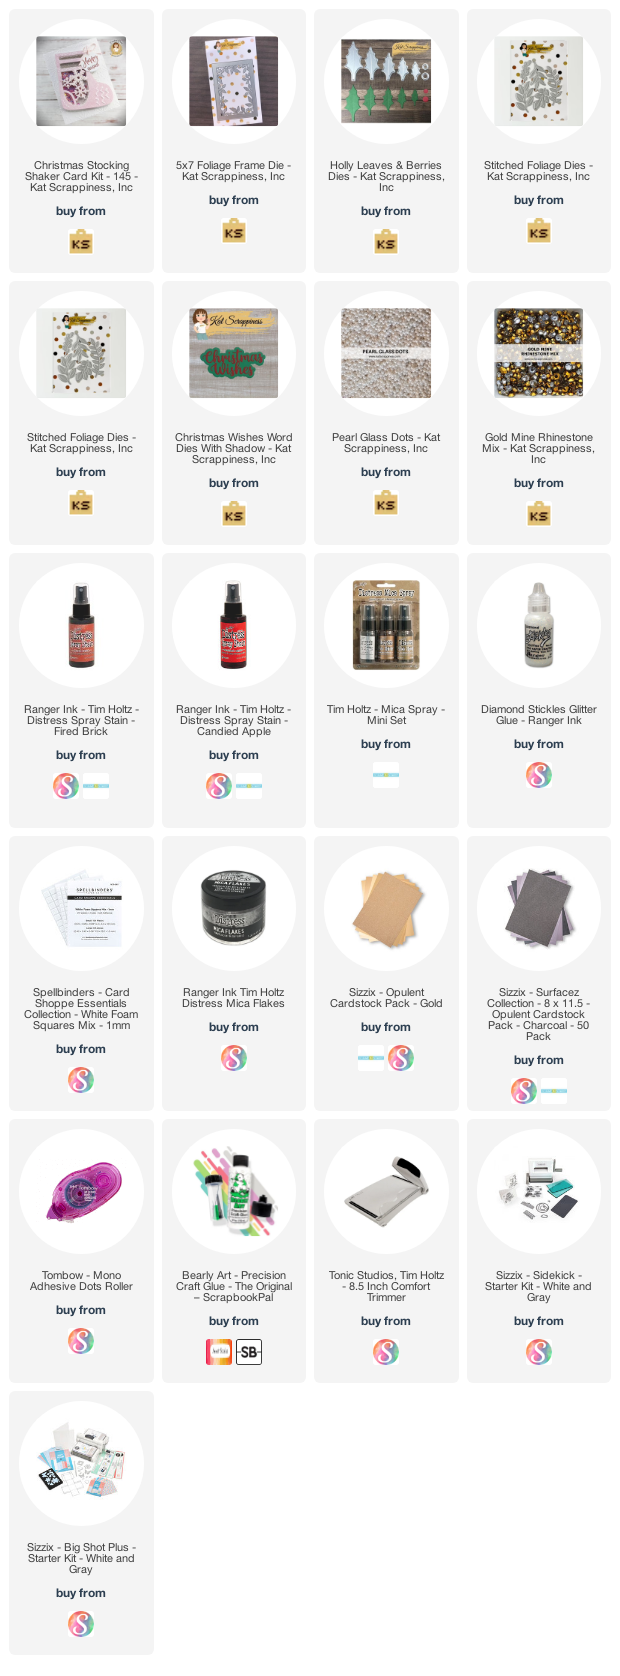
Supplies
(note: if I can't find the same product used, I will always link something similar)


Comments
Post a Comment
Please leave me a comment as I always love hearing from you! 😃