Ornate Circle Frame Dahlia Card | Pinkfresh Studio January Challenge
Hello Friends and Crafters!
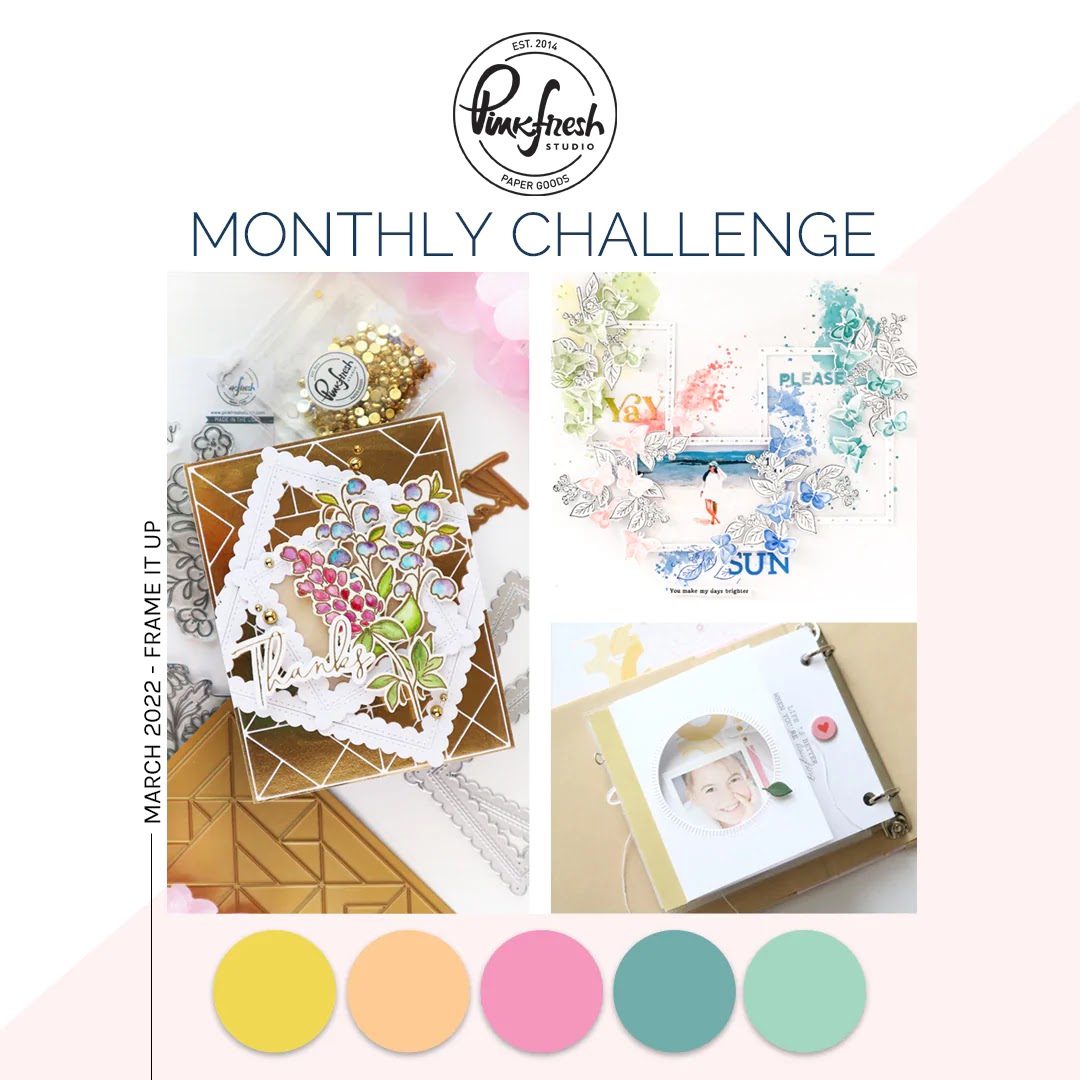
I have another card that I made for the Pinkfresh Studio January 2023 Challenge . This one was inspired by the May 2022 Frame It Up sketch, since I've had the Ornate Circle die since it came out along with the Dahlia Washi and haven't had a chance to use it. This card came together so easily, in little time with the help of the washi tape, plus I added some fun on the inside too!
I'll also be entering this project in the Simon Says Stamp Wednesday Challenge which is "Anything Goes" this week!

Challenge Sketch

.png)
Like what you're seeing? Pin this picture for later on Pinterest!
Process Outline
1) Apply the Dahlia Washi to light seafoam coloured cardstock and cut out all of the die cuts with the coordinating die.
2) Use the Geo Arch Foil Plate and use the letter press/dry embossing technique to get a nice imprint of the plate on a white cardstock panel slightly smaller than A2-size.
3) Adhere the embossed panel to an A2-sized white card base with foam adhesive for added dimension.

4) Use the Ornate Circle die to cut the image from some Matte Gold cardstock and keep the arch shaped negative pieces aside for the inside of the card.
5) Adhere the ornate circle to the center of the card with a few small foam square.
6) Arrange the Dahlia Washi diecuts in and around the ornate circle frame, tucking stems through holes and behind the circle frame as needed. Secure them down with foam squares.
7) Pick a sentiment from the Foiled Sentiments Ephemera pack and adhere this to the card front. I had these leftover from the first Create & Connect event which was so much fun!
8) Finish off the front with some Champagne Glitter Drops.

9) I had a few Dahlia Washi diecuts left so I chose to use them on the inside of the card. Adhere the leftover die cuts with one of the longer sentiments that match the one on the front of the card.
10) Add a slim strip of white cardstock to the left side of the inside of the card.
11) Now use those matte gold negative arch die cuts that we kept from the Ornate Circle die. Adhere them in a row against that white strip of cardstock on the left of the card inside for a cool design.

And there you have a card nicely designed/coordinated on the inside and out!
As always, thanks for stopping by. And don't forget to leave me a comment, as I love hearing from you! And don't forget to follow me on Instagram @deezinesbyd where I have a ton more inspiration and a short reel for this card!

xxx
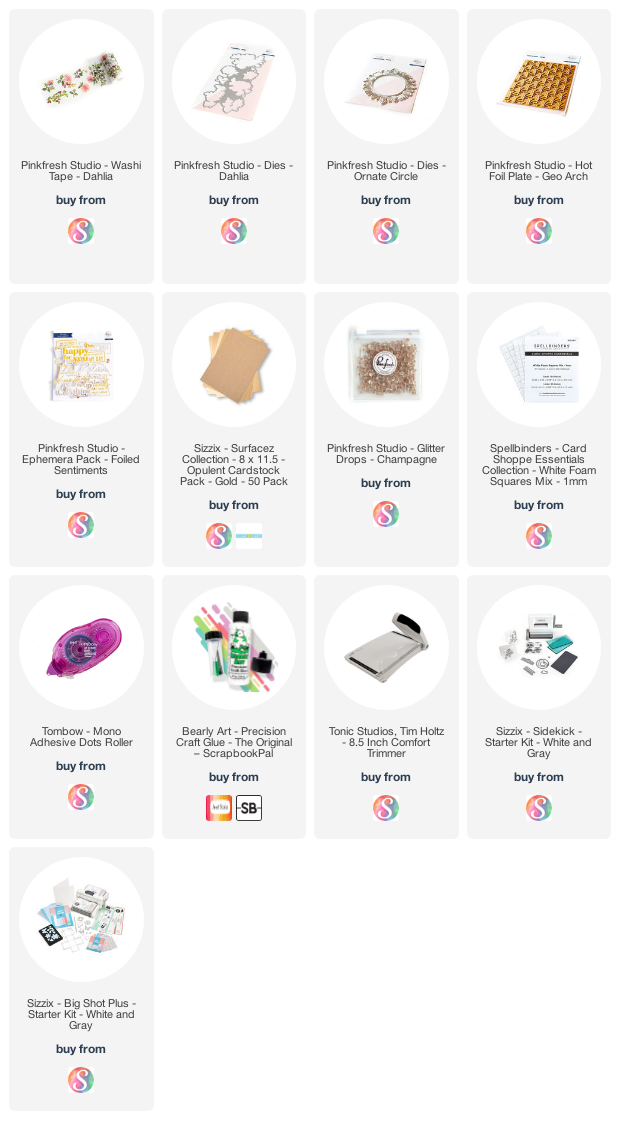
Supplies


Comments
Post a Comment
Please leave me a comment as I always love hearing from you! 😃