Painting With The New Artistry By Altenew Gouaches | Altenew Inspiration Challenge
Hello Friends and Crafters!
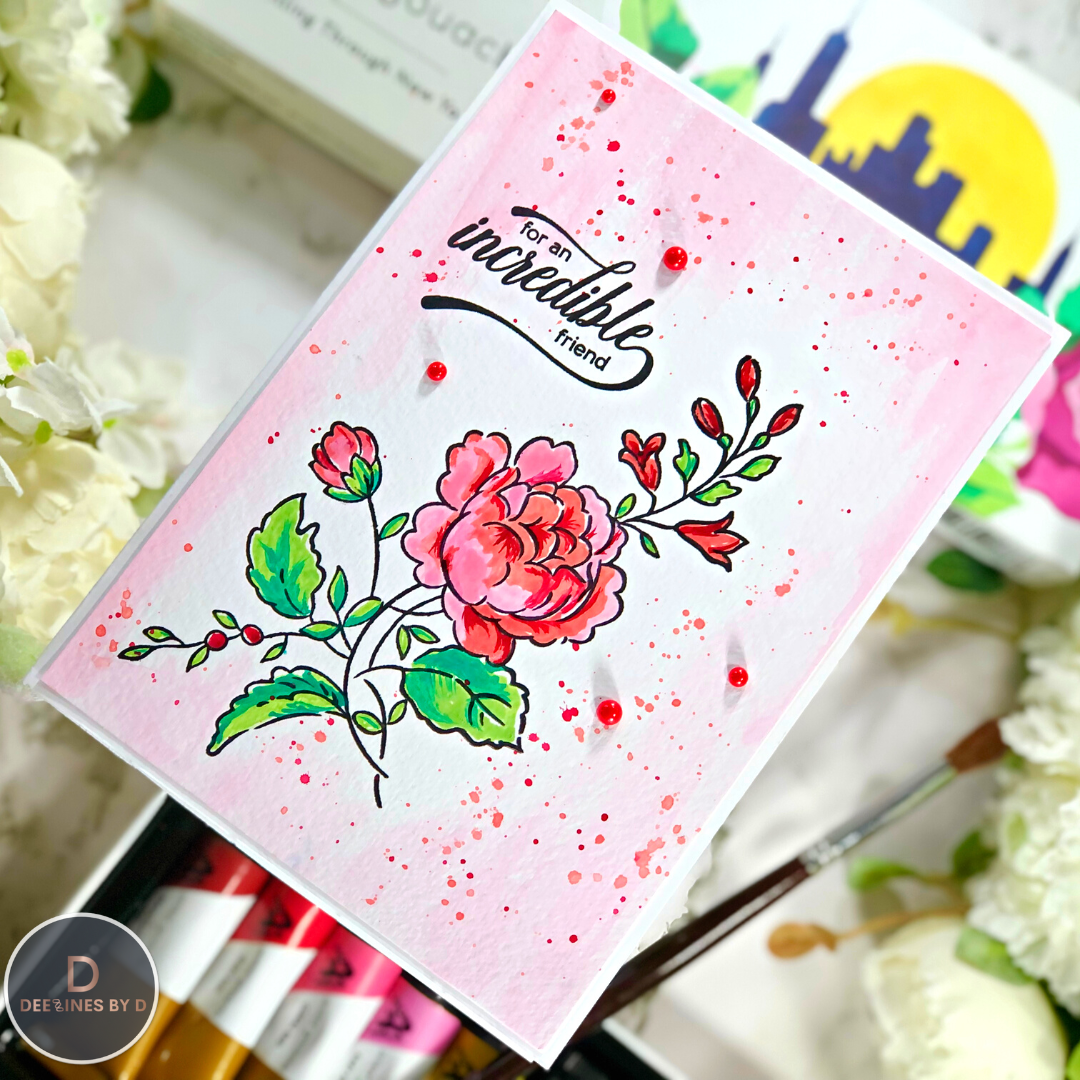
I recently purchased the New Artistry by Altenew Gouaches and thought I'd try them out. I kept my card simple since this is the first time I'm working with gouche. I decided to use colours from the Altenew January Inspiration Challenge sketch. And of course this card will be entered into the challenge. I've incorporated a lot of painting into my cardmaking of late, whether its watercolours or these gouaches, since it is so relaxing. And the vibrance of the gouaches are amazing!
I'll also be entering this project in the Simon Says Stamp Wednesday Challenge which is "Anything Goes" this week!

Challenge Sketch

Watch the Reel On YouTube
.jpg)
.png)
Like what you're seeing? Pin this picture for later on Pinterest!
Process Outline
1) Cut a watercolour cardstock panel slightly smaller then 5" x 7". I'm sure you could use regular cardstock but thought that the watercolour cardstock would have nice texture and allow the image to dry quicker.
2) I used Versafine Clair Nocturne ink to stamp out the main outline image from the Altenew Handpicked Bouquet stamp set and hit it with my heat gun to ensure there's no bleeding.
3) I got out my gouaches and a paint palette and started painting. I have an extra empty watercolour palette from Altenew that I havent used, so I chose to use this as my paint palette. I recommend this since you will have paint leftover and you don't want to waste it. This way it can air dry and I can keep it aside for my next paint session.
4) I took out very small amounts of the gouaches. And by small, I mean smaller than pea-sized. You really don't need too much. Plus, you can add a bit of water to help paint them onto your cardstock, as they are very concentrated.
I used the following colours:
- Flower - Baby Pink, Coral Red and Mahogany Red
- Leaves - Pistachi Green, Lagoon Green and Primary Yellow
I found it helpful to use the guide that comes in the stamp packaging for this set to figure out where the shadows should be on this flower.
5) Create a wash of the Baby Pink Gouache by adding more water. Then use horizontal strokes with your paint brush coming inwards on the panel from the edges to fill in the background.
6) Use the Coral Red and Mahogany Red Gouaches to create splatter on the background, making sure to cover up the flower a bit. Allow the panel to dry.
7) This step is not required but I wanted my image outline to look crisp, so I restamped the image, having left it positioned in my MISTI.

8) Use the Bergenia Builder stamp set to stamp out the sentiment with Versfine Clair Nocturne ink.
9) Finish off the front with some HoneyBee Stamps Holiday Pearl Stickers in red.
And my final verdict is that these gouaches are so creamy, bright and fun to use. It's a bit different than watercolours since it has an opaque nature to the paint but still so fun to use! I can't wait to make more projects with these!
As always, thanks for stopping by. And don't forget to leave me a comment, as I love hearing from you! And don't forget to follow me on Instagram @deezinesbyd where I have a ton more inspiration!

xxx
Supplies


Comments
Post a Comment
Please leave me a comment as I always love hearing from you! 😃