Simple Ink Blending With Stencils | A Colorful Life Designs
Hello Friends and Welcome!
This is my final post as Guest Designer for A Colorful Life Designs. It's been so much fun exploring card techniques with stencils and using these fun products. My card today uses simple ink blending with the Flower Explosion Stencil. I love that this is a nice large 6 x 6 inch stencil so that I can create an full A2-sized card background and still have leftover pieces to add to the inside of the card. You can find all the details below along with a quick process reel.
.png)
Watch the Reel on YouTube
.jpg)
.png)
Like what you're seeing? Pin this picture for later on Pinterest!
Process Outline
1) Adhere the ACLD Flower Explosion stencil to white cardstock with washi tape or any low-tack tape.
2) Add ink to the stencil with the darkest colour coming from the center of the flower petal to the lightest colour at the tip of the petals. I used the following Altenew inks:
darkest - Starlight ink
middle tone - Galactic Stream ink
lightest - Teal Cave
I chose deep/rich colours but you can always choose lighter colours for a more subtle look.
3) Remove the stencil carefully to avoid smudging.
.png)
4) Cut the panel down to 4 1/4" x 5 1/2" and keep your scraps for the inside of the card.
5) Now use a lighter ink in the same tone to add ink all over the A2 panel. I added more ink to the edge to create a slight gradient.
6) Use the Peony Notes Stamp set from The Ton Stamps to stamp out the sentiment in Versafine Clair Nocturne ink on the panel. (This stamp set is discontinued but any sentiment will work)
7) Use a Sakura White Gelly Roll pen to add a highlight/shadow on the sentiment. This helps the letters stand out more on this vibrant background.
.png)
7) Cut an A2-sized white card base and stamp out the "hello" sentiment on the inside of the card. I added the "..." on the front and the inside of the card with a Black Pigma Micron Pen.
8) Adhere the panel to the front of the card base.
9) Embellish the front with some Pinkfresh Studio Champagne Glitter Drops.
.png)
10) Now take the scraps from the ink blended panel cut for the card front and add it to the left side of the card inside.
11) Add a strip of gold glitter or any specialty cardstock to give this panel on the inside a finished look.
And that's my card inspiration for today! I really like that I can decorate the inside and outside of the card with one ink-blended stencil. And I definately recommend checking out the A Colorful Life Designs shop for all your stencil needs. It's a great small business and they even do custom orders!
As always, thanks for stopping by and don't forget to leave me a comment, as I love hearing from you! Please don't forget to follow me on Instagram @deezinesbyd .

xxx
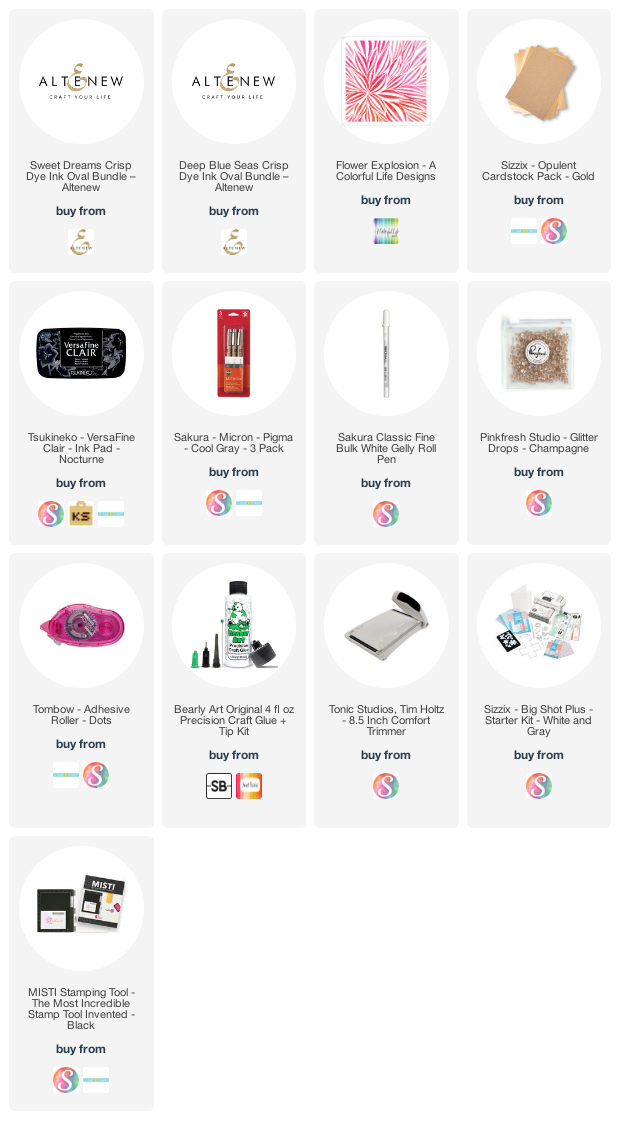
Supplies


Comments
Post a Comment
Please leave me a comment as I always love hearing from you! 😃