Watercoloring with the Layered Mixed Butterfly Stencil | A Colorful Life Designs
Hello Friends and Welcome!
Have you ever tried watercoloring with stencils? I found this beautiful Layered Mixed Butterfly Stencil from A Colorful Life Designs and did just that! The trick is to use repositionable adhesive spray and even though my watercolor paper was pretty saturated, I got relatively clean lines. The results are stunning and the process is relaxing. You can find all the details below along with a reel/video short of the process. And stay tuned for more inspiration throughout the rest of January.
.png)
Watch The Reel on YouTube
.jpg)
.png)
Like what you're seeing? Pin this picture for later on Pinterest!
I started by cutting a panel of Canson coldpress watercolor cardstock to just under 5" x 7". Then I added some Pixie Spray to the back of the solid butterfly stencil from the Layered Mixed Butterfly Stencil by A Colorful Life Designs. Keep in mind that this stencil set comes with 2 stencils: the outline and the detailed stencils. And the butterfly outline stencil includes the cut-out or negative portion of the stencil, making a third stencil which works great for backgrounds. I adhered the butterfly stencil to the watercolor panel and pressed it down firmly to prevent seepage once adding water.
Next I added some Nuvo Shimmer Powder in Violet Brocade and spritzed it with plain water from a spray bottle. The powder creates such a beautiful array of colors and shimmer. I used a heat tool to carefully dry the panel, making sure to not keep it on the stencil that much, to avoid damage. Once the panel was dry enough, I remvoed the stencil and dried it completely with my heat gun.
.png)
I took the detail stencil and applied it to the panel with Pixie Spray. It's important to make sure your panel is completely dry before you add another stencil, or else you will ruin your shimmer powder background. Again, make sure this stencil is firmly pressed down onto the panel to avoid seepage.
I'm an amateur watercolorer and so I purchased this sample card of Daniel Smith watercolors a while back, which came in handy for this technique. You get 66 watercolor dots to experiment with and if you like a color, then you can always purchase a full tube. I used a mix of Quinacridone Magenta, Quinacridone Purple, Blue Apatite Genuine, Lapis Lazuli Genuine and Kyanite Genuine. Now, keep in mind that if this seems too labour-intensive, you can always just use another color of shimmer powder and it would look just as good.
Once I was done, I let this dry naturally as much as possible. Then I carefully removed the stencil and hit it with a heat gun. I had little bits of seepage here and there, and you could leave this panel alone and add a sentiment and be done right here. However, I wanted perfectly clean lines, so I grabbed my Black Pigma Micron Pens and colored in the white detail outline. This really made the butterfly stand out.
.png)
I added some white, black and gold splatter and adhered the panel to a 5" x 7" white card base. I heat embossed, in Ranger Princess Gold and die cut, my sentiment from the Pinkfresh Studio Pears and Pomegranates Suite. Finally, I attached the sentiment with foam adhesive and added some Pinkfresh Studio Gold Glitter Drops and Iridescent Clear Drops. Then to top it off, I added some Diamond and Golden Rod Stickles to the butterfly.
And that's my card inspiration for today! I definately recommend checking out the A Colorful Life Designs shop for your stencil needs. It's a great small business and they even do custom orders!
As always, thanks for stopping by and don't forget to leave me a comment, as I love hearing from you! Please don't forget to follow me on Instagram @deezinesbyd where I've also post my reel for this card!

xxx
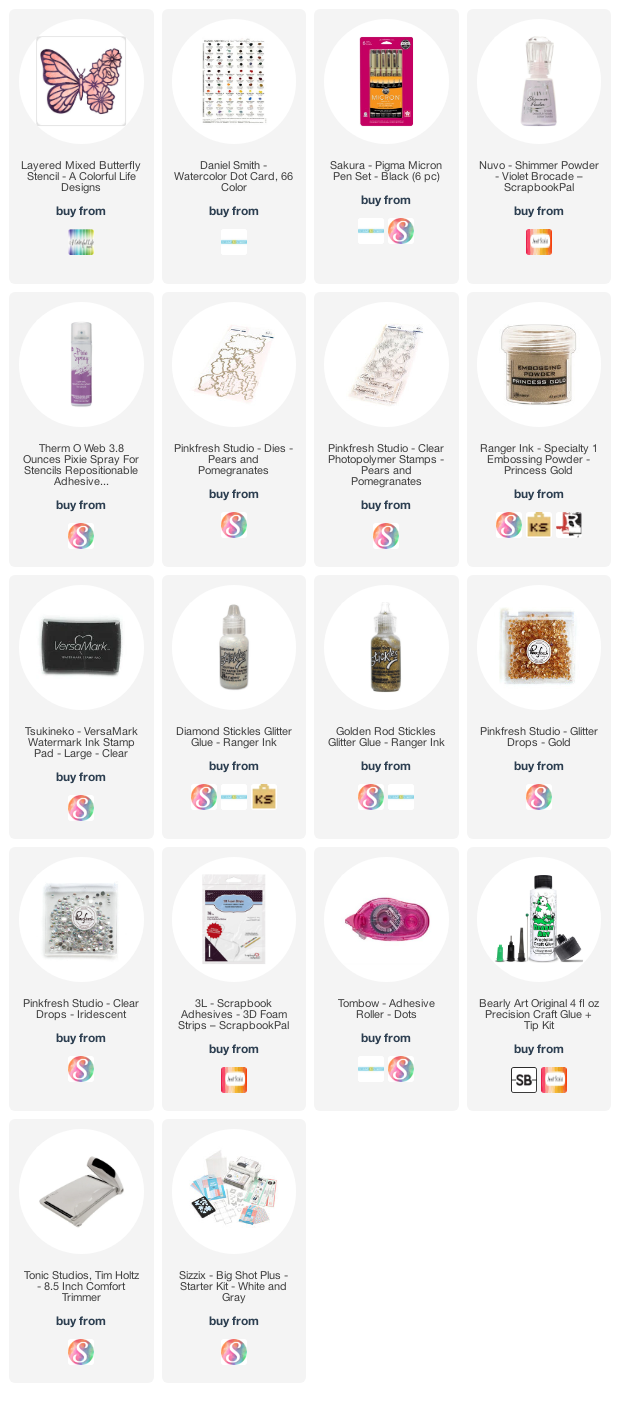
Supplies


Comments
Post a Comment
Please leave me a comment as I always love hearing from you! 😃