Hello Crafters!
Scrap N' Stamp's February Inspiration Hop is in full swing, so head on over to my Instagram account (@deezinesbyd) to hop along and comment to win a $50 gift card. If you'd like to learn more about the card I'm sharing today, you've come to the right place. This fun interactive card features the Sizzix True Love Colorize Dies by Tim Holtz. But this isn't just your average chocolate box card - the chocolates are actually removable and you can place them anywhere you'd like in the chocolate box (on front of the card)! Move the chocolates around to make neat sayings or pictures like "KISS", "LUV", "U + I" and "I 💖U". To get a better idea, watch my reel on IG or on YT (linked below), plus there are more details below.
I'm also going to be entering this card into the Simon Says Stamp Monday and Wednesday Challenges! They're themed Food and/or Drink and Love Is In The Air, respectively.
Check Out The Sale at the Scrap N Stamp Store👇
Watch The Reel On YouTube
Like what you're seeing? Pin this picture for later on Pinterest!
This die set comes with 5 layers for the chocolaate, including the toppings/icing dies. I love that you can use all 5 layers or just a few. For this card, I chose to only use the bottom wrapper layer, the main chocolate layer and the icing layer. There are 4 main shapes; round, rectangle, heart and square. And the backs of the dies are labelled to help you identify each. I cut out 32 chocolates in total to allow for spelling out messages. So I cut out the set of 4 dies a total of 8 times = 32 chocolates. It seems like a lot but since I'm only layering 2 layers plus an icing/decorative layer, it's about the same as using all 5 layers.
To start, I used the wrapper dies and cut 32 out of black cardstock.
Each set of 4 dies were decorated 6 ways as follows:
1) Bejewelled
I cut the main chocolate from vanilla or beige cardstock and added clear and champagne gems. I also added some Pinkfresh Studio Gold Glitter Drops. This chocolate was made to simulate chocolates wth nuts on top.
2) Printed
Again, I cut the main chocolate from vanilla or beige cardstock. This time I took a brown pen and wrote some french words in handwriting.
3) Glittered
I cut the main chocolate from a mix of dark and light brown cardstock. I added some glue to a corner of the diecut and dipped it in some white glitter. This chocolate was made to simulate the sugar sprinkled ones.
4) Gold Sprinkled
I cut the main chocolates out of dark brown cardstock and addded a couple gold curl sprinkles with glue.
5) Gold Foiled
I added wide double sided tape to white cardstock and added Nuvo Radiant Gold Gilding Flakes to the tape. I burnished it in with my finger and then cut the main chocolate die from the gold cardstock. This chocolate was made to simulate gold foiled chocolates like Ferreros.
6) Glossy Glazed
I cut the main chocolates from a mix of beige, light and dark brown cardstocks. I also used the icing layer dies to cut cardstock in white and espresso dark brown cardstock. I adhered these to the main chocolates and added some Glossy Accents.

Once the chocolates were dry (mainly the glossy accents), I used strong double sided adhesive to add small round magnets to the wrappers we cut in the beginning. Then I adhered the decorated chocolates on top of each wrapper. Now these chocolates are little magnets!
The last thing we need to do is make and assemble the box portion of the card. I cut the slimline card base out of white cardstock with the size 9" x 4". I cut a slightly smaller magnetic sheet and adhered this to the card base. On top of this, I adhered a 9" x 4" panel of lace patter paper. This is what will represent the inside of my box.
For the box cover, I cut a 9" x 4.5" piece of acetate and scored a line at 4" to create a flap. I adhered this to my card with strong double-sided adhesive. I cut four 1/2" strips of Sizzix Brushed Gold cardstock: two 9 inches long and two 4 inches long. I cut the edges at an angle and adhered them around the outline of the acetate to create the look of box edges. For my sentiment, I foiled two sentiments from the Spellbinders More Sentiments Glimmer Plates set in Gold Foil. I cut them out with the coordinating banner die and adhered these on either edge of the acetate portion of the card with foam squares.
And now comes the fun! You can attach the chocolates underneath the acetate to the card front. Since we added the magnetic sheet, they'll easily stick and can be moved around to form different notes or designs. You have to be a bit creative due to the limited space, kind of like a licence plate. Here are a few of the ones I made!
"LUV"
"U + I" (you and I)
"I❤U" (I love you)
"KISS"
Or you could always just keep it simple, like a standard chocolate box looks.I think I also created an "XO" which you can see in the reel. I hope you like my card and have been inspired to create something similar.
All of the supplies have been listed below for your shopping pleasure. Thanks again for stopping by, don't forget to check out the shop and to hop along, visit my Instagram account
@deezinesbyd and comment there to win the gift card!
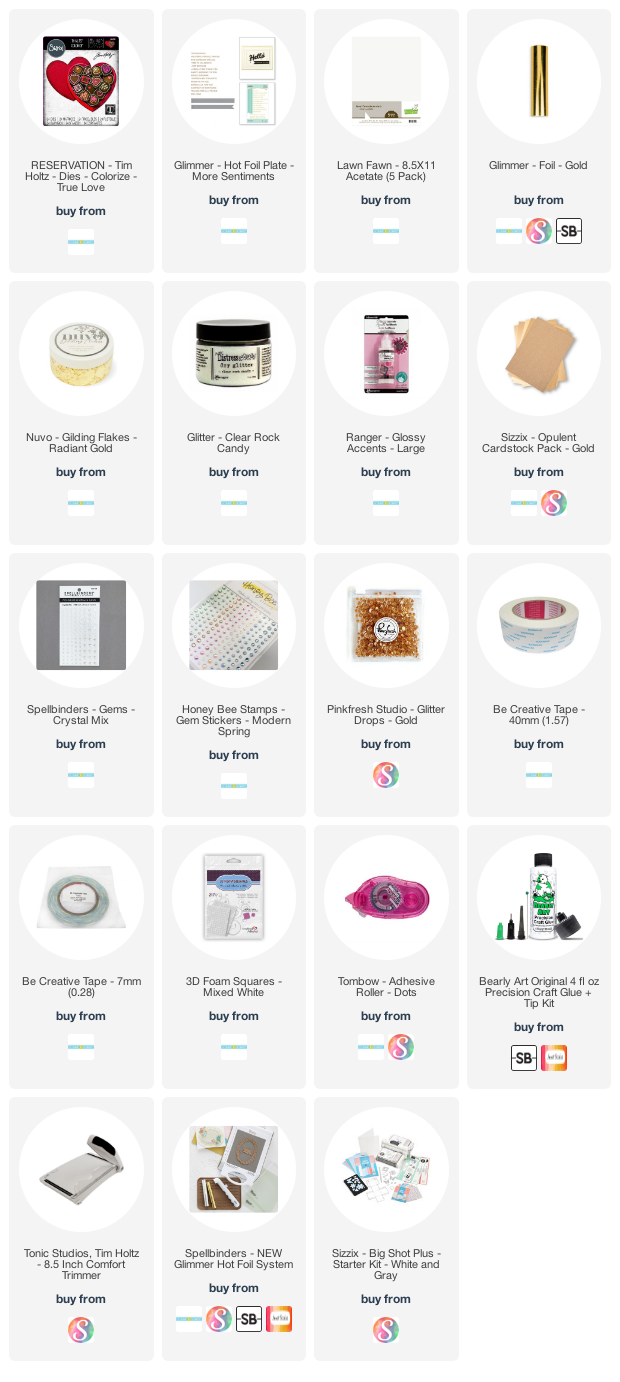
Supplies


.jpg)
.png)


I like how you made sentiments with the candies. You are so clever
ReplyDelete