Strawberry Basket Pull Reveal Card | Kat Scrappiness
Hello Friends !
There's always one product out of every release I'm drawn to and this time it's the Berry Sweet stamp set by Kat Scrappiness. I just love those large strawberry images and the sentiments are so cute! Needless to say my post today features this set and I've created a strawberry basket card with a twist. The basket acts as an envelope and the strawberries can be pulled up to reveal the inside sentiment. I chose to make this one a birthday card to show you how this set can be used for occasions other than Valentines Day! Hope you like it!

Shop Part 2 of the Valentines Release!

Watch The Reel on YouTube
.jpg)
.png)
Like what you're seeing? Pin this picture for later on Pinterest!
Card Process Outline
1) Take 2 of the brown papers (used for the bottom of the basket) from the KS Be My Valentine 6 x6 paper pad and cut them down to 5" x 5".
2) Measure 0.5" from either side of each cut panel and cut on a diagonal line from the 0.5" mark to the corner on the opposite side of the panel to create a basket shape.
3) This step is not required but gives a nice look; use a corner round punch to round the top 2 corners of both panels.
4) Now take one of the red papers from the KS Be My Valentine 6x6 paper pad and cut two 5" x 0.75" strips. I rounded the corners here too.

5) Use the KS Stitched Sunray Backdrop die to cut two panels of rose gold mirror cardstock sized 5" x 4.5". Make sure the bottom of the die that the sunrays emanate from is lined up with the bottom of the panel.
6) Use your scissors to cut the corner of the sunray diecut off and adhere these to the brown basket bottoms with liquid glue. Cut off any overhanging bits; this gives the look of the main structure/frame of a basket.
7) Now face the two panels against eachother with the brown sides out and adhere the two together with some 1/8" strong double sided tape.
8) Adhere the two red strips of cardstock with foam adhesive on either side of the basket.

9) Stamp out all of the strawberries from the KS Berry Sweet Stamp with Memento Tuxedo Black ink.
10) Use any medium to colour them in. I used my Copic Ciaos and filled in the little seeds with a Sakura White Gelly Pen.
11) Use the coordinating KS Berry Sweet Dies to cut them all out.
12) Use the leftover red pattern paper and cut it down to 3.75" x 5".
13) Also cut some beige cardstock to 3.25 "x 4.75".

14) Use the KS Happy Day Stamp set and stamp out the Happy Birthday! sentiment in Versafine Clair Red Tulip ink on the beige panel that was just cut.
15) Adhere the beige panel onto the red panel and make sure it fits nicely into the basket "envelope".
16) Attach the strawberry diecuts onto the top of the red and beige insert panel with foam adhesive. Ensure that the strawberries are seen sitting just on top of the basket when the panel is inserted.

17) Heat emboss the "Eat, Drink & Be Berry" sentiment from the Berry Sweet Stamp set in white embossing powder on black cardstock. Use the coordinating die to cut this out.
18) Attach the sentiment to the basket with foam adhesive, along with the last small strawberry die cut.
19) Finally, embellish the basket and the strawberries with KS Blush Rhinestones.
This makes a really cute and sweet birthday card. And the design is a fun one to work with and give. I didnt add it here, but if you want you can add a "PULL" tap on top of the strawberries so your recipeint knows to pull it out. And if this is going in the mail, this card should fit into a 5" x 7" envelope.
That's my Kat Scrappiness card inspiration for today!
As always, thanks for stopping by and don't forget to leave me a comment, as I love hearing from you! Please don't forget to follow me on Instagram @deezinesbyd where I've also post my reel for this card!

xxx
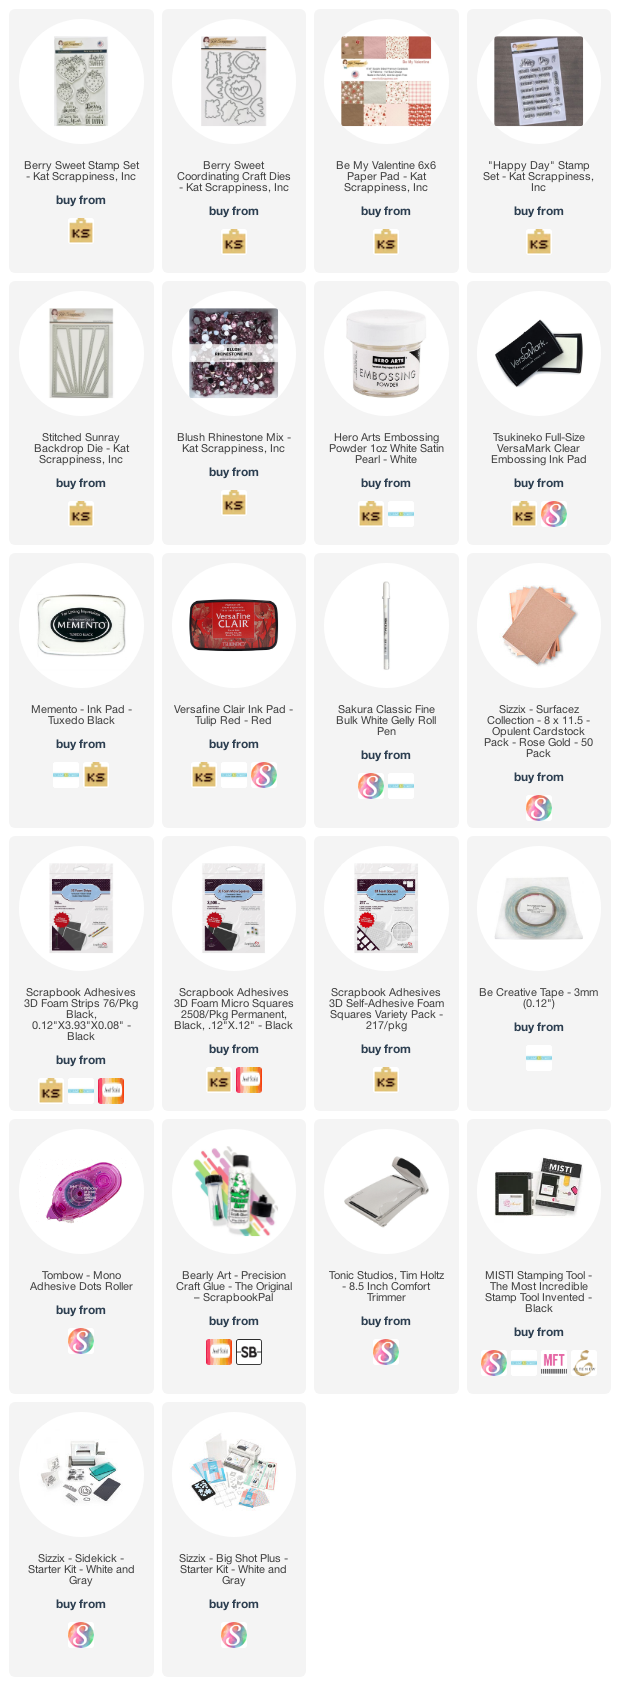
Supplies


This comment has been removed by a blog administrator.
ReplyDelete