Using Artistry by Altenew's Gouaches with Layering Stencils | Altenew Inspiration Challenge
Hello Friends and Crafters!
Today I'm sharing a project I made by painting with layered stencils. I've tried this with watercolours but thought I'd take a stab at it with the New Artistry by Altenew Gouaches. And the results are amazing! If you've been eyeing those gouaches but not sure you'd use them due to inexperience, I'd think again. This technique is for all skill levels and the results look so professional. I, myself, am using gouaches for the first time.
I decided to use pinks like the colours from the Altenew February Inspiration Challenge sketch below. And of course this card will be entered into the challenge as well.
I'll also be entering this into the Simon Says Stamp Wednesday Challenge entitled Love Is In The Air.
Challenge Sketch
Watch the Reel On YouTube
Cut a watercolour cardstock panel slightly smaller than 5" x 7". I recommend using this cardstock because it absorbs the gouache paint faster which makes it easier/faster to dry each layer of paint between stencil layers.
I used the Altenew Greenwood Flower Stencils to make my main images. I chose one flower and positioned it on my panel. Then added my gouache in Baby Pink, trying my best not to make the gouache too watery so that it does not seep under the stencil. Remember, the more water you add, the more transluscent your gouache will be and less water keeps it more opaque. With this in mind, I suggest keeping the bottom layers a bit more transluscent and the top layers more opaque. Once the stencil is filled, carefully remove the stencil and hit it with a heat gun to dry the layer. This is important because if the layer is not dry, when you place the stencil on again, it will smudge.
I continued in this manner of painting in the stencil and drying it with a heat gun for each layer of the flower. I did mix some of the colours of gouache to get different shades. Here's the general colour palette I used:
Upper flower - Coral Red, Ruby Red, Prussian Blue
Lower flower - Baby Pink, Coral Red, Prussian Blue
Leaves - Pistachio Green, Lagoon Green, Prussian Blue
I painted in the 2 flowers and leaves and then decide to add some buds. To do this, I used the Altenew Bitterroot Flower Stencils. It has a couple buds that I thought would work well with this. Don't be afraid to mix and match stencil sets like this to make a unique bouquet. In order to make the buds fit in with the flowers, I did have to extend the stems with a free hand, but this is easy to do. Here are the colours I used:
Buds - Coral Red, Ruby Red, Prussian Blue
Stems - Lagoon Green, Prussian Blue
Once the main flowers were painted, I made a light wash with a mix of Lagoon Green and Pistachio Green and lots of water. I lightly painted this around the image and close to, but not right to, the edges of the panel. Then, I used Prussian Blue to make some splatters around the flowers.
Once the panel was dry, I adhered it to a 5" x 7" white card base and added a sentiment. I diecut the Altenew Fancy Hello die from black glitter cardstock and adhered this directly to the card front. Then to finish off this card, I added some Altenew Tea Party Enamel dots and some Diamond Stickles to the flower centers and buds.
So there you have it; using layering stencils to paint with the new Artist Gouaches. I really recommend giving it a try and think this medium is perfect for beginners!
As always, thanks for stopping by. And don't forget to leave me a comment, as I love hearing from you! And don't forget to follow me on Instagram @deezinesbyd where I have a ton more inspiration!
xxx
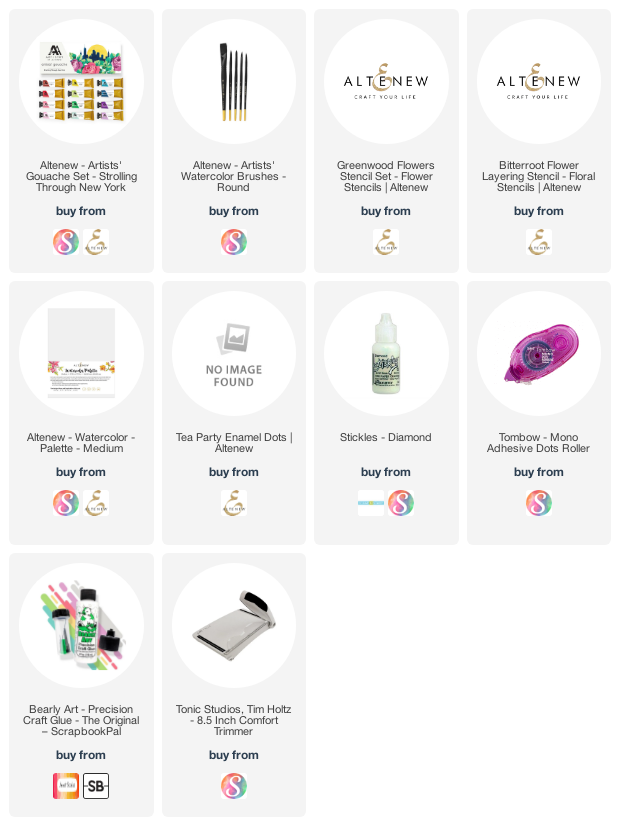
Supplies

.png)

.jpg)
.png)
.png)
.png)


SUCH A LOVELY CARD!!
ReplyDelete