Will You Be My Valentine? | Kat Scrappiness
Hello Friends !
Happy Thursday! It's officially February and that means I have to share a Valentine card! Afterall, the big day is drawing closer. This card features products from Part 2 of the Be My Valentine Release at Kat Scrappiness. I used the Be My Valentine stamp set and coordinating 6x6 paper pad. I love how these products work so well together and I added a quirky sentiment from the stamp set to the inside as well.


Shop Part 2 of the Valentines Release!

Watch The Reel on YouTube
.jpg)
.png)
Like what you're seeing? Pin this picture for later on Pinterest!
Card Process Outline
1) Stamp out the 4 postage stamp images from the Be My Valentine stamp set in Versafine Clair Nocturne ink and heat set it.
2) Use any colouring media to add colour to the images. I used Copic Ciaos in reds, pinks, beige and brown to match the postage paper I chose from the Paper Pad.
3) Cut out the 4 postage stamps. I just used my paper cutter but you can use the coordinating dies if you have them.
4) Take the postage stamp pattern paper from the Be My Valentine paper pad and cut it down to just under 4 1/4" x 5 1/2". Keep the scraps for the inside of the card.

5) Use a ruler and pencil to create a 2 3/4" square opening near the top center of the pattern paper panel. Cut this out with your paper trimmer or an exacto knife.
6) Use the A2 Reverse Scallop Dies to cut the middle frame from gold mirror cardstock. Cut this in half and the short end off one side. Cut diagonal angle on the short edge and attach this end to the other half to create a square that will frame the opening in the pattern paper panel. This may require some matching between the panel and the frame but is relatively easy to do if you make sure the completed frame measures 3" x 3".
7) Glue the gold frame to the pattern paper panel.
8) Take another sheet of the same pattern paper. On the back is a nice soft pink pattern. Cut a square 3 1/4" by 3 1/4".
9) Adhere the square to an A2 sized white card base where the opening of the postage pattern paper would be seen, when placed on top.
10) Add foam adhesive squares to the back of the postage pattern paper panel and adhere this to the card base on top of the pink square we just added.
11) Adhere the postage stamp images with foam adhesive and lined them up in a nice square.
12) Heat emboss a piece of brown cardstock to match the pattern paper in white EP using the "Will you be my valentine?" stamp from the set. Cut this down and adhere this under the scalloped frame.

13) Now let's add a bit of decoration to the inside. Take the leftover piece from the larger pattern paper panel used on the front of the card and adhere this to the left edge of the card inside. This just carries the design to the inside and coordinates the entire card.
14) Add a small strip of gold glitter cardstock to the edge of the pattern paper strip for a finished look.
15) Finally add a sentiment to the inside from the Be My Valentine stamp set. I used the quirky Roses are red.. sentiment stamped in Versafine Clair Nocturne ink. And I used my MISTI to do this since the rest of the card was already assembled.
And that's my Kat Scrappiness card inspiration for today! This is one cute and fun valentine, especially with that sentiment and lovely pattern paper.
As always, thanks for stopping by and don't forget to leave me a comment, as I love hearing from you! Please don't forget to follow me on Instagram @deezinesbyd where I've also post my reel for this card!

xxx
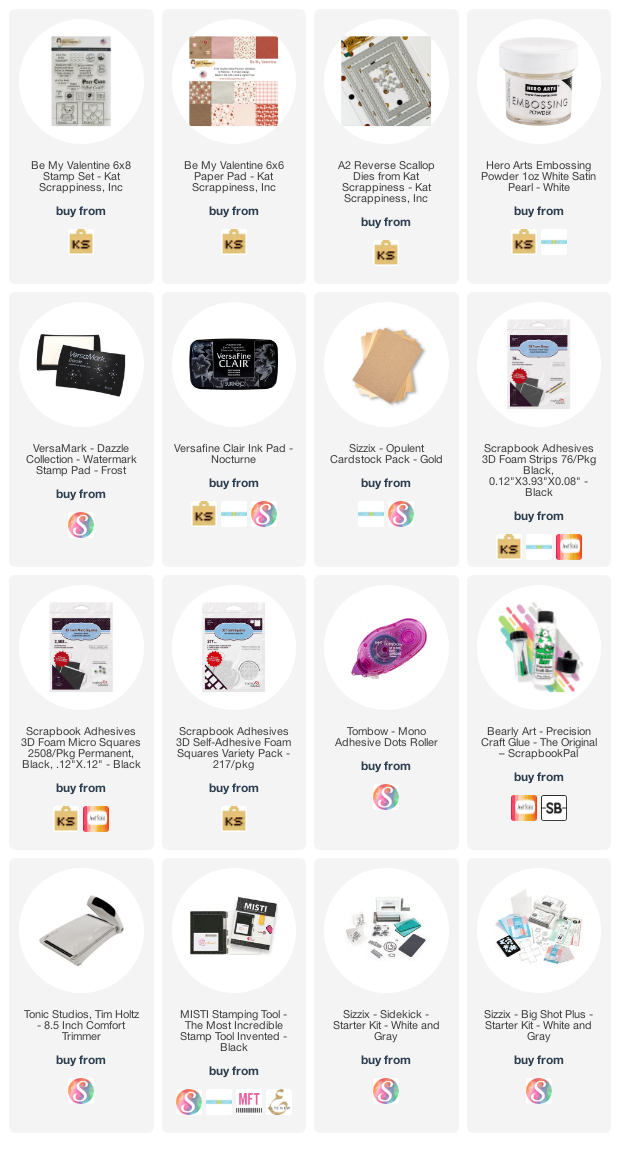
Supplies


Comments
Post a Comment
Please leave me a comment as I always love hearing from you! 😃