The Stylish Ovals Collection | Spellbinders
Hello Friends!
If you're looking to make some really classy and beautiful cards, I highly recommend the Stylish Ovals Collection by Spellbinders! I have 4 cards to share today using these products and I hope you see something you like. Spellbinders also released some new cardstocks, which I used in these projects as well.

Shop the Collection Here 👇

Watch the Reel on Instagram
.jpg)
.png)
Like what you're seeing? Pin this picture for later on Pinterest!
Card 1

For my first card, I embossed a 5" x 7" black cardstock panel with the Spellbinders Leafy 3D Embossing Folder. I cut it down slightly and attached it to a 5" x 7" white card base. I then foiled the Stylish Oval Thanks Glimmer Plate with Polished Brass Foil on the same black cardstock. I used the appropriate size oval from the Essential Stylish Ovals Die Set to cut the foiled image out (I think it was the fifth smallest oval). I adhered this to the card with foam for dimension.

The forals were cut using the Stylish Oval Hello You Die Set in a bunch of light colours, along with bright red. This colour combo really pops on the black and I've been experimenting with these striking colour combos lately (let me know if you like it in the comments!) I used gold cardstock for the flower centers to match the foiling, and I arranged them around the center oval. The sentiment was foiled on the new Fog cardstock and cut with the coordinating die from the same glimmer set. I attached this to the card with foam adhesive. Finally, I added some AB Gems in the flower centers and matte gold pearls on the background.
Card 2

This card uses the Stylish Oval Floral Bird Glimmer Plate. This is a stunning, one-plate set and makes a beautiful focal point on cards. I foiled it with Black Foil on white cardstock and coloured it in with Copics, trying to keep the same colour scheme as the last card. I used the Essential Stylish Ovals Die Set to cut out the image and another oval slightlu larger from grey cardstock. I adhered the two ovals together and worked on the background.

I used the new Peach Sorbet cardstock and embossed it with the Four Petal Floral 3D Embossing Folder. I cut it down to slightly smaller than 5"x 7" and adhered it to a white card base. I added 3 strips of black mirror cardstock and attached the foiled ovals to the card with foam. I cut the "Hello You" sentiment from the Stylish Oval Hello You Die Set from mirror black cardstock and glued this around the curve of the oval. Finally, I embellished this card background with Onyx Black Gems and small gold gems on the foiled image.
Card 3

My third card is a simple shaped card. I used the Stylish Oval Thanks Glimmer Plate again, but foiled it in Opaque White Foil this time, on Spellbinders Peach Sorbet cardstock. I cut it with the approriate oval from the Essential Stylish Ovals Die Set and took an oval one size larger to cut a white card base, by letting the die hang over the scored part of a folded card base sized 4" x 6". I adhered the peach oval to the card and worked on the sentiment and florals.

I used the Sentiments For Everyday Glimmer Set to foil the "Happy Anniversary" sentiment in Spellbinders Blush Foil and cut it with the coordinating die. Then I also cut some white and grey flowers and leaves from the Stylish Oval Hello You Die Set. I used some Press N' Seal wrap to arrange the florals and sentiment and pick up all the pieces. I find the Press N' Seal helps when I want to layer die cuts behind a sentiment like this. Then I added glue to the florals and leaves only, and positioned this onto the card. I lifted the wrap once the florals seemed to be glued down permanently and removed the sentiment. Then I added the sentiment on top of the florals with foam adhesive. I added some beige gems to the card along with gem strips around the edge of the card. I love using these gem strips because they are great for frames like this, they are easier to lay down in strips instead of gem-by-gem, and they're very inexpensive from the Dollar Store.
Card 4

For my final card, I used some of the new Sage cardstock for my background, cut to slightly smaller then A2-sized. I foiled the sentiment and frame on white cardstock using the Essential Duo Lines Glimmer Rectangles Set and Sentiments for Everyday set. I used Gold Foil and cut the rectangle down with my trimmer. I adhered this to the Sage panel with foam adhesive just in the center of the rectangle. This allowed me to tuck in stems from the florals behind the sentiment rectangle later.
Next, I cut and arranged the florals from the Stylish Oval Hello You Die Set on the panel around the sentiment. I cut off any overhanging bits and adhered the panel to an A2-sized white card base. I noticed my sentiment wasn't quite centered in the rectangle, so I added 3 gems just above the foiled sentiment to even it out. Finally, I added some Chalk Stick Vintage Nuvo Drops to the background to pull everything together.

And that is my card inspiration for the Stylish Ovals Collection!
As always all of the products used here have been listed below - Happy Shopping!
Also, don't forget to check out/follow me on my Instagram account @deezinesbyd. I will be posting reels of these and other creations featuring this months' Spellbinders releases throughout the month!

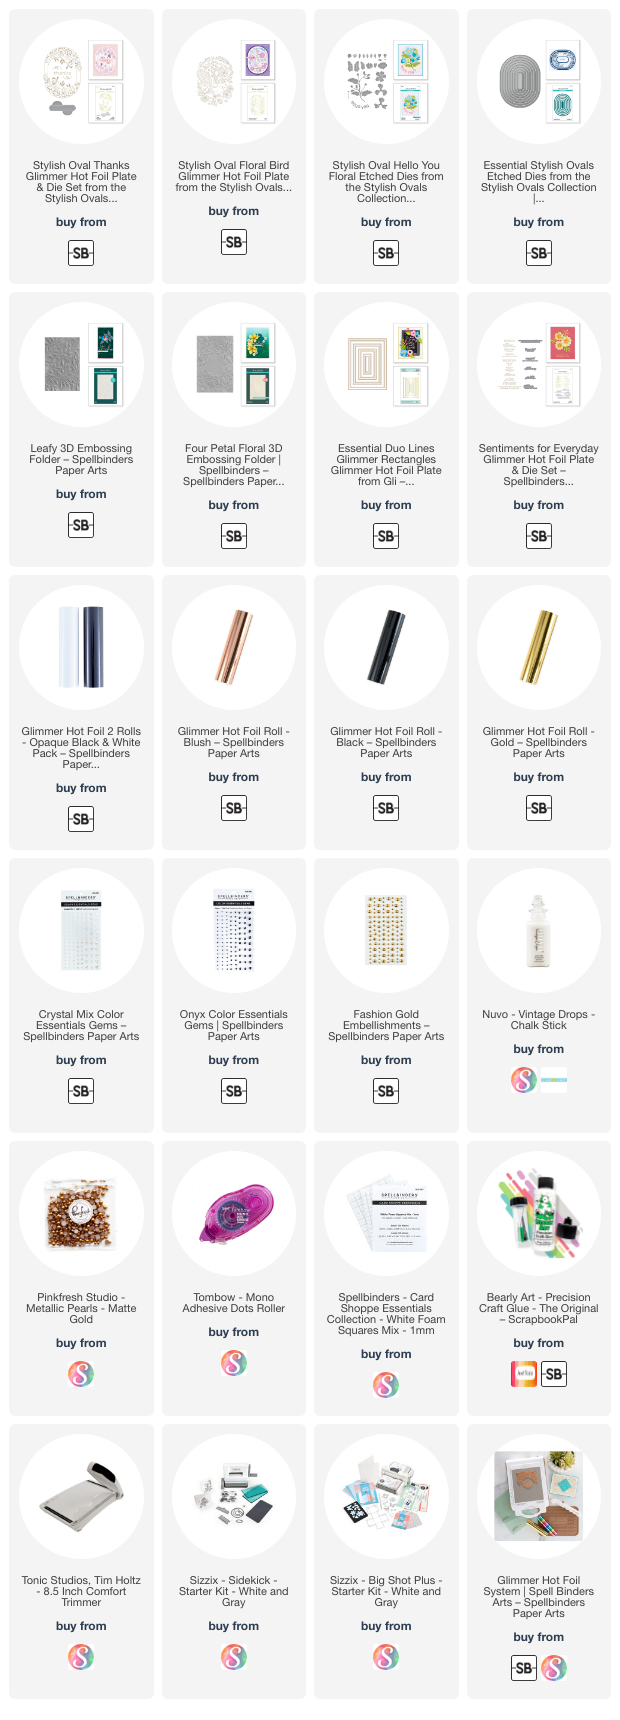
Supplies


Comments
Post a Comment
Please leave me a comment as I always love hearing from you! 😃