New Release - The Set Sail Collection by Scrappy Tails Crafts
Hello Friends!
Scrappy Tails Crafts is having an Instagram Hop today with tons of inspiration showcasing the NEW Set Sail Collection! I used the Slimline Lighthouse Pop Up Dies, Beach Essential dies, Layering Seagulls dies and the Guiding Light stamp set to put together this gorgeous evening scene at the beach/seaside. I also used the new 6" x 8.5" Let's Sail-ebrate paper pad for backing my photos. As you can see these products are not only perfect for cards but scrapbooking as well! So head on over to Instagram (click here -> @deezinesbyd) and hop along! There are two $25 gift cards up for grabs - read the instructions on the post for details to enter. Good luck and happy hopping!
(creation details and supplies are outlined below)

Shop the Set Sail Collection
.png)
Watch The Video Short on YouTube

.png)
Like what you're seeing? Pin this picture for later on Pinterest!
Here are a few more pictures, along with the supplies listed at the bottom. Please click the YouTube Video Short/Reel link above to see a short process video. Or you can keep reading for some tips and tricks I used to make this project.

The sunset really sets the scene for this layout. I used some oxide inks in Uncharted Mariner, Salty Ocean, Shaded Lilac, Picked Raspberry and Wild Honey. The oxides mix together nicely and the trick to blending these colours together is to add both colours, overlapping where they join, and then blending the colours out by going over the join a few times with each colour.

There a two huge tips I have for sunset scenes.
1) Once I have cut and assembled all of my die cuts, I like to add black ink ( I used Black Soot Oxide ink) with a blending brush to the side of each die cut that would be away from the source of light/the sun. This shading really brings the scene to life! You can really see how it makes a difference on the lighthouse.

2) I love to add that glisten that the setting sun has on everything around it. And I do it by adding Crystal Stickles and Nuvo Golden Shimmer Dream Drops along the edges/side of my die cuts that would be lit up by the sun/or is facing the source of light. This also brings the scene to life and who can resist that added shimmer!

I originally cut my clouds from light blue cardstock but really wanted them to match my sunset. So I added some picked raspberry and wild honey to mirror the backgroud I ink-blended. This adds a realistic effect since the sky will usually reflect the colour it has on the clouds.
And finally, I wanted to add some more interest to this layout by having the light house shining light/emitting light. I used yellow vellum and cut it into long thin triangles. I adhered these coming out of the lighthouse to simulate the light. I also made sure to overlap it over some of the layout elements to show that it is emitting light.

You'll notice that the sentiments match perfectly with the lighthouse theme. And all in all, I love how this came together - I hope you do too.
I hope you liked my project today and as always, thanks for stopping by!

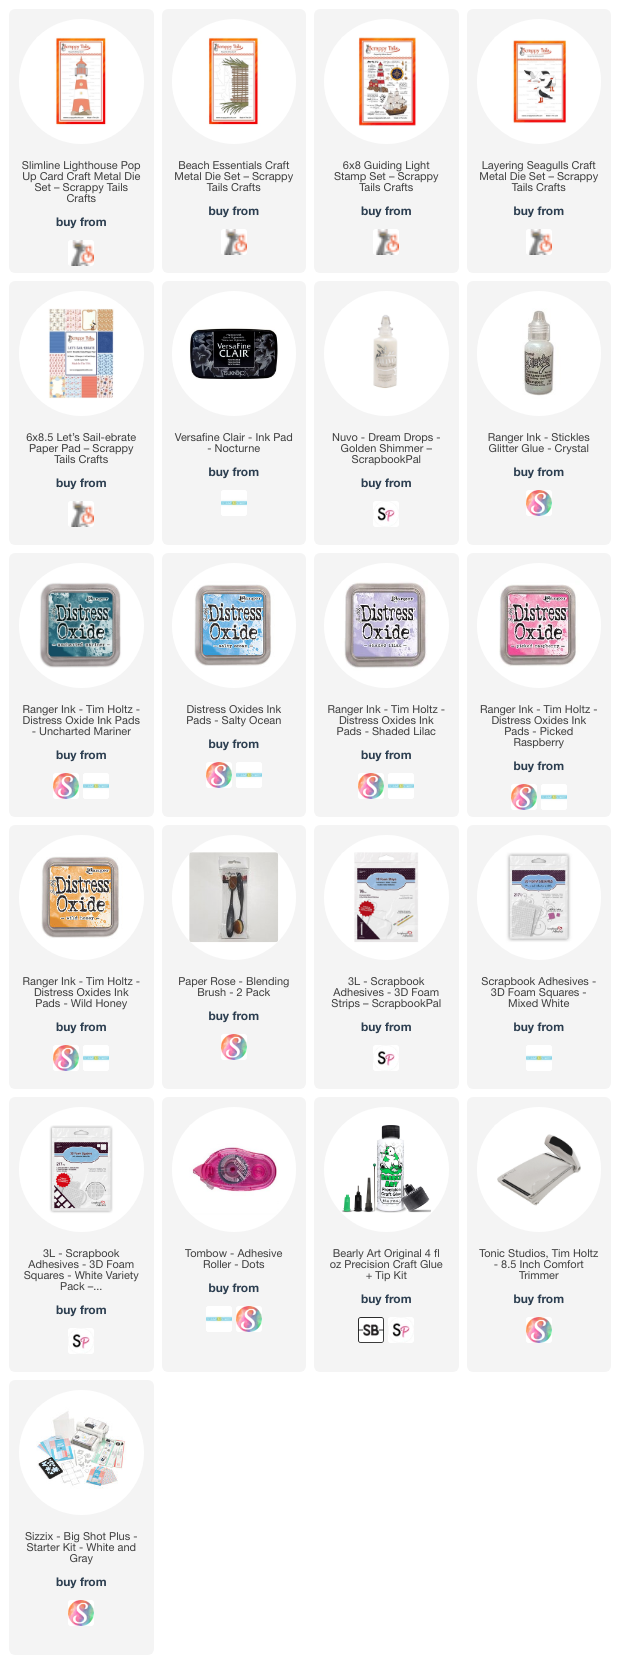
Supplies


Comments
Post a Comment
Please leave me a comment as I always love hearing from you! 😃