Spellbinders Susan's Garden Favorites Collection
Hello Crafters!
Today I have the second post for Spellbinders February release! I'm sharing products from the Susan's Garden Favorites Collection available in the Spellbinders' store now! I have 3 inspiration cards for you - I hope you like them!

All of these products can be found in the product list at the end of this post. Please feel free to click and shop. These are affiliate links, meaning that if you click on them and purchase something, I will earn a small commission at no additional cost to you. It simply helps me keep bringing you more inspiration! I appreciate any and all support - Thank you! 💜
For my first card, I've included a YouTube Video Tutorial below, if you are interested!
Watch the Video on YouTube

Like what you're seeing? Pin this picture for later on Pinterest!
CARD 1

For instructions on putting together this card please see the YouTube Tutorial linked above! I try my best to show you how I shaped the blue vellum Clematis flowers, which I think is key to making these flowers 3 dimensional and stand out on your projects. If you need to get a hold of a complete tool kit for making flower shaping easier, Spellbinders specifically carries one linked in the list at the bottom of the page. It has everything you need for shaping Susan's Garden flowers!
CARD 2

For this card, I started by cutting both Freesia petal layers out of pink vellum 14 times and the stamen piece out of plain vellum 14 times. I used my Spellbinders Tool N' One with the large stylus tip to shape my petals on a sponge mat. Then I assembled and adhered the layers together with the stamen using Bearly Art glue. NOTE: I made sure they were completely dry before attaching them to my card.
I ink-blended a 4.75" x 5.75" blush coloured cardstock panel with Victorian Velvet Oxide ink and a blending tool. I concentrated the colour on the outer edges of the panel and lightened the colour towards the center. I used the diamond border dies from the Spellbinders December 2021 Large DOM and cut out the inner border 4 times from Silver Mirror cardstock and the shadow border 4 times from white cardstock. I adhered the silver diamond border to the white shadow and then arranged them in a rectangle formation that fits in the center of the panel, cutting the left and right sides down to size and adhering the four sides together.
I foiled the sentiment with Spellbinders Blush Foil onto the same Blush cardstock used for the panel. I used the "thanks" plate from the Be Bold Glimmer Sentiments set and the sub sentiment from the Spellbinders Everyday Mini Sentiments set. Then I cut them out using their associated dies.
I adhered the diamond rectangle to the center of the panel and the sentiments with foam strips. I then arranged the Freesia flowers around the diamond frame with liquid glue. To add shine to the flowers I squirted some Mercury Glass Stickles onto a piece of cardstock and used a small paintbrush to apply the stickles glitter onto the flower petals. Finally, I adhered the panel to an A7-sized card and embellished it with some clear and AB gems.
CARD 3

I used the beautiful Peach Blossoms set for this card. I love the versatility of this set because you can use these small flowers for many different cards. This set is also nice because the petals and stamens come in one single die. So I only have to place the die down and run it through my machine once to get all the petals or stamen pieces. I cut the petals, leaves and stems out of white cardstock and the stamens out of brown glitter cardstock. I made two sets so I would get 2 stems. Now I personally wanted more flowers so I actually cut the petal plate 4 times to get about 9 flowers.
I ink blended the leaves and stem using Altenew Grass Fields and Paper Bag ink. And I did this by placing the die cuts back into their negative space and keeping them in place with some washi tape on the back. I also added ink to the centers of the petals with Altenew Rose Quartz and Pinkalicious ink. I shaped the petals and leaves using my Tool N' One Stylus and assembled them with Bearly Art glue.
For the background, I used the flower plates from the Spellbinders Glimmer Edge Flowers set to foil a powder blue cardstock panel with Spellbinders Opal Foil. I simply kept moving the plate around and foiled the entire piece. I cut out a slimline panel from this using the largest rectangle from the Fluted Classics Slimline die set.
For the sentiment I used the Spellbinders Sentiment Banner dies and plates with Rose Gold Foil on white cardstock. I assembled this banner with some foam strips to add dimension. Next, I arranged and adhered the stems, on either end of the blue panel, with foam strips. I adhered the flowers and the sentiment banner with liquid glue. And I added the leaves around the stem and flowers.
Finally I attached the panel to a matching 8.5" x 3.5" white slimline card base. And I embellished the panel with clear gems. I also added some small Boiled Sugar Baubles from Trinity Stamps.
That sums up my inspiration for the Susan's Garden Favorites Collection. These are some really cool products and all of the supplied are listed below.
Also, don't forget to check out/follow me on my Instagram account @deezinebyd. I will be posting reels of the 3 cards throughout the rest of this week along with more Spellbinders inspiration to come!


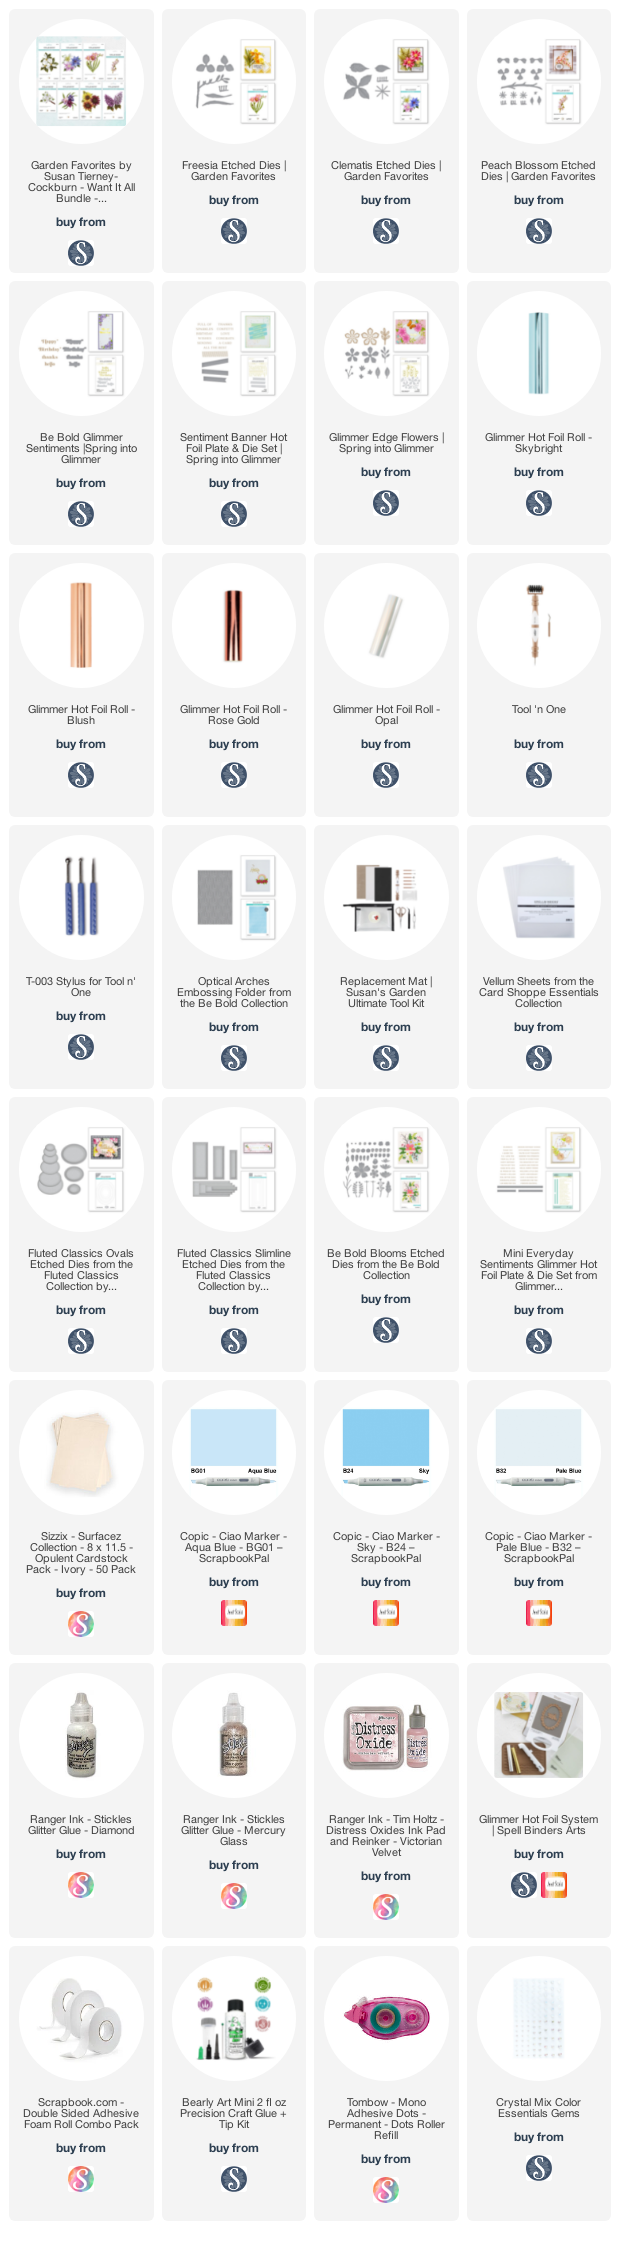
Supplies
(note: Any products not included here are linked within the blog text)


Comments
Post a Comment
Please leave me a comment as I always love hearing from you! 😃