Light Stenciling on Ink Blended Backgrounds | Make The Cards Challenge 53
Hello Again!
This week's Make The Cards Challenge 53 is a technique challenge and we're making ink blended backgrounds this time! Naturally, I grabbed my Distress Oxide Inks, since they blend so well. I created these backgrounds with a homemade die cut stencil and some heavy ink blending to create a tone-on-tone shadow look!

Challenge Post

Watch the Video Short on YouTube
.png)
Like what you're seeing? Pin this picture for later on Pinterest!
I made these A2-sized cards by creating 2 ink blended backgrounds in Prize Ribbon, Villainous Potion, Picked Raspberry, Wild Honey, Ripe Persimmon and Candied Apple. Then I created that leafy shadow by cutting out the Pinkfresh Studio Songbirds on Branches from thick white cardstock and using it as a stencil to add more ink over the corresponding areas of the panels. I moved the stencil around and flipped it so that the shadow would be seen behind the actual songbirds in the foreground. And finally I sprinkled some water droplets on the panels nd removed it with a paper towel.

I then took the Pinkfresh Songbirds on Branches foil plate and foiled the image twice on white Hammermill cardstock. I foiled one in Spellbinders Polished Brass and the other in Spellbinders Blush foil. I added ink with the coordinating stencils using my Altenew inks and small ink blending brushes. For the pink, blue and purple background I used Lagoon, Aqualicious, Pinkalicious and Purple Wine. And for the red, orange and yellow background I used Forest Glades, Evergreen, Fresh Lemon and Pinkalicious. I then used the amazing on piece coordinating die to cut out all images in one fell swoop!

I used the Pinkfresh Essential Scalloped Stitched Rectangles to cut 2 out of Sizzix Opulent Gold Mirror cardstock. I arranged those cute songbirds on branches and adhered them to each panel, popping the inner portions up with foam squares. I then attached the inner frames with foam stripes and glued down any pieces sticking up with Bearly Art Glue.


I added the sentiments which I had kept from previous projects. They were foiled and cut using the Pinkfresh Studio Perfect Sentiments Suite. One was foiled with Spellbinders Rose Gold Foil and the other with Polished Brass. I attached each panel to an A2 side folding card base and embellished them with AB Crystal Nail Art Gems.
And that's my inspiration for this challenge! I hope that this idea of making your own stencils for ink blending appeals to you and you can use it in your crafting!
I encourage you to check out the rest of the designer's inspiration and create your own card to link up to the challenge page for a chance to be the challenge winner.
As always, thanks for stopping by. And don't forget to leave me a comment, as I love hearing from you! And don't forget to follow me on Instagram @deezinesbyd!
I will also be entering these cards in the Pinkfresh Studio April Challenge! I saw these songbirds in the challenge photo and was inspired to create these beauties!
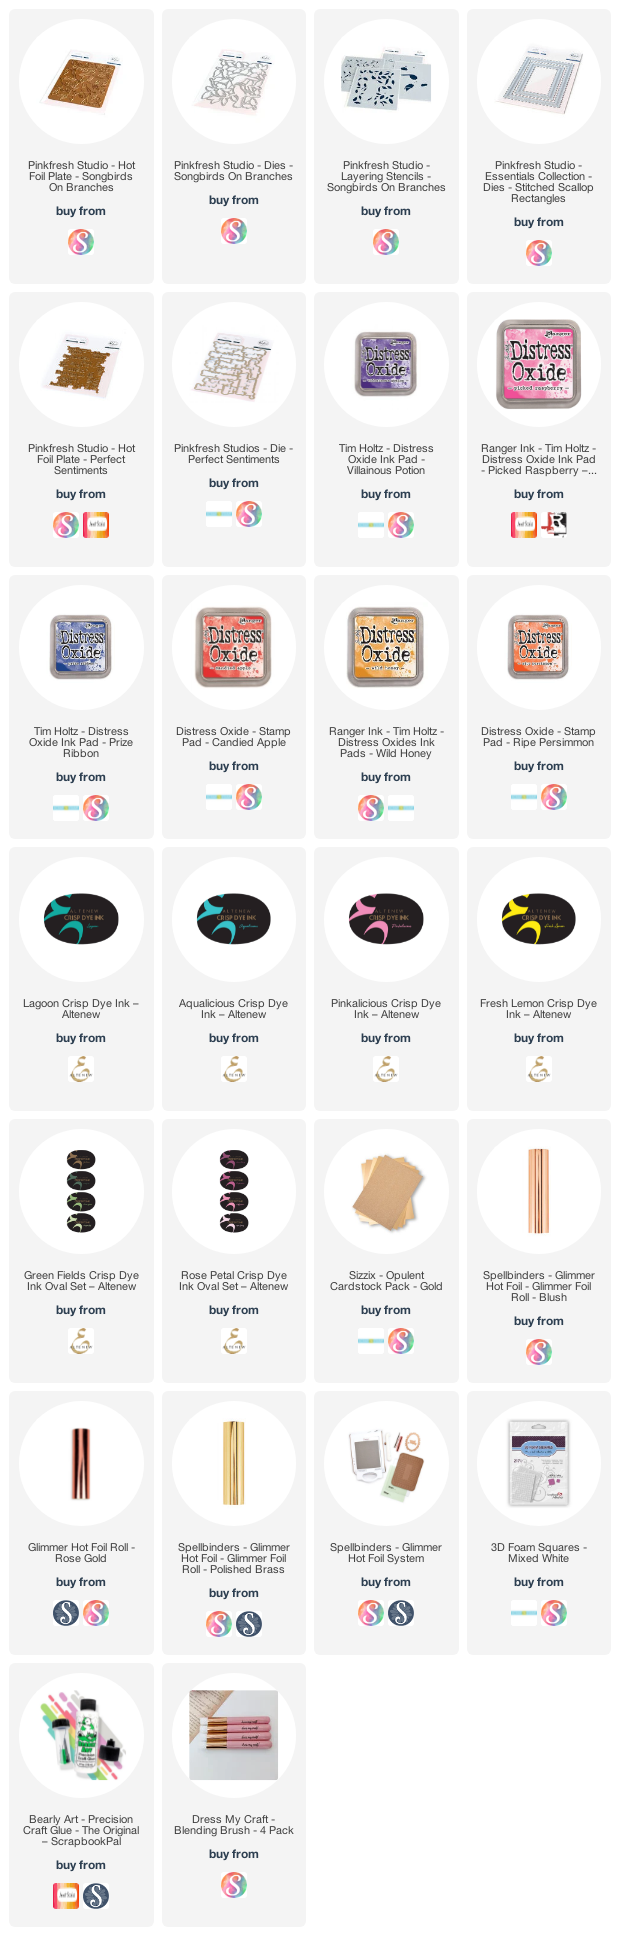
Supplies
(note: Any products not included here are linked within the blog text)


Wow, your cards are gorgeous! Your video is amazing too, you do such a great job showing your process in a quick way. Now I just need to get myself geared up to explore the whole foiling thing, still kind of intimidated by it!
ReplyDelete