7 Ways To Stitch Your Stitching Dies | Tips, Tricks & Patterns
Hello Friends!
I'm sharing some more card inspiration featuring Spellbinders products from the Stitched Alphabet Collection ! This card highlights some alternative stitching of these dies and I'm excited to share a YouTube video tutorial, where I show you how to achieve this and 6 other stitching patterns that you can use with your stitching dies. Along with some stitching tips and tricks, this video is jam packed with helpful material!

All of these products can be found in the product list at the end of this post. Please feel free to click and shop. These are affiliate links, meaning that if you click on them and purchase something, I will earn a small commission at no additional cost to you. It simply helps me keep bringing you more inspiration! I appreciate any and all support - Thank you! 💜
I've included a YouTube Video Tutorial below, if you are interested!
Watch the Video on YouTube
.png)
Like what you're seeing? Pin this picture for later on Pinterest!
Needles & Thread
.png)
.png)
.png)
And to add a touch of shine, you can use metallic threads instead or together with floss. I usually double up the thread in this case as it is usually thinner and risk of tearing your cardstock is low.
Starting and Ending Your Stitch
There are two techniques to start and end your stitching.
To START your stitch, you can...
1) Thread your floss through the first hole from the back to the front of the die cut letter and pull it so a bit of the string hangs out of the back. Attach a small piece of clear tape attaching the string to the back of the die cut letter. This reinforces the die cut letter, is transparent so cannot be seen and even if it covers your holes, your needle can pierce through it.
2) Thread your floss through the first hole from the back to the front of the die cut letter and pull it so a larger bit of string hangs out of the back. Now hold this in the center of the stitching area but lower down with your thumb and index finger and you complete the rest of your stitching. As you stitch the held piece will become woven in the stitching and will be held in place this way. Once you're done you can cut off any overhanging pieces.
To END your stitch, you can...
1) Simply pull the thread through the last hole and fasten it to the back of the die cut letter with clear tape. Cut off any overhanging pieces.
2) Pull the thread through the last hole to the back of the die cut letter and thread the needle under an already stitched stitch. Pull it through, but not all the way, to form a small loop, put the needle through the loop and pull tight to tie a knot. Do this twice to make a double knot and cut off the excess string.
To get a better idea, I encourage you to watch the YT video above!
Stitch Patterns


These are all of the stitching patterns that I go over in the video. For a better look, click the YT link above. All of the letters from the Stitched Alphabet Collection have this same configuration for the stitching holes. And all of the orange lines are where stitches should go. I chose the names for each stitch based on how each stitch looks, but you can call them whatever you'd like! 😊
Assembly
To create this card, I cut the stitched letters "h-e-l-l-o" and their shadows out of white cardstock. Since I was going to stitch them I chose a bit of a thicker cardstock for sturdiness. I chose to stitch all of the letters with the cross/flower stitch in soft colours of the rainbow. I then adhered the letters to the shadow pieces.

I used an older Glimmer Plates set by Spellbinders called Glimmer Daisies to foil 5 flowers in Aura foil and cut them out with the coordinating dies. I added ink with a small blending brush in the following Altenew colours that matched the colours of floss I used: Rose Quartz, Vanilla Cream, Frayed Leaf, Sea Glass and Soft Lilac. I assembled the daisies with Bearly Art Glue and also foiled and cut some leaves but left them white.

For the background, I embossed an 8.75" x 3.75" white cardstock panel with the Radiant Burst embossing folder (April 2022 Embossing Folder of the Month). I attached this to a 9" x 4" white slimline card base. I positioned the letters and also attached the Happy Birthday sentiment from the Mini Everyday Sentiments set (foiled with Aura foil also). I adhered the daisies and leaves with small foam squares and added small AB Crystal gems to the flower centers. Finally, I added some Nuvo Jewel Drops to match the rainbow of colours in Rose Water, Limoncello, Key Lime, Sea Breeze and Pale Periwinkle.
I really hope that this post has been helpful, along with the video tutorial. Changing up your stitching can create so many different looks. I hope these ideas and tips can help avid crafters with new ideas and/or anyone looking to delve into the stitching die world! All of the products used here have been listed below - Happy Shopping!
Also, don't forget to check out/follow me on my Instagram account @deezinesbyd. I will be posting reels of these and other creations featuring this months' Spellbinders release throughout the month!
Have a Great Day!
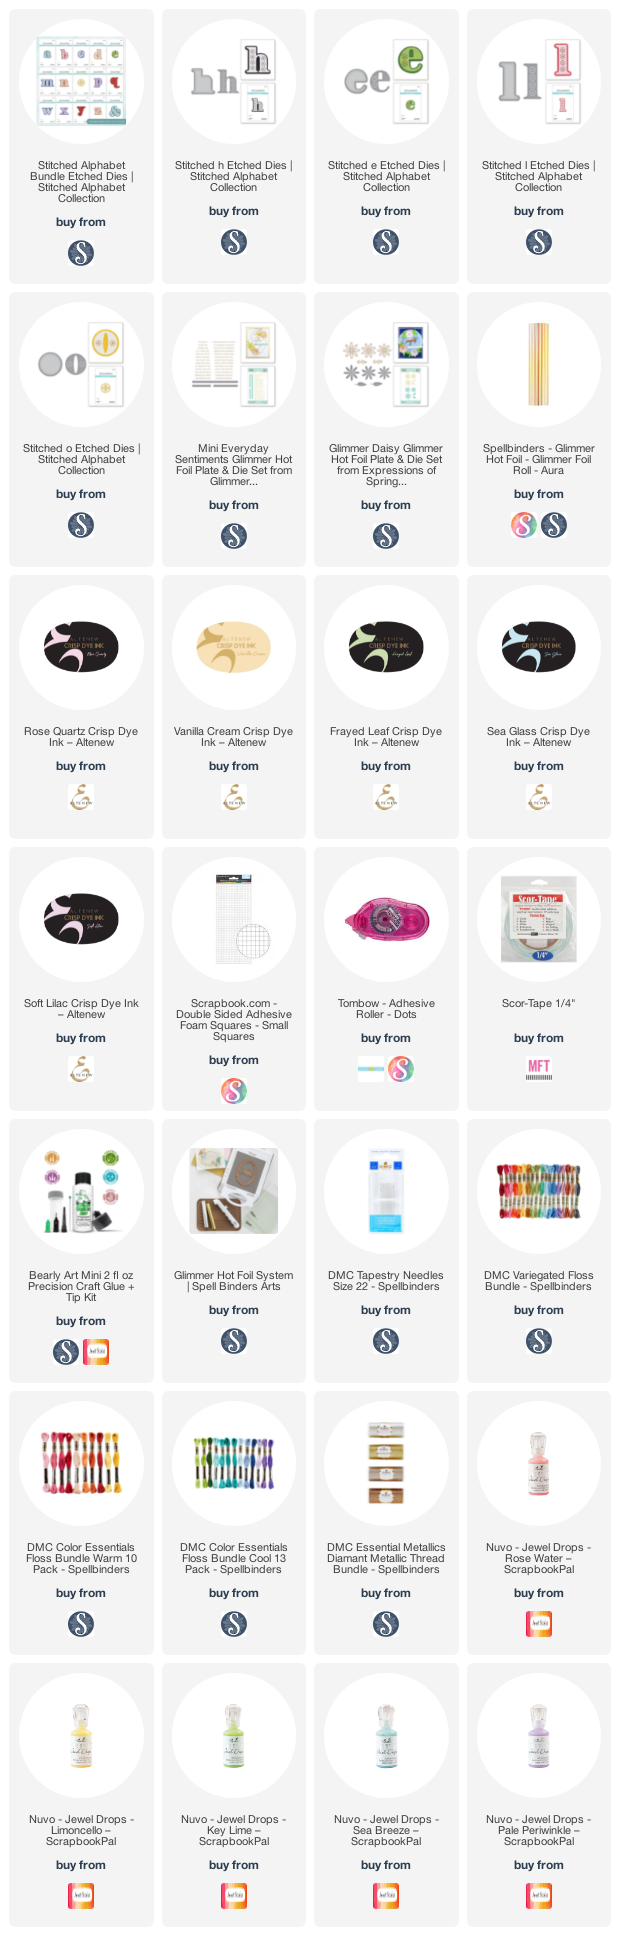
Supplies
(note: Any products not included here are linked within the blog text)


Comments
Post a Comment
Please leave me a comment as I always love hearing from you! 😃