Hello and Welcome!
Today I have my final bit of inspo for the Spellbinders April 2022 Release featuring the Through The Garden Gate Collection available in the Spellbinders' store now! These floral dies by Susan are absolutely stunning and I find that all it takes is a little practice when shaping these petals and leaves. I'll show you how I shaped the beautiful Floribunda Rose 2 ways - you can choose which one you like best! Here are 2 more card ideas, one of which I have a YouTube Tutorial below.
All of these products can be found in the product list at the end of this post. Please feel free to click and shop. These are affiliate links, meaning that if you click on them and purchase something, I will earn a small commission at no additional cost to you. It simply helps me keep bringing you more inspiration! I appreciate any and all support - Thank you! 💜
I've included a YouTube Video Tutorial below, if you are interested!
Watch the Video on YouTube
Like what you're seeing? Pin this picture for later on Pinterest!
Card 1
For my first card, I featured the Floribunda Rose and Forget-Me-Not Flowers. I added some Altenew inks to the white die cut pieces, shaped and assembled them. Then I added them to this beautiful Gold Pearl cardstock, along with an altered Half Slimline Oval Frame cut from Brown Glitter Foam (also released this month). You can find the detailed process in the YouTube Tutorial linked above!
Card 2
Susan's beautiful flowers look so stunning and realistic however, I'm always looking for ways to get extended use of my products and create unconventional stunning looks for my cards. So for my second card, I ditched the inks and different coloured cardstocks and basically chose a deep/navy blue for my palette. To highlight the blue and allow these beautiful Beeblossom flowers to stand out, I cut out the leaves from some Sizzix Opulent Charcoal Matte cardstock. After cutting out all the elements using Susan's Beeblossom die set, I shaped all of the flowers and leaves using the medium sized stylus attachment on Spellbinders' Tool N' One. I assembled these flowers by gluing the stamen into a cylinder and attaching it to the centers of the flowers. I like to use Tombow Mono Liquid Glue for putting these flowers together because it tends to get quickly tacky, which is perfect for keeping the shape of the flowers.
While the flowers dry, I cut a 5" x 7" white card base and foiled the "hello" from the Be Bold Glimmer Sentiments set and the sub-sentiment from the Mini Everyday Sentiments set in Silver Foil. I cut a panel and cut it at a diagonal so it would fit on the card base front and allow the sentiment to show through along with a 1/8" border. I used the same colour cardstock I used for the flowers. I embossed this panel with the Geo Screen Embossing Folder and attached it to the card base. By this time the flowers had dried and I added them and the leaves to the card base along the diagonal line of the blue cardstock. I embellished this card with Pinkfresh Studio Metallic Silver Pearls and some small white Nail Art Florals I got from Amazon. I've been waiting to use these and thought they'd be perfect on that navy blue cardstock.
And that is my card inspiration for the Susan's Through The Garden Gate Collection! I hope you have been inspired! All of the products used here have been listed below - Happy Shopping!
Also, don't forget to check out/follow me on my Instagram account @deezinesbyd. I will be posting reels of these cards and inspo for Spellbinders next release in the coming weeks!
Have a Great Day!
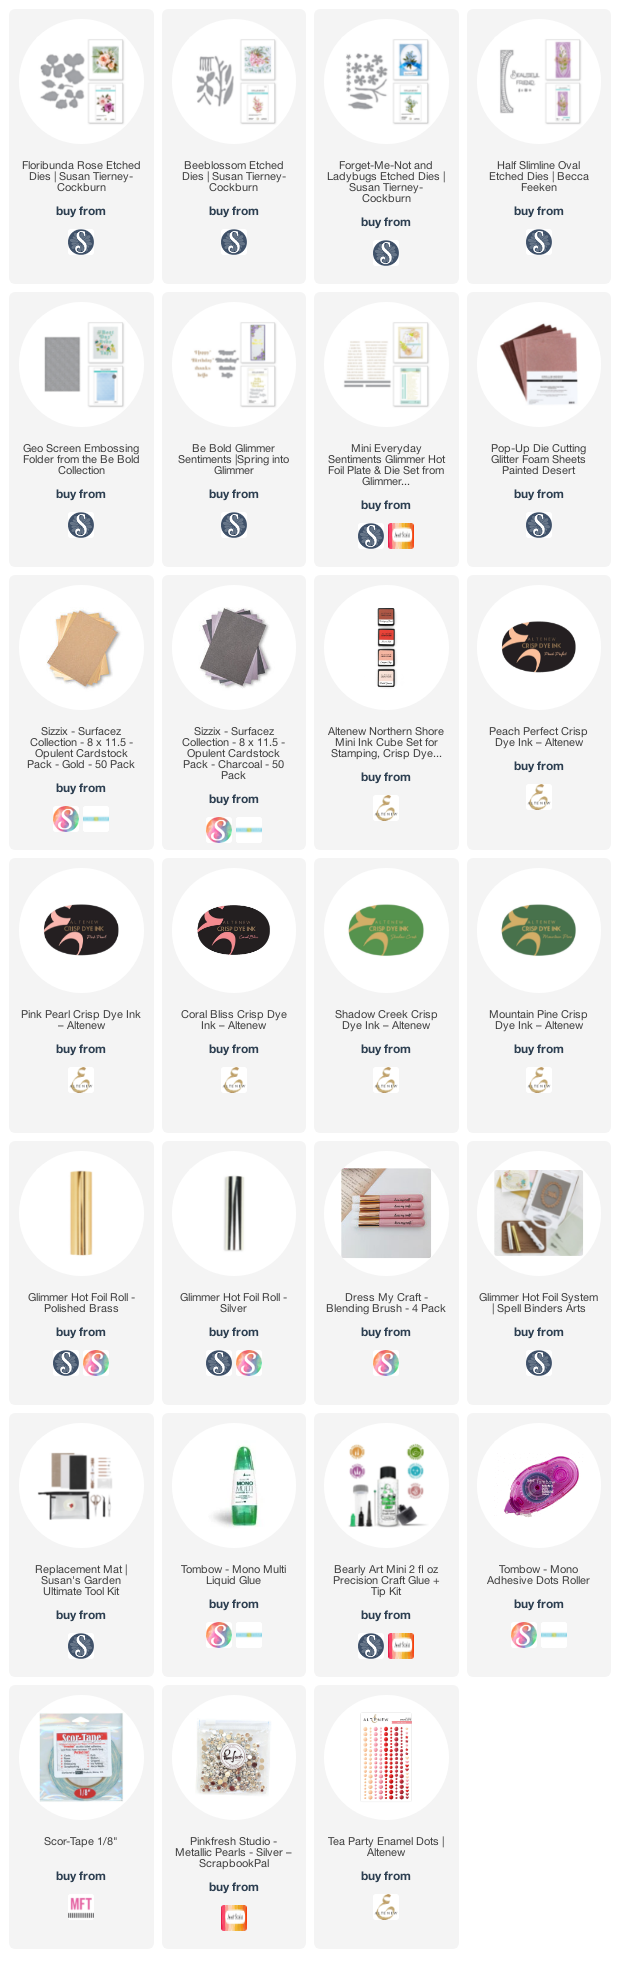
Supplies
(note: Any products not included here are linked within the blog text)
.png)
.png)
.png)
.png)
.png)
.png)


Comments
Post a Comment
Please leave me a comment as I always love hearing from you! 😃