Stitched Letter Focal Point Cards Using Glitter Foam | Spellbinders Stitched Alphabet Collection
Hello Friends!
I have some card inspiration featuring Spellbinders products from the Stitched Alphabet Collection available in the Spellbinders' store now! These stitching dies are so versatile and they can be used in different ways. Each letter is sold separately and they are fair-sized so you can make monograms or large sentiment cards with them! I have 3 cards to share with you and for one, I have a YouTube Tutorial that you can watch!

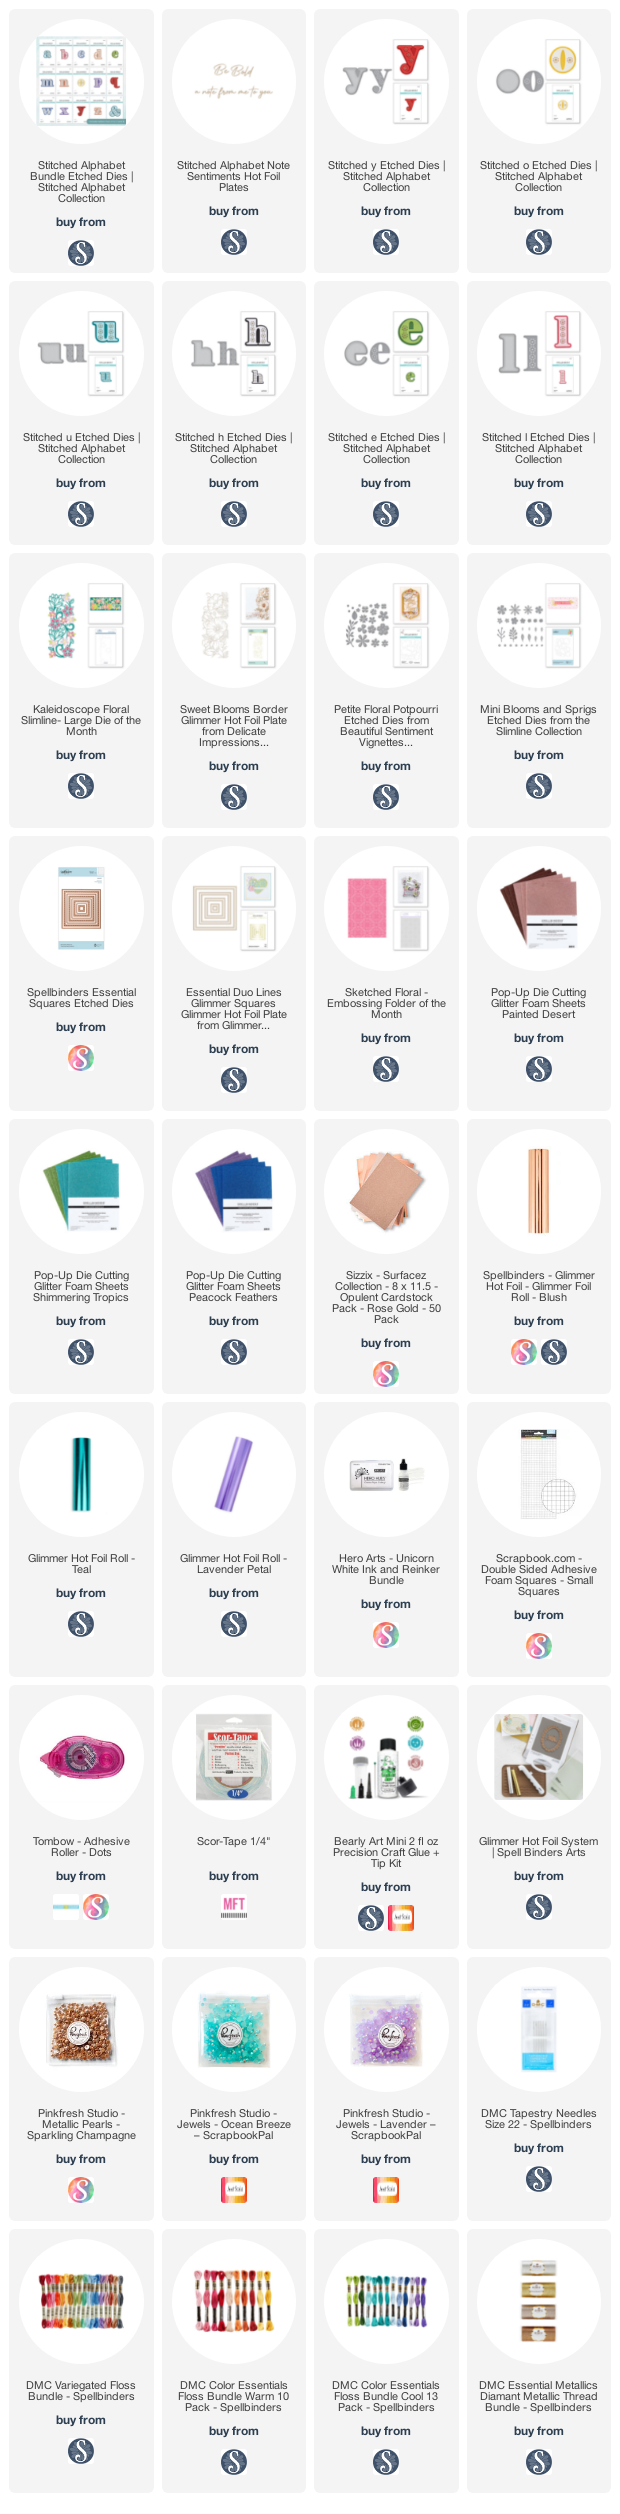
All of these products can be found in the product list at the end of this post. Please feel free to click and shop. These are affiliate links, meaning that if you click on them and purchase something, I will earn a small commission at no additional cost to you. It simply helps me keep bringing you more inspiration! I appreciate any and all support - Thank you! 💜
I've included a YouTube Video Tutorial below, if you are interested!
Watch the Video on YouTube
.png)
Like what you're seeing? Pin this picture for later on Pinterest!
Card 1

I decided to make this card with my favourite colour, rose gold! I used the " Y-O-U" stitching dies from the new release and cut them out of Spellbinders Glitter Peach Foam and the shadow out of some Rose Gold Mirror Cardstock. I added stitching with white floss and I foiled the background with the older Sweet Blooms Border foil plate in Blush foil. I added the foiled sentiment from the Stitched Alphabet Note Sentiments set. Finally I added some metallic and pearl flowers from the Mini Blooms and Sprigs and Kaleidoscope Floral Slimline sets. You can find a more detailed process in the YouTube Tutorial linked above!

Card 2

For this card, I tried to make it a bit more trendy and bold like the sentiment says from the Stitched Alphabet Note Sentiments set. I cut the "h-e-y" out of Spellbinders Glitter Teal Foam and stitched it using a diagonal stitch in white floss (for details on this stitching pattern, stay tuned for my next post that will go over this and many more stitching patterns!) I foiled and cut the Be Bold sentiment in Teal Foil. I also cut the light teal oval out using the two largest dies from the Fluted Classics Ovals Die set, and foiled in it matching foil using the largest oval from the Essential Duo Lines Glimmer Ovals set. I took my 6 stitched letter dies and cut 2 of each out of some teal cardstock. I then adhered them in a random fashion onto a 5" x 7" white card base. I attached the oval in the center with some foam strips and adhered the stitched letters and foiled sentiment. I finished this one off with some Pinkfresh Studio Ocean Breeze Jewels and some white and teal crystal gems.

Card 3

For my final card, I used the Stitched h Dies to cut the letter out of Spellbinders Glitter Purple Foam and the shadow out of Tim Holtz Purple Jewels Kraft-stock. I stitched the letter using white floss and a fan pattern (for details on this stitching pattern, stay tuned for my next post that will go over this and many more stitching patterns!) I adhered the stitched letter to the shadow piece with strong double sided adhesive. Next I foiled the second largest square from the Essential Duo Lines Square Hot Plates in Lavendar Petal Foil and cut it out with the corresponding die from the Essential Squares Die set. I cut 6-8 foliage leaf pieces, using a die from the Petite Floral Potpourri Die set, out of the same light purple cardstock as the square piece. I attached these foliage pieces randomly and cut the edges straight to create a faux embossed look. I adhered the h to the square piece along with a sentiment from the Mini Everyday Sentiments set.
For the background, I cut a 6" x 6" white card base and a 5.75" x 5.75" darker purple cardstock panel. I embossed the panel by adding Hero Arts White Unicorn Ink to the debossed side of the Sketched Floral Embossing Folder, adding the panel and running it through my die cutting machine with the correct sandwich. This technique helps the embossing stand out as it lightens the background of the panel. Finally, I attached the square with the sentiment to the center of the embossed panel and attached this to the card base. I embellished it with Pinkfresh Studio Lavendar Jewels and smaller clear white gems.

And that is my card inspiration for the Stitched Alphabet Collection! I hope you have been inspired! All of the products used here have been listed below - Happy Shopping!
Also, don't forget to check out/follow me on my Instagram account @deezinesbyd. I will be posting reels of these and other creations featuring this months' Spellbinders release throughout the month!
Have a Great Day!
Supplies
(note: Any products not included here are linked within the blog text)


Comments
Post a Comment
Please leave me a comment as I always love hearing from you! 😃