Hello Friends!
I'm continuing Spellbinders 20th Birthday Bash with this post featuring the Craft Your Birthday Celebrations Embellishments Bundle available with the Birthday Celebrations Collection released this month. This bundle has a bunch of coordinating products (paper, foiled die cuts, stickers, etc.) which make quick cardmaking super easy to do. I only made 5 cards today but I'm sure you could easily get 20 out of this bundle! Keep in mind, I was only intending to make 3 but had to add on 2 more since I was having so much fun!
All of these products can be found in the product list at the end of this post. Please feel free to click and shop. These are affiliate links, meaning that if you click on them and purchase something, I will earn a small commission at no additional cost to you. It simply helps me keep bringing you more inspiration! I appreciate any and all support - Thank you! 💜
The Celebrations Embellishment Bundle!
.png)
Don't forget you can get 20$ off your 100$ purchase and there's no code required; it's automatically deducted at checkout! This applies to the glimmer machine and die cutting machines also so if you've been thinking about getting one, now is a great time!
I've included a YouTube Video Tutorial of the first card below, if you are interested!
Watch the Video on YouTube
Like what you're seeing? Pin this picture for later on Pinterest!
I'll give a quick run down of each card on here but if you want a more detailed look, I highly recommend checking out the YouTube Video linked above!
Card 1
For this card, I pulled some of the cute tags and little tickets from the ephemera pack. I used them to create an organized background propped up with foam for dimension. I made this one on a 5" x 7" card base so my 6" x 6" paper pad was just an inch shy of the vertical dimension. I made it work by adding a little scalloped border at the bottom in pink which was included in the sticker pack. Then I had to finish this one off with those pretty Bisque Confetti Embellishments and come of those puffy heart stickers.
Card 2
On this card, I chose the pink foiled patterned paper and cut the top and bottom about 1/2" to fit this unconventional 5" x 6" card base. I used this size since it worked with the ephemera pieces I added on top. I can always stick this in a 5" x 7" envelope or make my own custom envelope to match. I added the main sentiment card with the little banners sticking out to the right - all adhered with foam. Then I embellished this one with some foiled star stickers and those puffy rainbow stickers.
Recall the two strips we cut from the patterned paper - well, I added them to the top and bottom of the card inside. Along with some more rainbow stickers on the bottom left of the card, this added touch coordinates the inside with the outside.

Card 3
So I had to make a mini slimline too! I love variation and showing you how you can create so many different shapes, sizes, styles, etc. with these sets. My card base was white, 6.5" x 4" and I added two pink strips of cardstock that matched the patterned paper I chose to cover the entire front. I added the main sentiment and extra ephemera. Finally, I added the flower from the sticker pack which coordinates so nicely and some small clear gems.
Card 4
I went a step further for this one and foiled a pink cardstock panel with the Spellbinders Diagonal Glimmer Stripes Foil plate in Polished Brass Foil. I did this to match the diagonal triangle patterned paper that comes with this bundle. I then cut both the foiled cardstock and the pattern paper and pieced them together on an A2-sized white card base, cutting off the overhanging bits. I added the sentiments from the ephemera pack with foam and the "HBD." from the Foam Glitter Letters Sticker pack. I have to mention how gorgeous these letters are - they are a must have and love when Spellbinders includes these in their kits! I added a gold glitter strip on the join of the two papers using the Gold Glitter Cardstock from last year's All Aboard Card kit. Finally, I embellished this with the Bisque Confetti.
Card 5
I had to make this final card since the rainbows in this bundle coordinate so nicely. I added the rainbow paper to an A2-sized pink card base and added my ephemera trying my best to go for the layered look, kind of like what you see in scrapbooking. I'm really trying to get better at this technique and these fun products made me want to try this out. Once I had everything where I wanted it, I added foam and glue to adhere it all down. Of course I had to add those puffy rainbow stickers and I also embellished the front with black gems to go with the sentiment.
Again I took the opportunity to use the patterned paper that I cut from the front and attach it to the inside of the card to carry the design through to the inside. I also added a white panel of cardstock to the inside with the pink peaking through as a border, making it easier to add more verbiage later on.

And voila! That's 5 quick cards made with this great bundle of products. It's definitely a great bundle to have on hand, especially since birthdays are year round! I think it's also good to know that you can buy the items in this bundle separately as well. All of the products used here have been listed below for your shopping convenience!!
Also, don't forget to check out/follow me on my Instagram account @deezinesbyd. I will be posting reels of these and other creations for future releases!
Have a great day and I hope to see you again!
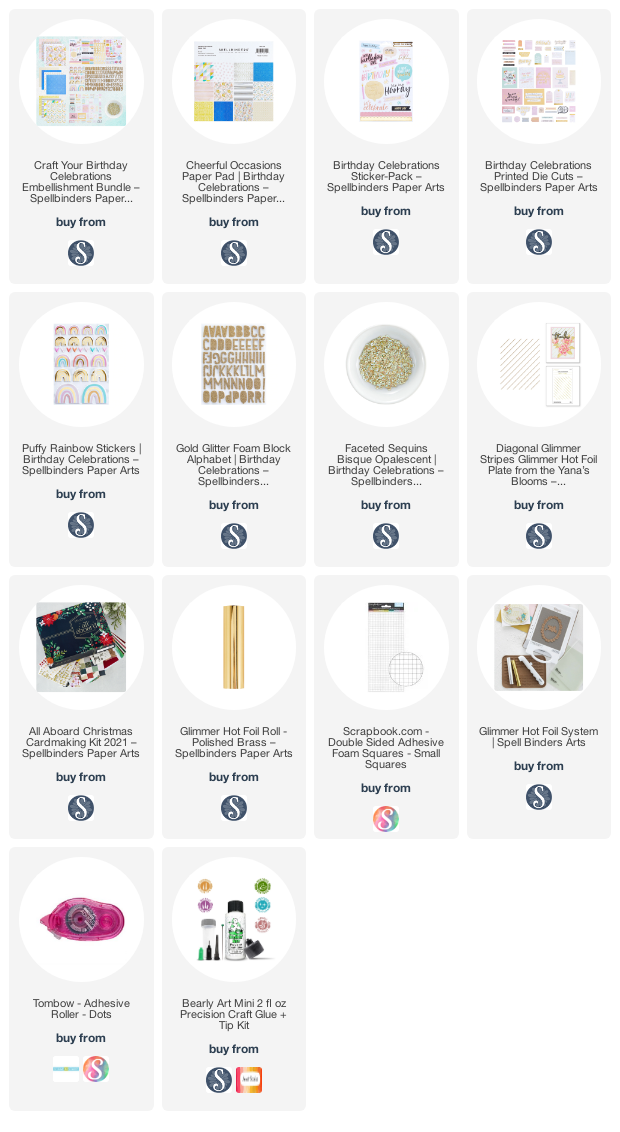
Supplies
(note: Any products not included here are linked within the blog text)

.png)
.png)


Comments
Post a Comment
Please leave me a comment as I always love hearing from you! 😃