Colouring Layered Die Cuts For a Realistic Look | Scrappy Tails Crafts
Hello Friends!
I'm sharing two cards that feature the new Tropical Bliss Collection by Scrappy Tails Crafts. This release is a large one and is full of beautiful birds, flowers, greenery, surf gear and of course pop-up vases!! My cards highlight the hibiscus flowers in both layered die cuts and foil plates! Today I'm going to show you how to use alcohol markers to give your flowers more of an artsy, realistic look.
.png)
Scrappy Tails Tropical Bliss Collection Save 5% Bundles
.png)
.png)
.png)
Watch the Video Tutorial on YouTube
👇CLICK HERE👇
.png)
Like what you're seeing? Pin this picture for later on Pinterest!
For both of these cards, I used the hot foil plates to create a foiled background and then added a focal point with the Layered Hibiscus Flower dies. I cut all of the layers out of white cardstock and assembled them (for help with assembly, click the YouTube link above to see the Tutorial). I then coloured them in with alcohol markers. I had never realized the wide variety of colours that these flowers come in. And apparently there are also colour changing hibiscus flowers. Anyways, I saw these blue-purple flowers and white-pink flowers and I used a flicking technique to add an artsy feel to these Hibiscus!
.png)
For the first card, I used Spellbinders Prism Foil and foiled a white Hammermill Cardstock panel with the leaf frond from the Hibiscus Hot Plate set. I then foiled over the background with the Sentiment in Black foil. I coloured in the flowers with Copic Ciaos and attached them to the panel with foam squares and matted the panel onto a purple 5" x 7" card base. I also added some Diamond Stickles to the center of the flowers and some Pinkfresh Studio Lavender Jewels.
.png)

For the second card, I used Spellbinders Pink Foil and foiled a Grey Cardstock panel with the two flowers from the Hibiscus Hot Plate set. I then heat embossed with Ranger Princess Gold EP the sentiment from the Tropical Bird Stamp set. And I cut it out using the coordinating dies. I coloured in the flowers with the Spectrum Noir Magenta Blend marker and attached them to the panel with foam squares and matted the panel onto a white 5" x 7" card base. I also added some Diamond Stickles to the center of the flowers, Mercury Glass Stickles to the stamen and some Pinkfresh Studio Glacier Jewels.

For more tips, tricks and details of how to put this card together, just click the YouTube link above!
I hope you've been inspired to make something similar yourself. All of the products have been linked below for your shopping pleasure!
As always, thanks for stopping by. And don't forget to leave me a comment, as I love hearing from you! And don't forget to follow me on Instagram @deezinesbyd where you'll find a short reel for this card!
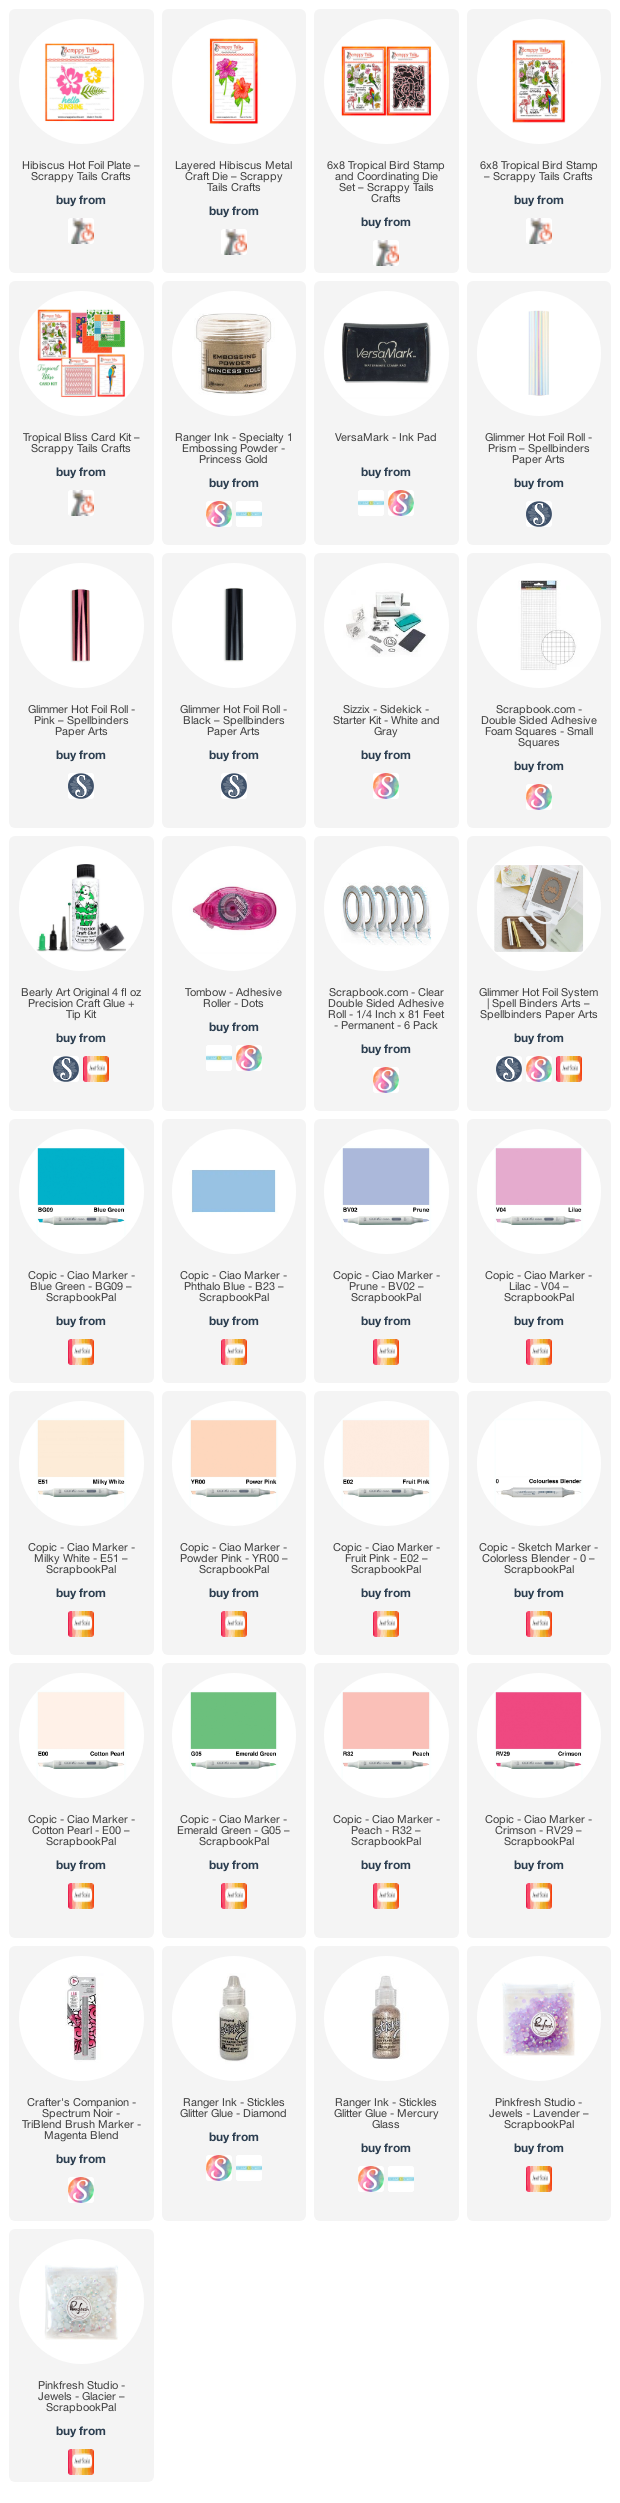
Supplies
(note: Any products not included here are linked within the blog text)


Comments
Post a Comment
Please leave me a comment as I always love hearing from you! 😃