Way To Flamingo! | The Maker's Movement
Hello Crafters and Welcome!
Today I'm sharing this cute flamingo card featuring some more products from the Summer Collection by The Maker's Movement. Doesn't this little guy look ready for summer with those sunglasses!? There's nothing else to say but - Way to Flamingo!

Shop The Maker's Movement Summer Collection
.png)
Watch the Video Short on YouTube
.png)
Like what you're seeing? Pin this picture for later on Pinterest!
My first step was to use the Maker's Movement Flamingo stamp and die set to stamp out the flamingo, sunglasses and lots of those leaves and hibiscus flowers. The fastest way to do this was to take a long panel of white cardstock (I usually turn to my scraps in an effort to use them up). I lined up the 2 leaves and the flower in a row on my MISTI and then just moved my white panel up after each time I stamped out the images. I used Memento Tuxedo Black ink since I knew I'd be Copic colouring these images, or any alcohol colouring safe ink will do. After doing this I coloured in my images with simple colouring with my Copic Ciaos in the following colours:
flamingo: RV23, RV21, RV42, R02, 100 (beak)
leaves: YG06, G05, G17
hibiscus: BV04, B32, RV10, RV42, RV23, stamen - YR02, Y02
I also like to add some highlights with a white Gelly Roll Pen since I've pretty heavy handed with my colouring.
Now here's another neat trick for speeding up this process. It's important to note that lining the images up and stamping them out is key to this method. The reason why is that you can line up the dies on the images and attached them to each other with a long piece of washi tape or any low tack tape. This way, after cutting a row, you can pick up the 3 dies which are already lined up and connected by the tape and just place them on the next row for cutting. So I save time by not having to line up each die individually each time.

For the background, I ink blended a 5" x 7" white cardstock panel with Pine Needles, Rustic Wilderness and Twisted Citron Oxide Inks. I attached this to a side folding 5" x 7" white card base. I also cut a frame of white cardstock with my paper trimmer that is about 4-3/4" by 6-3/4" and I cut a 3-3/4" by 5-3/4" rectangle from the center. I attached it to my card base with foam adhesive for some dimension.
I heat embossed the sentiment "Way to Flamingo!" from the Flamingo stamp and die set in Hero Arts White Fine Detail embossing powder on black cardstock. I cut it down to size and adhered it as a long strip across the frame on the card base. I then arranged and adhered the coloured die cut leaves, flowers and flamingo on the card base.

Finally, I embellished this card with some light topaz gems and added some Diamond Stickles to the flowers and Pink Taffeta Stickles to the flamingo wing. And that's all it took to create this highly encouraging flamingo tropical card! I hope you've been inspired to make something similar yourself. All of the products have been linked below for your shopping pleasure!
As always, thanks for stopping by. And don't forget to leave me a comment, as I love hearing from you! And don't forget to follow me on Instagram @deezinesbyd where you'll find a short reel for this card!
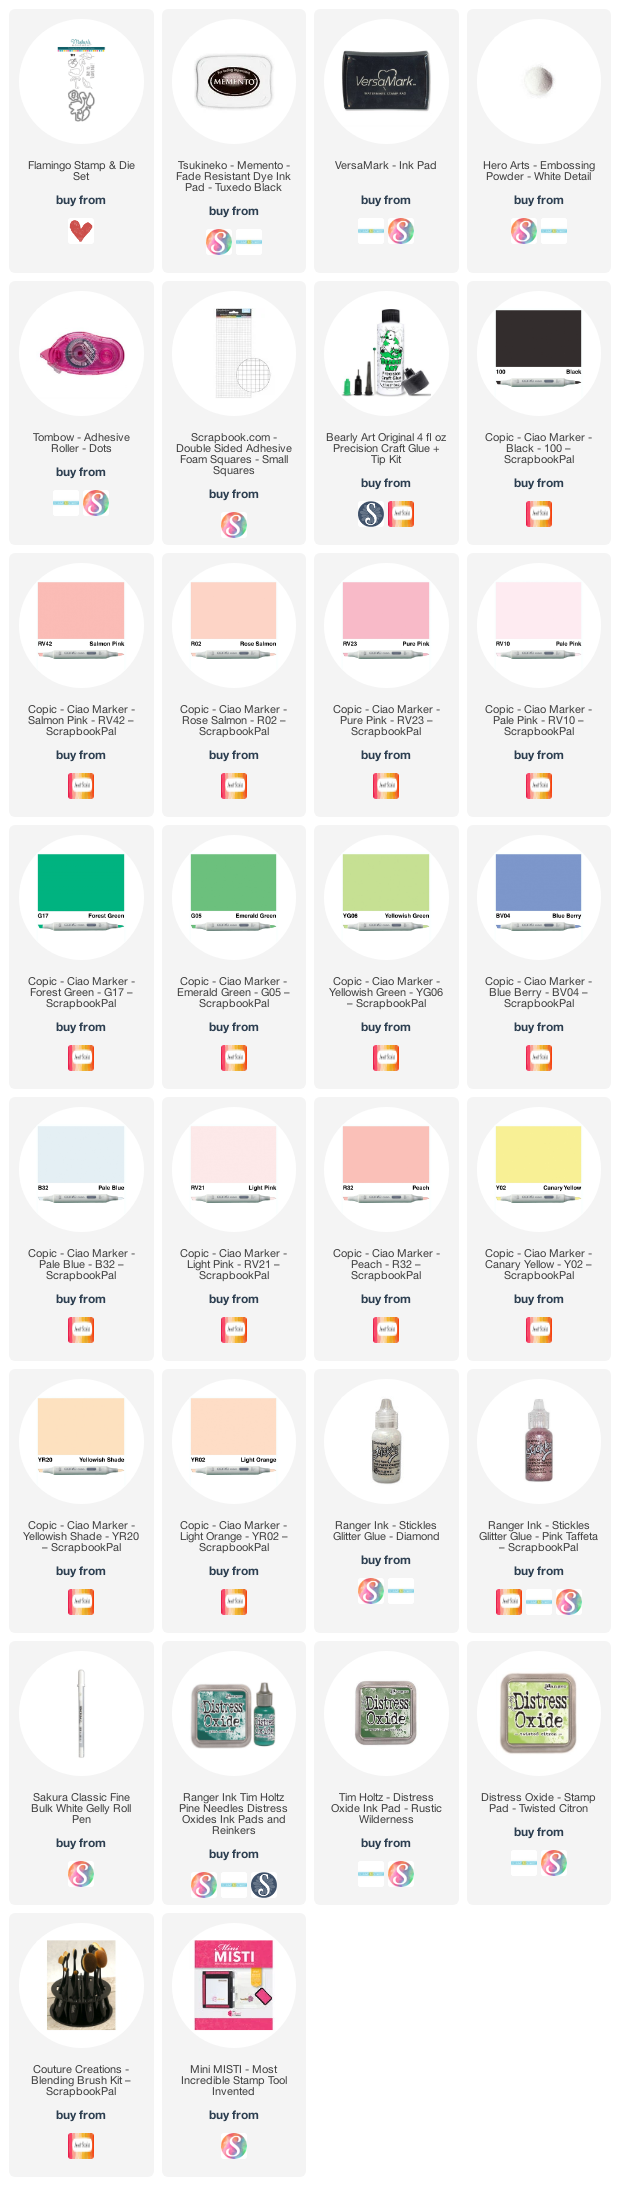
Supplies
(note: Any products not included here are linked within the blog text/or are linked to something similar)


Comments
Post a Comment
Please leave me a comment as I always love hearing from you! 😃