Hello Friends!
Well, it's Christmas in July and I'm so excited to share these cards featuring products from the Glimmer Greetings Collection available in the Spellbinders' store now! These foil plates are so fun to work with and build upon with other dies from this and past collections! I have 3 cards to share with you and for one, I have a YouTube Tutorial that you can watch!
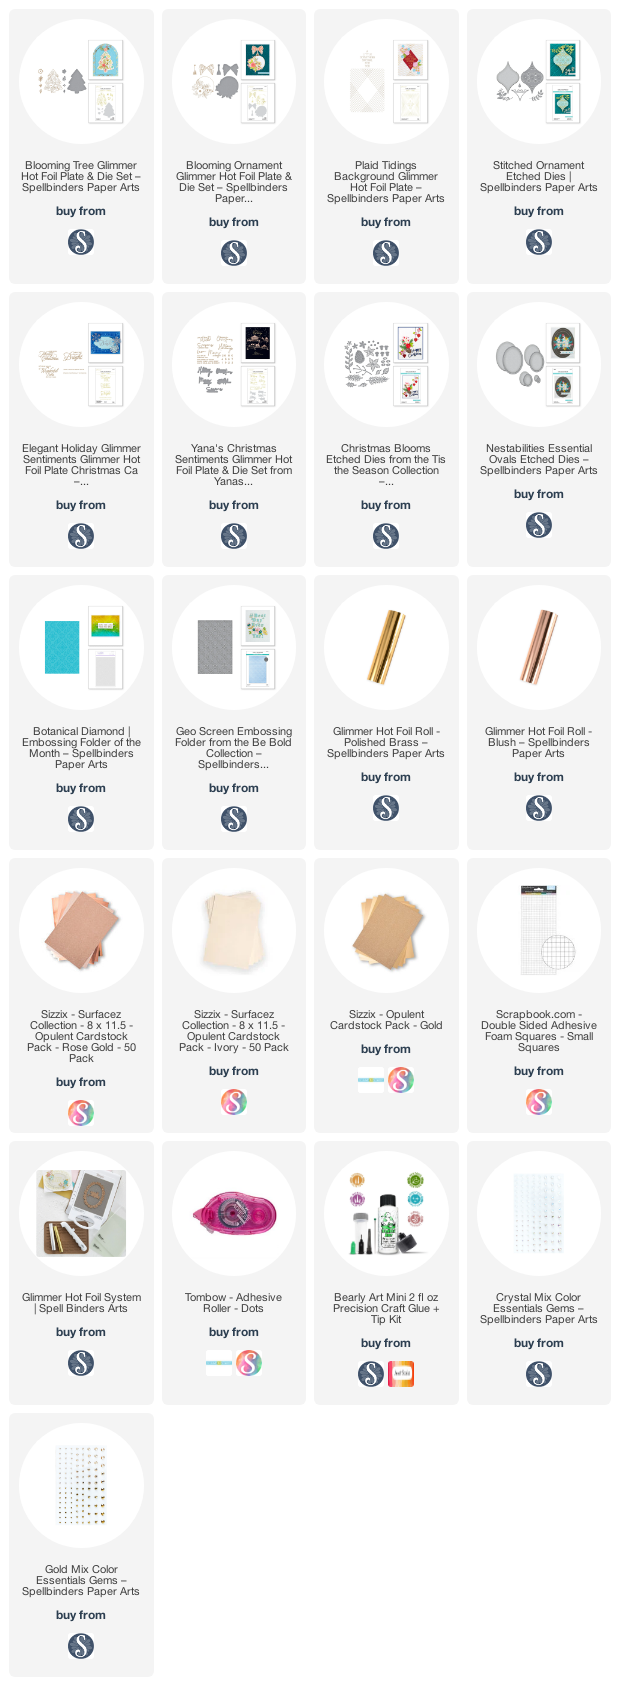
All of these products can be found in the product list at the end of this post. Please feel free to click and shop. These are affiliate links, meaning that if you click on them and purchase something, I will earn a small commission at no additional cost to you. It simply helps me keep bringing you more inspiration! I appreciate any and all support - Thank you! 💜
I've included a YouTube Video Tutorial of the first card below, if you are interested!
Watch the Video on YouTube
Like what you're seeing? Pin this picture for later on Pinterest!
Card 1
My first card uses the Blooming Tree from this collection along with the Botanical Diamond embossing folder (June 2022 Embossing Folder of the Month). I have a YouTube video linked above outlining the creative process for this one. I highly recommend checking it out as I talk about foiling on inked cardstock and adding ink to foiled images. I also show you how to use a diffuser with your embossing folders. My videos also include lots of tricks and tips, so you'll never leave empty-handed!

Card 2
For my second card, I used the Blooming Ornament from this collection. I foiled it with Blush foil along with the bow and ornament topper on white cardstock. I then used Pigment Craft Co. inks in Aloe, Lagoon, Juniper, Medina, Himalayan and Blush to watercolour the images with a water brush. I did not use watercolour cardstock because I wanted the images to foil well and needed smooth cardstock. So because of this, I had to make sure not to saturate my image too much or the ink would bleed into unwanted areas. Water colouring like this means using minimal water. I cut the images out with the coordinating dies from the set once the images were dry. I also die cut some pine branches from Sizzix Opulent Rose Gold Mirror and Glitter cardstocks using dies from an old Spellbinders Christmas Card Kit (discontinued) and the Spellbinders Christmas Blooms die set.
I foiled the sentiments in Blush foil also using Yana's Christmas Sentiments set and cut them out with the coordinating dies from white cardstock inked up with Pigment Craft Co. Aloe ink. I also cut an extra piece from cardstock inked up with Pigment Craft Co. Juniper ink and attached it behind the sentiment in an offset fashion to create a shadow. I inked up a 5.75" x 3.75" white cardstock panel with Pigment Craft Co Blush ink and dry embossed it in the Geo Screen embossing folder before it completely dried so it was pliable. Doing this means I don't need to add any water as the paper doesn't crack since it is partially wet. I backed this panel onto a 6" x 4" mini slimline white card base and propped up the ornament with foam squares. I added the pine branches with Bearly Art glue and added the sentiments with foam strips. Finally, I embellished this card with some clear gems and Diamond Stickles.

Card 3
For my final card, I die cut the Stitched Ornament from the Spellbinders Stitchmas Christmas Collection (I'll have a post for this soon) out of Ivory Glitter cardstock. I used this stitching ornament without stitching on this card and it still looks stunning! So if you're not a fan of stitching, who says stitching dies aren't for you!? I cut the details for this ornament from Rose Gold Mirror cardstock and assembled the ornament. This card features the Crossed Lines Card front Glimmer plates from this collection. I foiled the large plate in Rose Gold Foil on Sizzix Rose Gold Pearl cardstock - it foiled so flawlessly on this cardstock! I did this twice. I then used the foiling on foiling technique, where I foiled the sentiment "A Little Something Special For You" from the same set at the bottom left of one of the panels in Black Foil. As you can see, foiling on foil is easy and you do not ruin your previously foiled image. I cut an A2-sized trifold card base and attached the foiled panel with the sentiment to the front of the card. I attached the second foiled panel to the left folding panel of the trifold. I then cut the front of the card about 1.5" from the right side to reveal the second panel underneath.
I attached the ornament so that part of it was hanging off the edge where we cut 1.5" off. I also foiled and added the bow from the Blooming Ornament set. And I added some rose gold glitter and mirror cardstock foliage, die cut using the Stitched Ornament set. Finally, I added some light gold gems to the background and some clear gems to the ornament.
And that is my card inspiration for the Glimmer Greetings Collection! These sets are so fun to use and mix with other Christmas sets from Spellbinders. They will definitely come in handy in a few months!
That's all I have for today but please don't forget to subscribe to see more as I will be posting more Spellbinders inspo for July! And as always all of the products used here have been listed below - Happy Shopping!
Also, don't forget to check out/follow me on my Instagram account @deezinesbyd. I will be posting reels of these and other creations featuring this months' Spellbinders release throughout the month!
Have a Great Day!
Supplies
(note: Any products not included here are linked within the blog text)

.png)


Comments
Post a Comment
Please leave me a comment as I always love hearing from you! 😃