Creating a Foliage Border Card | Spellbinders Winter Garden Collection
Hello Friends!
I have some more cards featuring products from the Winter Garden Collection available in the Spellbinders' store now! The Winter Evergreen Foliage and Ladybugs set is ideal for all Christmas cards since these dies are large enough to create a background or highlight a beautiful sentiment! And the Flourished Tree is perfect for taking center stage on your cards. Either way, these sets are great for filling larger cards!

All of these products can be found in the product list at the end of this post. Please feel free to click and shop. These are affiliate links, meaning that if you click on them and purchase something, I will earn a small commission at no additional cost to you. It simply helps me keep bringing you more inspiration! I appreciate any and all support - Thank you! 💜
I've included a YouTube Video Tutorial of the first card below, if you are interested!
Watch the Video on YouTube
.png)
Like what you're seeing? Pin this picture for later on Pinterest!
Card 1

For this card, I used the Winter Evergreen Foliage and Ladybugs set along with the Flourished Tree from this collection. I added Oxide inks to the foliage die cuts that are nice and big, so they easily fill larger cards like this one. I arranged them around the Flourished Tree and added a couple sentiments from older glimmer sets. Finally, I added some red gem berries, Nuvo Dewdrops and those cute little ladybugs included in the set! You can find a more detailed process in the YouTube Tutorial linked above!

Card 2

For my second card, I used oxide inks in Peeled Paint, Pine Needles, Rustic Wilderness and Black Soot to ink blend a 4.75" x 6.75" white cardstock panel. Immediately after ink bending, I dry embossed the panel in the Radiant Starburst embossing folder, placing the panel a bit to the left of the starburst. This created a starburst with the center off to the right of the panel. I used the Winter Evergreen Foliage and Ladybugs set to cut out the branches, once each out of white cardstock and gold mirror cardstock. I adhered them together in an offset fashion to create a shadow. I adhered the panel to a 5" x 7" white card base and arranged the branches behind a circle sentiment foiled with the Essential Christmas Greetings set in Polished Brass foil. I also added a bit of gold metallic twine behind the sentiment for added interest. To finish this card off, I added clear gems in the background and red gems as berries amongst the branches.

Card 3

For my final card, I foiled the Flourished Tree from this collection in the center of a red slimline panel (3.75" x 8.75") using Prism Foil. This foil is stunning and I'm so glad I rediscovered it - it has an iridescent finish just like icicles, which is theme of this card. Once foiled, I used some Mod Podge and a paintbrush to apply the glue in the form of icicles coming down from the top of the panel and up from the bottom of the panel. You might want to use a craft mat to protect your craft space. I then used some WOW! Silver and White glitter and applied it carefully over top of the glue. I also added some Simon Says Stamp Unicorn glitter which is a but chunkier. I left this panel to dry and the icicle effect is actually quite stunning. Not to mention that it was fun and quick to do - perfect for mass production!
Once dry, I adhered the panel to a 4" x 9" slimline white card base. I foiled the Merry Christmas sentiment using the Holiday Sentiments Glimmer set with Black foil and cut it into a banner. I adhered it with foam tape on top of the tree. Finally, I added some clear gems to the background and icicles and some black jewels to the Christmas tree.

And that is my card inspiration for the Winter Garden Collection! These sets were so fun to use and this collection also has some great 3D Christmas flowers you can get to compliment the sets I've shown here. That's all I have for today but please don't forget to subscribe to see more as I will be posting more Spellbinders inspo for August! And as always all of the products used here have been listed below - Happy Shopping!
Also, don't forget to check out/follow me on my Instagram account @deezinesbyd. I will be posting reels of these and other creations!
Have a Great Day!
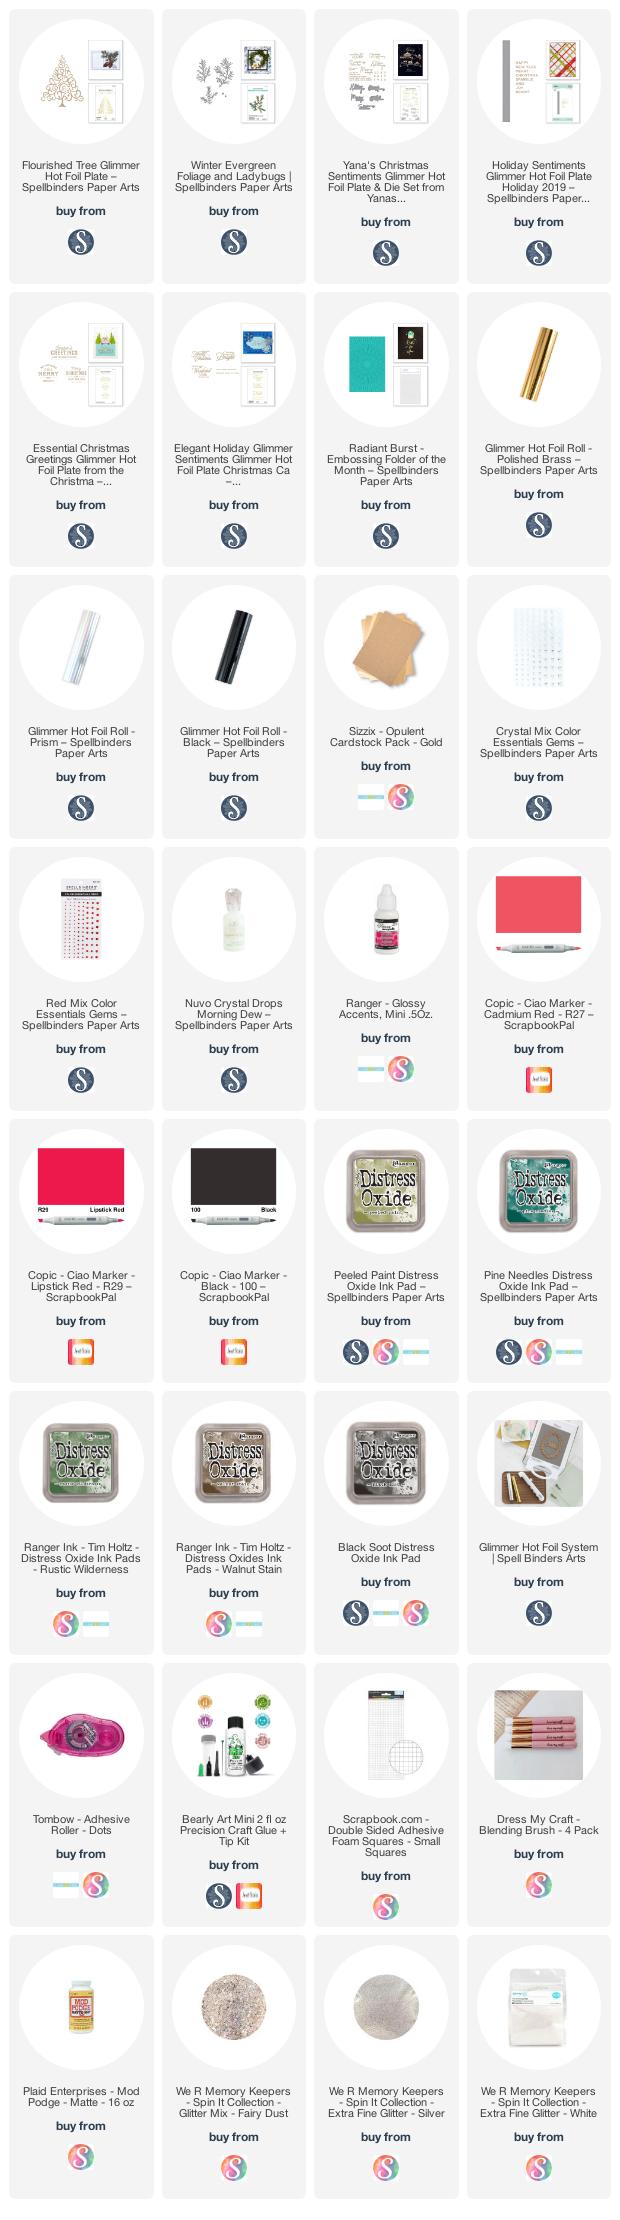
Supplies
(note: Any products not included here are linked within the blog text)


Comments
Post a Comment
Please leave me a comment as I always love hearing from you! 😃