Christmas Flea Market Finds by Cathe Holden | Spellbinders
Hello Friends!
As you may know, Spellbinders released Cathe Holden's Christmas Flea Market Finds Collection and it's packed full of festive goodness! I love collections like these because there is so much you can do with them! Today I'm sharing some cards and post cards, which this collection is perfect for and soon I'll be sharing a couple ideas with the Vintage Handcrafted Bowl Dies - so stay tuned!


All of these products can be found in the product list at the end of this post. Please feel free to click and shop. These are affiliate links, meaning that if you click on them and purchase something, I will earn a small commission at no additional cost to you. It simply helps me keep bringing you more inspiration! I appreciate any and all support - Thank you! 💜
Watch the Reel YouTube
.jpg)
.png)
Like what you're seeing? Pin this picture for later on Pinterest!
My Process
I was getting a lot of positive comments on my YouTube videos regarding sharing my process for using these types of collections. So I thought I'd share it here too, since I don't have a video tutorial for this collection.
I essentially use the same technique I use while working with Card Kits to put together these cards. I usually find something from the die cut pack or, in this case, the miscellany packs that I love and then find a paper from the paper pack to match. I use the stamps as add on images or sentiments and then arrange it on a card base of choice. I like to use various sizes and types of card bases for varying looks. And that's basically my process in a nutshell. Of course this is just a simple formula and I add and adjust with kits that have different products to use, like chipboard, stickers, dies, etc. If you are looking for more ideas for particular kits, please do consider subscribing to my YT channel where I go over this and more based on the themes within each kit 👉Subscribe here!
Card 1
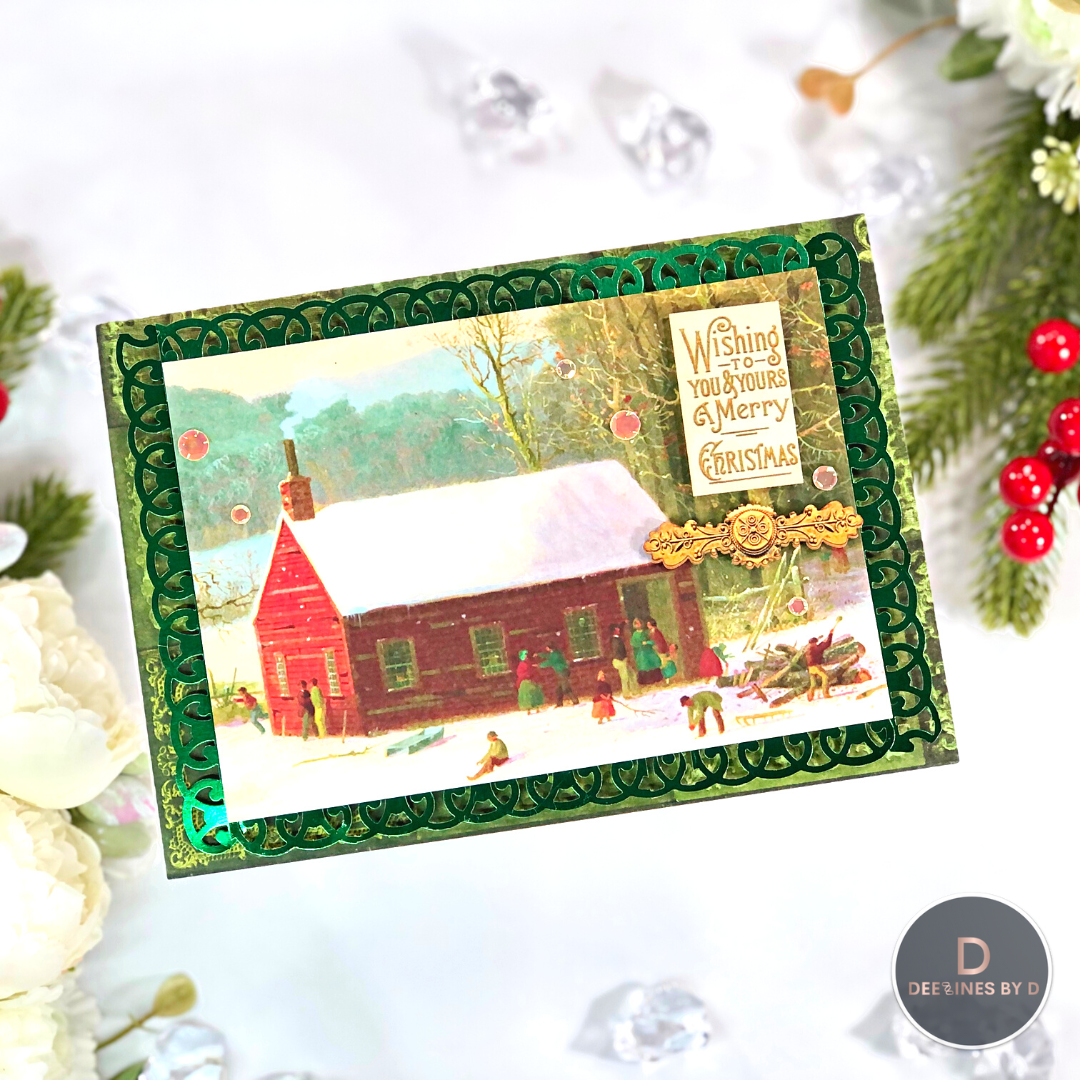
There are a lot of large papers with gorgeous images in the paper pads and if you're looking for quick cards, these are perfect. I took this scenic winter house from the Christmas Velvet paper pad and cut it down to fit a 7" x 5" card base with a 1/2" border. I used some green metallic cardstock to cut a border and adhered it behind the winter house. I attached this to the card base, lined with the green pattern paper from the same paper pad, with foam. I used foam squares to attach the sentiment and filigree border piece from the Christmas Pine Miscellany set. Finally, I added some peach opalescent sequins.
Card 2

The Compliments of the Season Stamp set is perfect for creating your own Christmas Post Cards, whether they're for actual use as post cards or just for fun to add to a journal. I made a larger 5 x 7" post card which is acceptable with regular postage by Canada Post and a smaller version that is A2-sized which is suitable for regular postage with USPS. I simply adhered a paper of choice from the Home For the Holidays Paper Pad to white cardstock card panels in the sizes mentioned above. On the back of the post card, I stamped out the "Post Card" stamp along with the "place postage here" and an angel from the Handmade Holidays Stamp set. I stamped them all with VersaFine Claire Nocturne Ink and then I used my black Micron pens to draw a divider line and ruled lines for my address on the right of the divider.
This idea not only works with these great paper pads, but you could print out pictures and use this stamp set to create your own personal post cards!

Card 3

For this card I cut a gate fold white card base that was A2-sized. I used the red paper from the Home for the Holidays pad and cut it down to 4.25" x 5.5" and cut that in half vertically. I adhered these pieces to each side of the gate fold and adhered the large Christmas Tree die cut (from the Jingle Bells Miscellany set) to the right side of the gate fold only. I adhered the sentiment strip with foam tape and finished this card off with some clear gems.
The images and papers are just so nice in this collection that you really do not need to add too many elements to get great looking cards/projects!
Card 4

I looked through the two Miscellany die cut packs and picked out these 3 die cuts that seemed to match each other. I chose the paper from the Christmas Velvet paper pad to contrast the beige, white and green in the die cuts. I stamped out the Merry Christmas from the Hand Made Holidays stamp set onto the holly and mistletoe banner die cut in VersaFine Clair Nocturne ink. Then I arranged them onto the card base adding a mixture of foam and liquid adhesive. I added a red velvet bow to the end of the tag and some muted gold pearl embellishments.
Card 5

This is another gate fold card, where I added some dark green cardstock to either gate fold panel along with the floral holly paper from the Home for the Holidays paper pad, leaving a 1/8" border. I used the main die cut from the Christmas Pines Miscellany set and backed it onto more dark green cardstock. I adhered this to the left side panel of the gate fold only. I heat embossed the Merry Christmas Sentiment from the Handmade Holidays Stamp set with gold EP and attached it with foam. Finally I added a few clear gems on the holly background.
Card 6

For this card, I actually foiled a rectangle border from the Essential Duo Lines Glimmer Rectangles set with Skybright foil onto the blue paper from the Home for the Holidays Paper pad. I like how this gives it a bit more of a finished look. I grabbed the beautiful large stocking from the Christmas Pines Miscellany set, along with the sentiment and Dec 25 die cut and arranged them on the card panel. This was placed on an A2-sized card base and finished off with some clear gems.
Card 7

For my final card, I was swooning over this gorgeous bird sitting on that flower! I cut the green floral paper from the Home for the Holidays paper pad to 4" x 5.25" and matted it onto a white card base. I cut the frame on the bottom right of the card from the frame piece of paper in the Christmas Velvet Paper Pad. I stamped on the Hand Made Holiday sentiment and added the green Christmas Gift listing die cut behind the bird die cut. I heat embossed the angel and cut this with a circle punch. I added this and some peach opalescent sequins to this card for shine.
And that's my inspiration for this antique Christmas collection! There are gorgeous images on the die cuts and papers and I love how the papers are so large! They are perfect for quick cards or various other projects! Not to mention they work perfectly with the Vintage bowl dies that I'll expand on in my next post. All of the products used here have been listed below for your shopping convenience!!
Also, don't forget to check out/follow me on my Instagram account @deezinesbyd. I will be posting reels of these and other creations for future releases!
Have a great day and I hope to see you again!
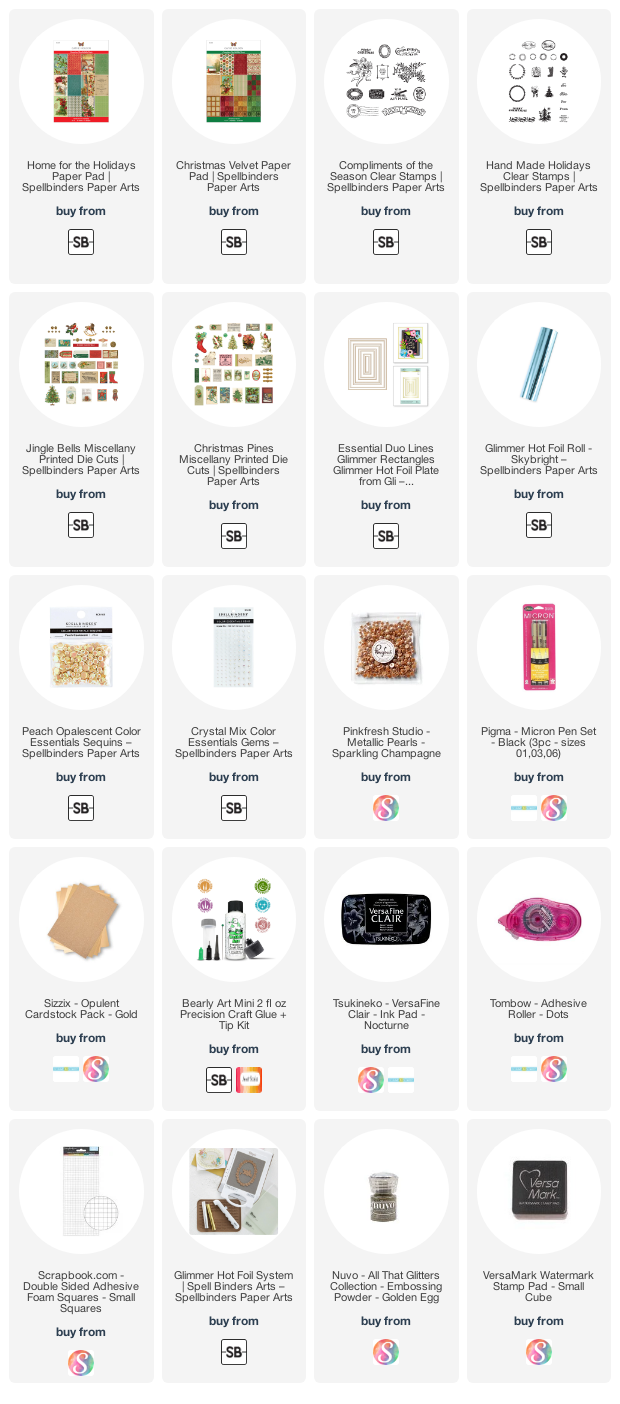
Supplies
(note: Any products not included here are linked within the blog text)


Comments
Post a Comment
Please leave me a comment as I always love hearing from you! 😃