3D Vignettes by Becca Feeken | Spellbinders
Hello Friends and Welcome Back!
I have a few fun fold vignette cards to share featuring products from the 3D Vignettes Collection by Becca Feeken. Becca's vignette products are always so innovative and although they take a bit of diecutting effort, the results are well worth it! They also include detailed instructions that help you put these together. Today I'm sharing the Hot Air Balloon, Twin Lens Camera and Pet House!

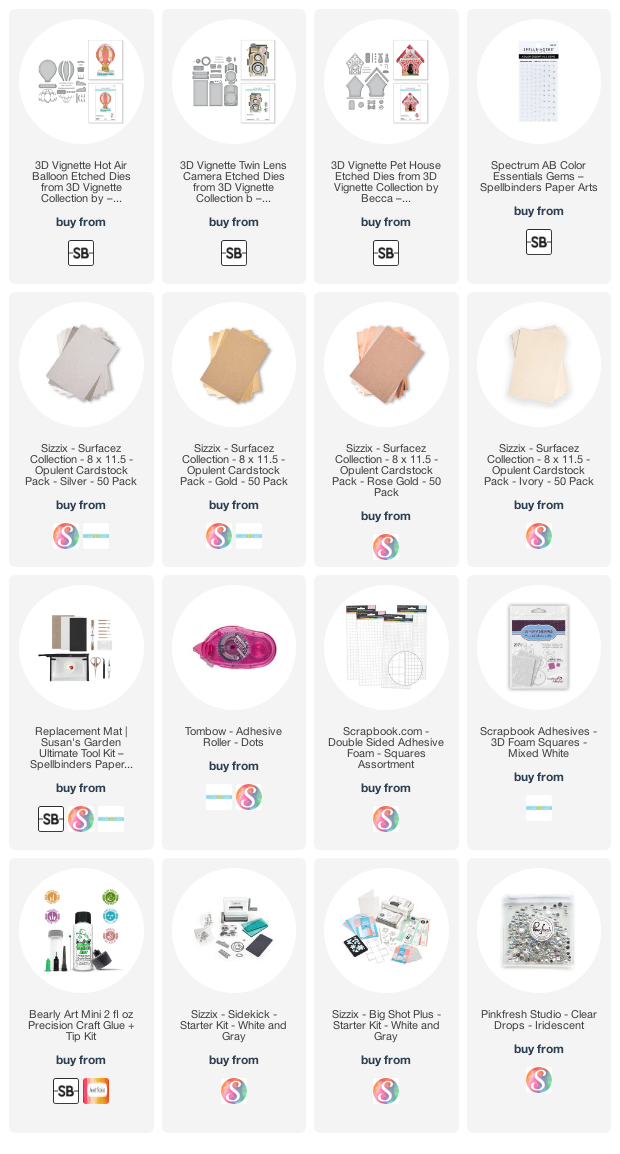
All of these products can be found in the product list at the end of this post. Please feel free to click and shop. These are affiliate links, meaning that if you click on them and purchase something, I will earn a small commission at no additional cost to you. It simply helps me keep bringing you more inspiration! I appreciate any and all support - Thank you! 💜
Watch the Reel YouTube
.jpg)
.png)
Like what you're seeing? Pin this picture for later on Pinterest!
The Pet House

I thought I'd start with the Pet House since it is very much like most of Becca's Vignette products. Recently, she has added the "stabilizer bar" which helps create a wider range of shapes for the vignette products and most of these die sets include this. Once you get the hang of slotting the layers into the side pieces and putting together the stabilizer bar with the seperator circles, putting all of these together is pretty simple and generally follows the same steps.
Here is a quick outline of the steps I normally take when working with Becca's Vignette products:
1) Cut all of the layers (usually 5) and all the decorative die cuts
2) Cut off the slotted edges from the front and back layer and slot the layers into the side piece
3) Attach the front and back layer to the tabs on the side piece
4) Assemble the stabilizer bar with the seperator circles (if required)
5) Decorate with the decorative pieces, add the sentiment and embellish
Those are the 5 steps I used for all 3 of these and the balloon and camera have some extra or missing steps based on the design. This is where the instructions really come in handy!

This pet house requires 5 layers for the main structure of the house and I also added the gold detailed portions on the front and back. You also have to cut the door out of the top layer. Each layer has to be put together with 5 rooves (1 for each layer) and 10 scalloped trims (2 for each layer). You can actually postion the roof however you want but you just have to be consistent with each layer so everything lines up in the end. I also like to adhere the top and bottom layer to the side pieces while holding the entire vignette flat. This helps ensure that it will fold flat and fit into an envelope.

To decorate this Vignette Pet House, you can choose to use the dog dies or the cat dies. I chose the dog and cut it from a teal colour so it would stand out in the purple pet house. I used the dof print on the top of the roof and the bone dies to create a tag hanging from the side of the house. The fun thing about this set is that you could use it as a bird house or even a gingerbread house for Christmas with some ssupplemental die sets you may have already. I could also see myself using this as a home sweet home, welcome to the neighbourhood or house warming card! The possibilities with this set are endless!
To finish this card off I added a few embellishments to the dog, roof and paw sign.
The Hot Air Balloon

I used the same method to put together this card, as I did with the last. Once all the layers were cut, I spent extra time to make sure the top layer was decorated nicely, adding the glitter sections of the balloon, the tassles and the gold frames. I then attached the balloon to the baskets with the 3-stringed die cuts. I made sure I attached them in exactly the same spot for each layer so they would line up when put together. For this one, I added the stabilizer bar and circles to the balloons first. I then cut the layers for the bottom stand/cloud portion of the card and slotted the layers into the side pieces. So ended up with 2 pisegments; the balloons with the attached stabilizer bar and the bottom cloud stand.

I attached the balloons to the stand using the cloud die cuts as a connector piece. I would attached the balloon basket to the base with some clear tape and then to reinforce it, I would glue a cloud slightly overlapping the join between the base bar and the basket. I found this made it very sturdy and as a result, it stands very easily with no wobbling.

I added the extra clouds in silver and ivory glitter cardstock to complete the look of the base. I added the sentiment strip to the bottom with foam tape and embellished the baloom and clouds with some clear gems.
The Twin Lens Camera

This set is actually my favourite!! I love how this Twin Lens Camera can be used in many ways especially for memorable gifts. This one is put together just a little bit differently, as there are actual slots and pockets in the center to accomodate the rectangle inserts, which work as photos like an actual camera would take. I love this idea and I'm actually using this one as birthday and mother's day gifts with actual pictures added to the inserts!! How great is that!!

For this one, I highly recommend using the instructions mainly for the slots, pockets and side pieces. I basically put together all the decorations and lenses for the front of the camera first. Once that was done, I used the Vignette Crossbar die (this is the piece that slots into the side piece) to cut 6 crossbars. I cut 2 of these along the perforted line to make 4 cross bars; these get slotted into two side pieces and go on the top portion of the camera. I took the other 4 cross bars and folded them along the perforated lines. I slotted all 4 of these into two more side peices, folded and this creates the V-pockets that go on the bottom portion of the camera. I then, folded the vignette flat to accurately attach the front and back of the camera.

All that's left to do is cut 4 of the inserts and add the decorative tabs. I haven't shown it here, but I also adhered some patterned paper from past Card Kits to fill the background of the insert and added some pictures with sentiment banners to complete this as a gift! As with all my cards, I also added some embellsihments.
And that's pretty much all it takes! As I said, once you get the hang of these vignette sets, it's actually pretty fun and you can find all kinds of way to customize these designs! As always, all of the products used here have been listed below for your shopping convenience!!
Also, don't forget to check out/follow me on my Instagram account @deezinesbyd. I will be posting reels of these and other creations for future releases!
Have a great day and I hope to see you again!
Supplies
(note: Any products not included here are linked within the blog text)


Comments
Post a Comment
Please leave me a comment as I always love hearing from you! 😃