Making Quick Christmas Cards With Recent Pinkfresh Studio Products
Hello Friends and Welcome Back!
I just got a hold of the recent Christmas Release from Pinkfresh Studio and boy are they perfect for mass production! The Festive Leaves Background Stencils create large holiday foliage pieces and the Merry & Bright Foil Plate makes for a nice large focal point. I created 4 cards using these and a few Concord & 9th accent pieces. I'm also submitting this as an entry for the Pinkfresh Studio October 2022 Challenge. I know this challenge is themed fall leaves but I just couldn't wait to use some festive leaves instead, so in this case I drew on the color scheme as inspiration.

.png)
Like what you're seeing? Pin this picture for later on Pinterest!
Blue and Red Swirl Background Cards

For these two cards, I used the Layering Swirl Background set which has 5 stencils. I used my smaller blending brushes to add Altenew inks in Rouge, Frosty Pink, Coral Berry, Velvet and Crimson. I cleaned off my stencils and made a second background in blue Altenew inks: Arctic, Caribbean Sky, Eastern Sky, Ultramarine and Azurite.
I adhered both panels to A2-sized top and side folding white card bases. I used foam strips to attach frames, red and silver, cut using the Stitched Scalloped Rectangle dies to the inked backgrounds.
I used the Merry & Bright foil plate and foiled it twice, once in Spellbinders Skybright foil and once in red foil. I used the coordinating die to cut them out and adhered them to the backgrounds within the frame with foam squares.
I also used the Concord and 9th Holly and Boughs die set to cut some foliage pieces from metallic and glitter cardstocks in blue and red. I added these as accent pieces around the foiled sentiment with some liquid glue.
Finally, I added some Pinkfresh Studio Jewels in Ballet Slipper and Sapphire.

Stitches Die Background Cards

For these two cards, I used the Stiched Cover Die to cut two A2 panels; one from light green cardstock and one from blush cardstock. I attached both panels to A2-sized top and side folding white card bases.
I used the Festive Leaves Set which has 4 stencils and it up twice with 2 sets of colours as follows.
Set 1- Altenew Inks
Hunter Green
Just Green
Frosty Pink
Crimson
Set 2 - Pigment Craft Co. Inks
Juniper
Aloe
Blush
Medina
I took both panels and used the coordinating die to cut out all of the pieces in one fe swoop through my die cutting machine! I love this aspect of this die and stencil set.
I used the Merry & Bright foil plate and foiled it twice, once in Spellbinders Gold foil and once in Blush foil. I used the coordinating die to cut them out and adhered them to the backgrounds within the frame with foam squares.
I added the cut out festive leaves in and around the foiled sentiment with glue and foam squares. I also
used the Concord and 9th Holly and Boughs die set to cut some foliage pieces from gold and muted gold glitter cardstocks. I added these as accent pieces around the foiled sentiment with some liquid glue just like with the last two cards.
Finally, I added some Pinkfresh Studio Matte Gold Pearls and Iridescent Clear Drops.

And that's how I put these relatively quick cards together. Of course to speed up the process you could foil a bunch of sentiments, ink and cut all the festive leaves and foilage peices, and then its just a matter of assembly. I put these 4 cards toegther in 2 hours. As always, all of the products used here have been listed below for your shopping convenience!!
Also, don't forget to check out/follow me on my Instagram account @deezinesbyd. I have a short reel featuring these cards!

x x x
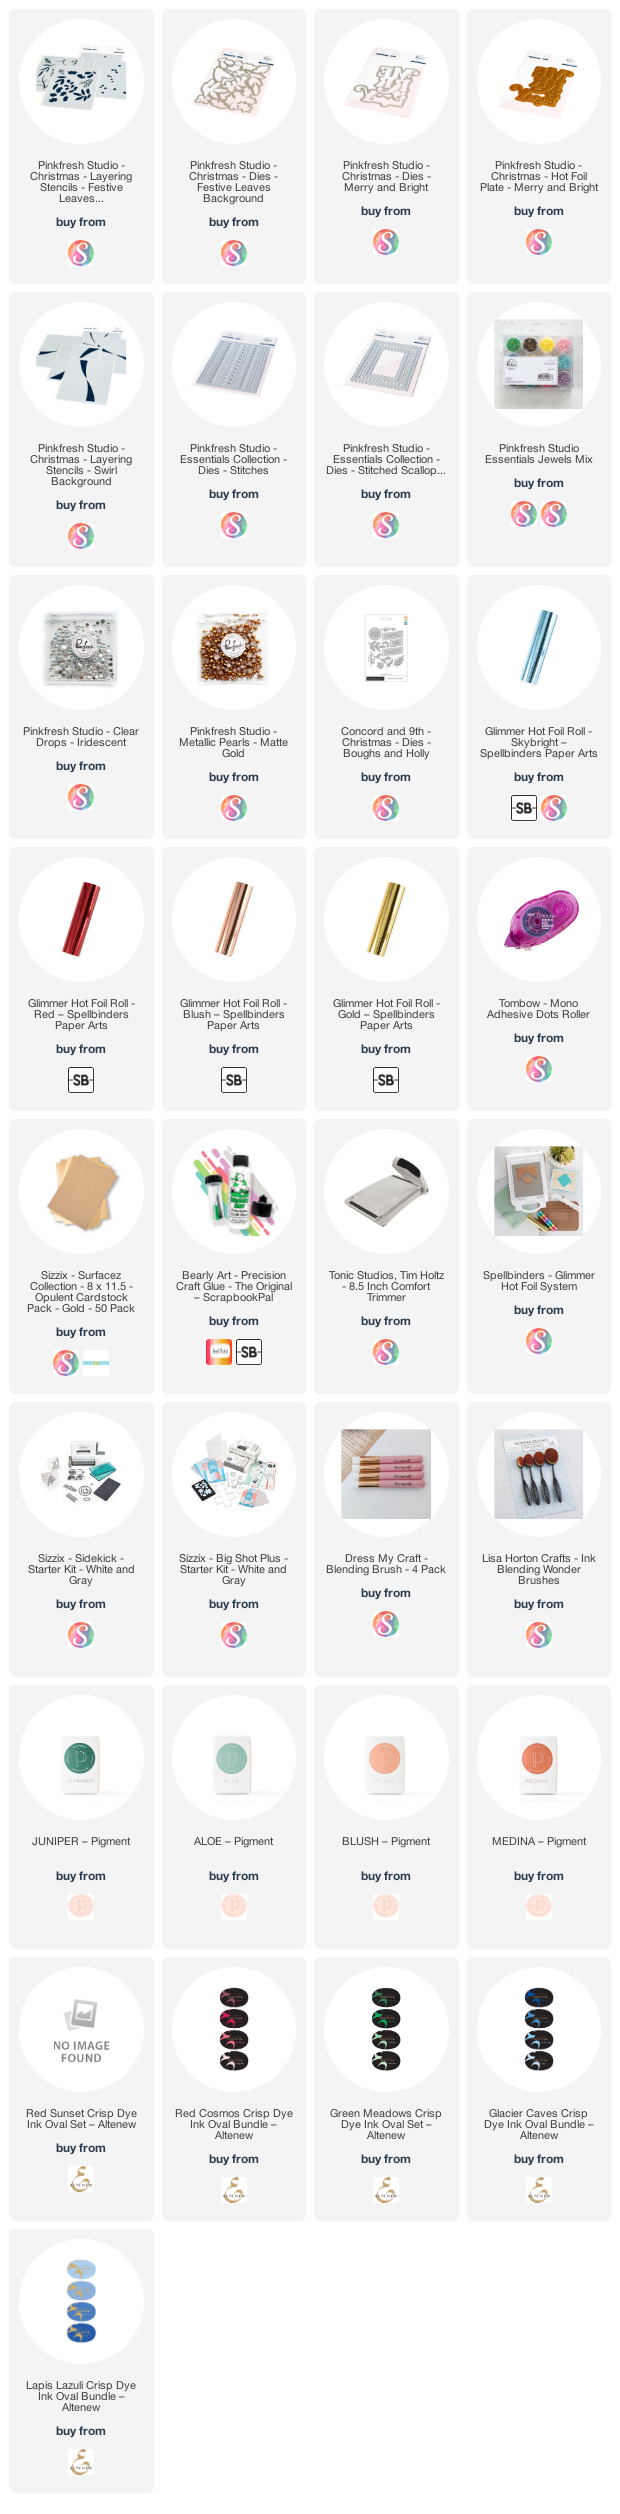
Supplies
(note: Any products not included here are linked within the blog text)


Comments
Post a Comment
Please leave me a comment as I always love hearing from you! 😃