Oh What Fun! October Card Kit of The Month | Spellbinders Club Kits
Hello Friends!
I have a ton of Christmas inspiration with today's post featuring the October Card Kit of the Month called Oh What Fun! As you may already know, it's available to purchase on subscription in the Spellbinders' store now!! This kit is packed full of paper festive treats, snowy characters and beautiful merry scenes! There are also add-on packs available this month and I highly suggest getting them to make your kit complete!

The Oh What Fun! Card Kit!
.png)
I've included a YouTube Video Tutorial, if you are interested!
Watch the Video on YouTube
.png)
.png)
Like what you're seeing? Pin this picture for later on Pinterest!
I'll give a very quick run down of each card on here but if you want a more detailed look, I highly recommend checking out the YouTube Video linked above!
Card 1
.png)
This card is a 5" x 7" and I wanted to use a mix of the square/rectangle diecuts and stickers and the round pepermints. I chose the striped red and white paper on the background to match the peppermints and then randomly placed the die cuts and stickers around the sentiment from the Oh What Fun Sentiment die cut add-on pack. The pink panel I used over the striped background was cut using the light pink cardstock from the kit and the Spellbinders Fluted Classics Slimline Rectangles dies. And the gold strip was used to make sure that I could cover the 7" length of the card since the paper pad is only 6" x 6". This card was finished off with some clear gems.
Card 2
.png)
This card is irregular sized at 5" x 6" and I decided to use the beautiful sequins that come with the kit to create a shaker card. I chose the snowy looking blue paper from the paper pad and cut it with a square die from the Essential Squares die set, using partial die cutting to get the opening for the shaker. I used some foam tape to create the shaker and added the sequins. Then I arranged the houses, trees and the car on top of the acetate to create a winter scene. The sentiment and subsentiment was put together using the chipboad stickers, the add-on sticker pack and the add-on sentiment die cuts. The extra sentiments in the sticker pack and the die cut add-on really make all the difference when crafting, so that's why I highly recommend getting them too. Finally, I added some gold metallic pearls.
Card 3
.png)
This card is also 5" x 7" and I used the dies from the card kit to cut the Christmas tree 3 times, once from each of the 3 colours of cardstock from the kit. I also cut out the tree details with some holographic cardstock and assembled them. I lined the trees up on the pink wordy paper and added two strips of pink and pink glitter cardstock on either side of the paper. This is another technique to make the 6" x 6" papers fit a 5" x 7" card. Finally, I added a sentiment banner from the die cut add-on pack and some white iridescent gems.
Card 4
.png)
For this card, I went with more of a collage design. I was inspired by the Santa mailbox and the small envelope. From that, I chose some more die cuts that fit the theme of letters to Santa/stationary/Christmas ephemera. Once I had all my pieces, I adhered a matching paper to the A2-sized card base from the kit and arranged the die cuts with the mailbox inthe center. I added a chipboard and paper sticker for the sentiments and used the gold asterisk die cuts as embellishments.
Card 5
.png)
I used a sentiment card from the add-on pack and used the Essential Squares dies with partial die cutting to cut the dotted frame around the card. I keep using partial diecutting simply because I don't have the rectangles - if you have the rectangles, those would be the better choice here. I adhered the sentiment card to the A2 card base lined with the red pattern paper with foam. The red and green contrast perfectly here! I added a few die cuts around the sentiment card and a few gold snowflakes on the red background. Lastly, I added some gold pearl embellishments.
Card 6
.png)
This card was fully inspired by the chipboard frames. These are great because they are self-adhesive (which I only just figured out!😅) and I adhered them to the pink and blue cardstock from the kit. I added a couple die cuts in the frames and adhered them slightly overlapping to the A2 card base. I added a couple sentiments from the add-on pack and embellished the background with some Teal Opalescent sequins.
Card 7
.png)
For this card, I gathered all of the Christmas floral and foliage die cuts. There is also a cute little bird holding berries which ties in nicely. I matted an A2 card base with the gold and white plaid paper and arranged the foliage and florals to create a makeshift border. I then added the puffy sticker sentiment "Deck the halls". Finally, I embellished this card with peach opalescent sequins.
Card 8

My final card uses the gingerbread elements from the kit. I used the snowy blue pattern paper for my background and adhered the gingerbread house and the cocoa mug with foam squares. I thought it would be fun to have the gingerbreadmen popping out from behind the cupcakes. I then added the sentiment, the gold snowflake diecuts and some clear gems.
And that's my inspiration for the Spellbinders Oh What Fun! October 2022 card kit! I do plan on making some more cards with this kit that I will feature on my Instagram account - so please follow me there @deezinesbyd. You can also find a short reel there for these creations and others!
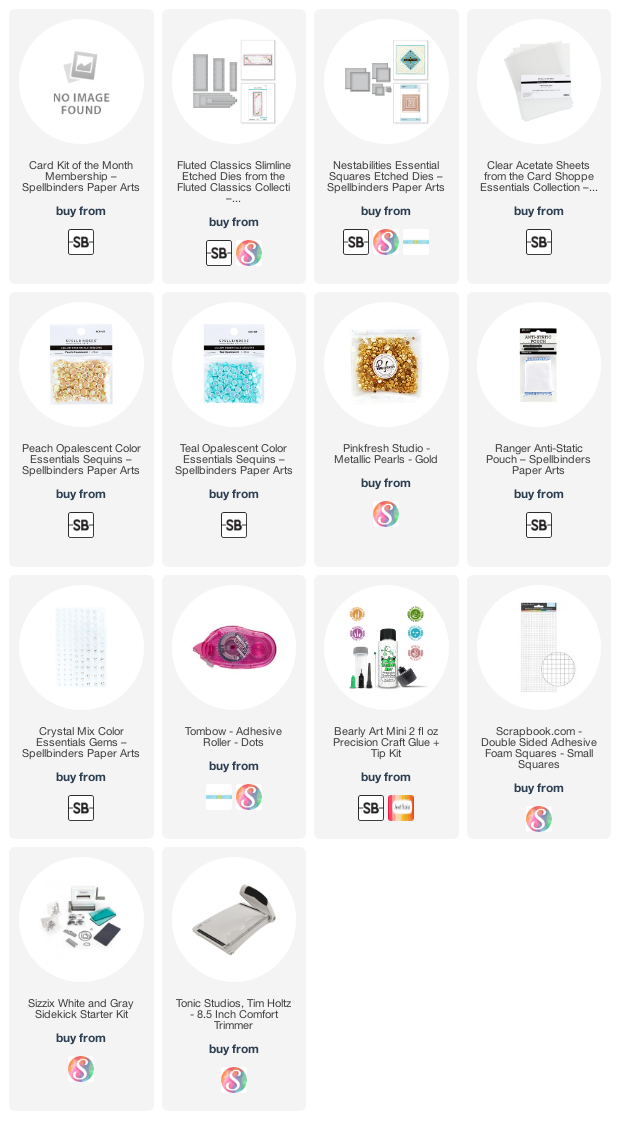
All of the products used here have been listed below for your shopping convenience!!
Have a great day and I hope to see you again!
Supplies
(note: Any products not included here are linked within the blog text)


Comments
Post a Comment
Please leave me a comment as I always love hearing from you! 😃