Christmas Daisy Wreath | Kat Scrappiness
Hello Friends and Crafters!
I have another card post featuring the same design I used for a previous card made with products by Kat Scrappiness. I chose to use the same design but a different theme to show how versatile these products are - you really get your bang for your buck! So this card showcases a Christmas Daisy Wreath, while my last included a Rustic Thanksgiving Daisy Wreath. Don't forget to check out the comparison reel on my YT channel and IG (both use the same handle @deezinesbyd ).

Here's a quick picture of both cards side by side.

Watch The Video Short on YouTube
.jpg)
.png)
Like what you're seeing? Pin this picture for later on Pinterest!
To start, I used the Kat Scrappiness Oopsie Daisy Layering stamp set to stamp out the 2 daisies in the set. For one daisy, I used white pigment ink, Morning Frost, Limestone and Industrial Diamond Altenew inks. And for the second daisy I used Crimson, Velvet and Cosmic Berry Altenew inks.
I also stamped out the leaf image 5 times with a mix of Altenew inks in Eevergreen, Shadow Creek and gold pigment ink.
Next, I used the coordinating die set to cut the 2 daisies and 5 leaves out and set them aside.

I did some diecutting with the Sticthed Foliage die set cutting 2 long leaf fronds from Gold Glitter cardstock. I also cut 3 more foliage pieces from white cardstock and added Eucalyptus and Juniper inks from Pigment Craft Co with a blending brush. I also adde some white acrylic paint splatter for a bit of a snowy look!
I used the two largest circles from the Pinkfresh Studio Essential Circle Die set to cut out a circle frame from gold metallic cardstock.
I attached the circle frame with foam adhesive to a red cardstock panel embossed with the Spellbinders Oragami Embossing Folder. I then used my MISTI to stamp out the sentiment from the Happy Days stamp set and heat embossed it with white EP.

I then arranged the daisies and foliage pieces on the bottom left of the circle frame using foam squares. I tried to have the foliage follow the curve of the frame. I attached the panel to an A2-sized top folding white card base. Finally, I embellished this card with Kat Scrappiness Clear AB Glass Bubbles and Gold Mine Rhinestones. I also adde some Diamond and Red Stickles to the daisies.
And voila - my card was complete!
As always, thanks for stopping by. And don't forget to leave me a comment, as I love hearing from you! And don't forget to follow me on Instagram @deezinesbyd

xxx
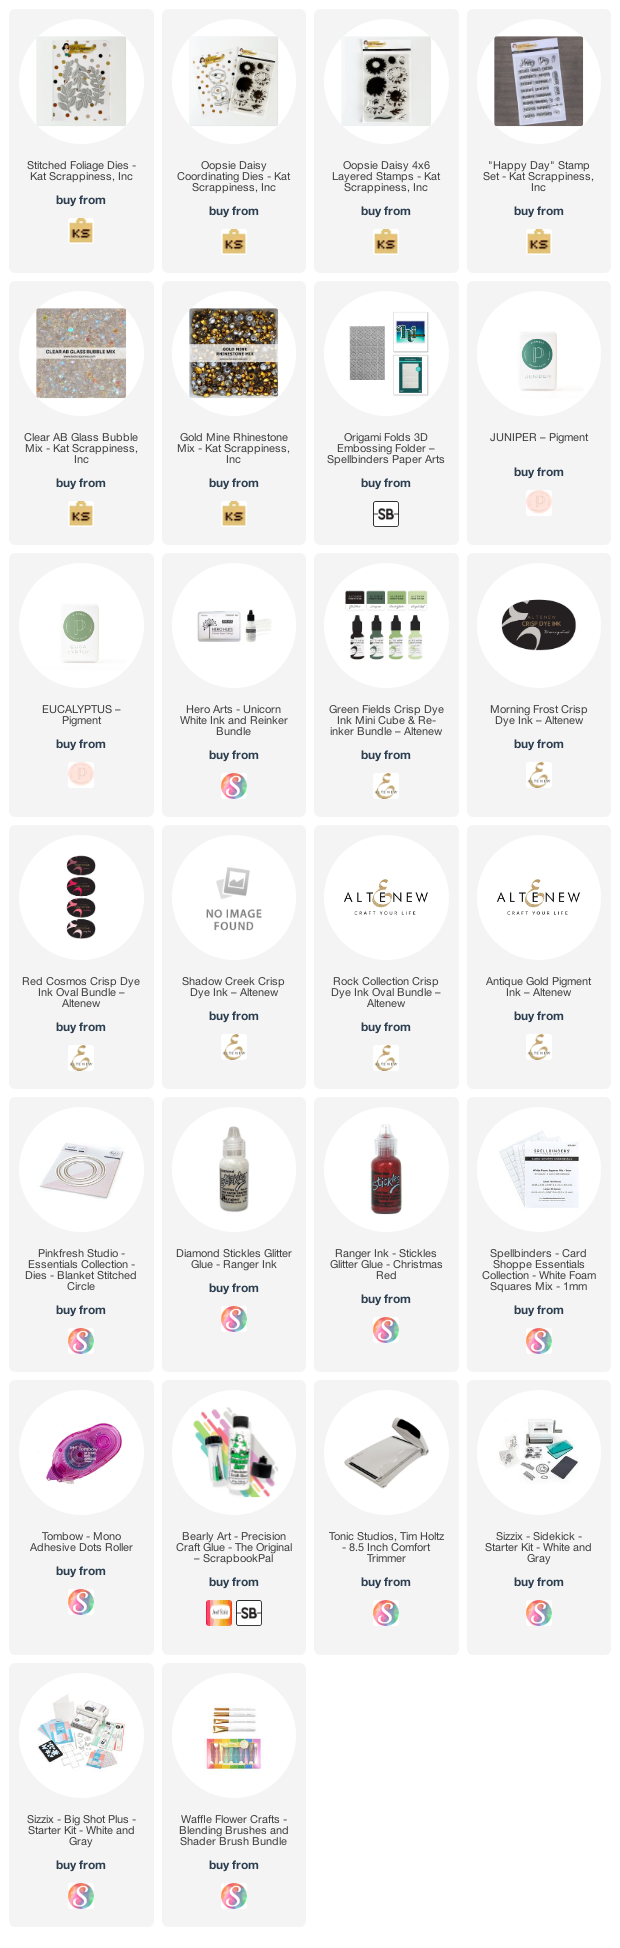
Supplies
(note: if I can't find the same product used, I will always link something similar)


Comments
Post a Comment
Please leave me a comment as I always love hearing from you! 😃