Rainbow Washi Scrapbook Page | Pinkfresh Fridays
Hello Friends and Crafters!
I'm so excited to be participating in a YouTube and IG Hop called "Pinkfresh Fridays". I've chosen the Rainbow Washi and coordinating die to create this colourful layout. My inspiration is the Year In Review- May 2022 Rainbow Challenge Sketch, so coincidentally, I'm also entering this creation into the Pinkfresh Studio January 2023 Challenge! So don't forget to check that out too.
I'll also be entering this layout in the Simon Says Stamp Wednesday Challenge which is "Anything Goes" this week!

Challenge Sketch


I just purchased the Rainbow Floral Washi and thought it would be perfect for this layout. So let's get started!
Process Outline
1) Apply the Rainbow Washi to plain white cardstock and vellum and cut out all of the die cuts with the coordinating die.
2) Take a 12" x 12" white cardstock paper and seperate it into 6 sections (2" each) with a ruler and pencil. You don't need to draw a full line but a tick mark will work to get a general idea of how wide each strip of ink should be.
3) Use Pinkfresh Studio inks and swipe the ink cubes across the paper to add colour. The smaller ink cubes work best for this. I used inks for each section in the following colours:
- Candied Apple & Berrylicious
- Persimmon & Clementine
- Marigold & Sweet Mustard
- Olive & Key Lime
- Storm & Seaside
- Regal Kiss & Candy Violet

4) Cut your desired picture down to size and adhere it to the layout with a foam panel for dimension.
5) Use the "You are amazing!" sentiment from the PFS Fancy Script Words hot plates set and foil it on black cardstock with Spellbinders Prism foil. Cut this out with the coordinating die.
6) Use the die for the last sentiment to cut a shadow from holographic cardstock and adhere this to the foiled sentiment.
7) Heat emboss in white the sentiment from the PFS Dahlia stamp set and cut this into a banner.
8) Add the sentiments to the layout with liquid glue.

9) Cut some leaves from vellum using the PFS Curvy Leaves dies.
10) Arrange and adhere the Rainbow Floral diecuts keeping the colours of the florals in line with the inked portions of the layout as much as possible.
11) Add any extra diecuts along with the curvy leaf die cuts around the photo.

12) Use some rainbow coloured enamel dots to add to each stripe of colour.
13) Use some Diamond Stickles to add shine to the stripes of rainbow coloured ink.
And that's how easy this layout was to put together! Don't forget to hop along and join in the Pinkfresh Fridays hop on YouTube and IG.
As always, thanks for stopping by. And don't forget to leave me a comment, as I love hearing from you! And don't forget to follow me on Instagram @deezinesbyd where I have a ton more inspiration!

xxx
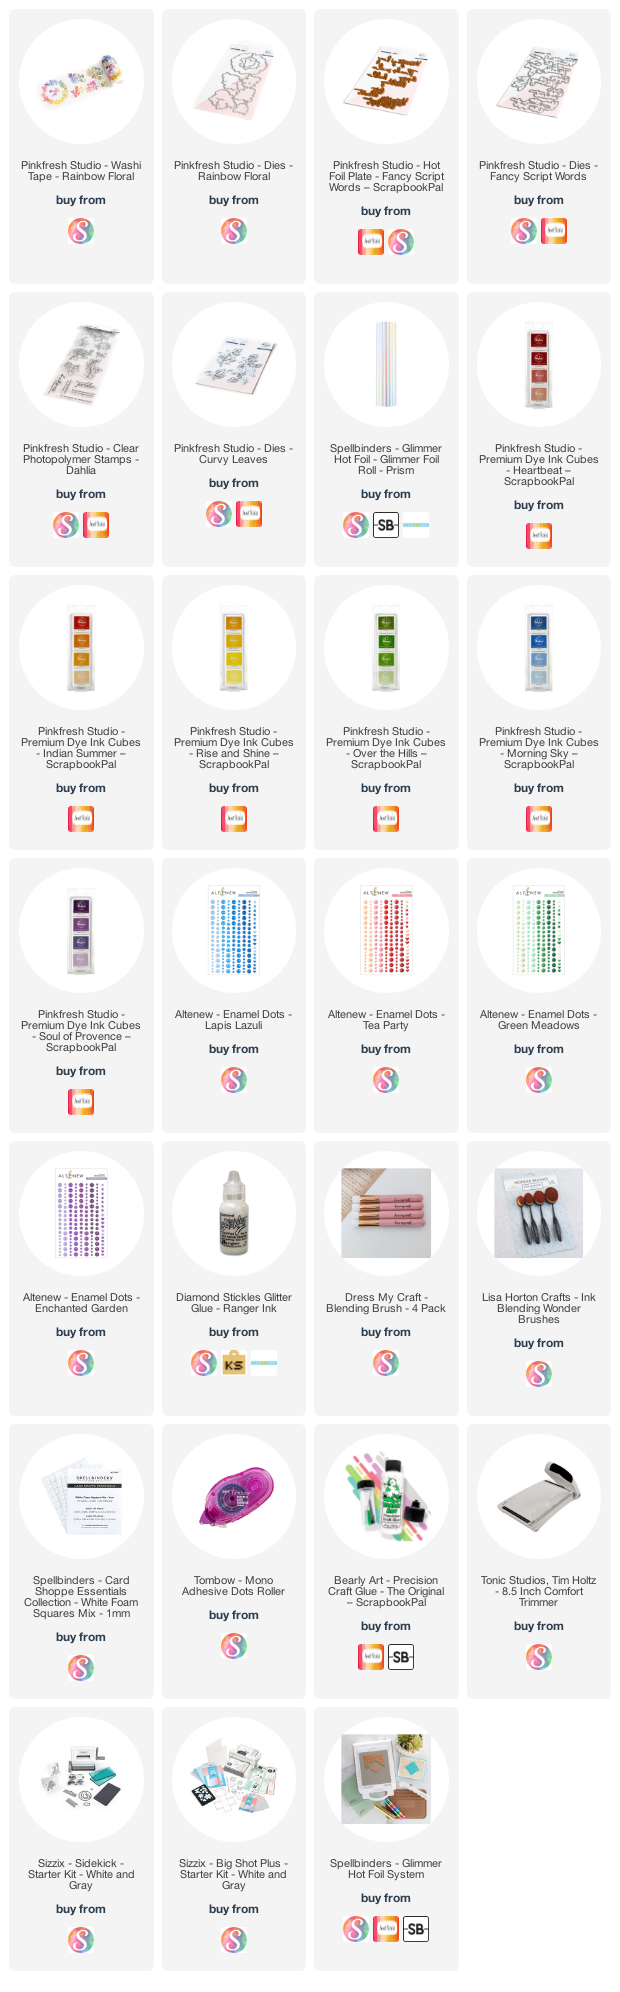
Supplies


Comments
Post a Comment
Please leave me a comment as I always love hearing from you! 😃