Hello Friends!
It's March 10th and that means it's time for some new collections by Spellbinders. I have a bunch of inspo using The Victorian Collection by Susan Tierney-Cockburn. Today I'm sharing a YouTube Tutorial where I do some ink smooshing before and after some hot foiling with the Glimmer Ferns Set. Ever wonder which method works best, or whether saturating your cardstock will ruin your foiling? Well tune into this video to find out! I also created a card with the Mason Jar and Lavender set, and a fun spring floral wreath using the Camellia Dies for which I'll be sharing some reels in the coming days. Be sure to suscribe/follow and click the notification bell to see those! I hope you see something you like!
Shop The Victorian Collection at Spellbinders! (click here👇)
Watch the Tutorial on YouTube
Watch the Reel on YouTube
Like what you're seeing? Pin this picture for later on Pinterest!
Card 1
In this card, I used the ink smooshing technique first before foiling the panel with the Glimmer Ferns Set. I chose to make this card with greens and leaves from the Camellia Set also released this month. As you can guess, this recipe was perfect for a masculine card. To see more details, be sure to click the You Tube Video Tutorial link above!
Card 2
For this second card, I first foiled the Glimmer Ferns onto the white panel and then did my ink smooshing. There are a few guidelines to ensure your foiling remains in tact, which I share in my YouTube Tutorial. As you can see, I used the Camellia Flower as a focal point for this feminine card. To see more details, be sure to click the You Tube Video Tutorial link above!
Card 3
This card was made using the Mason Jar and Lavender Die set, also released with this collection. I cut everything out of various colours of cardstock and added just a hint of darker green to the foliage pieces. I then shaped the flowers with my stylus Tool N' One and assembled the lavender stems.
I cut the mason jar out of grey cardstock and acetate and I put some Diamond Stickles halfway up the jar in between these two layers. The stickles served 2 purposes here: to adhere the two layers together at the bottom and to represent water in the jar. And the acetate gives the look of real glass. There is a slit at the top of the mason jar, so I positioned my lavender stalks in the jar and adhered them down to the card with the jar.
The background on this card really speaks for itself. It's from Tonic Studios and is called Hail Storm Hand Crafted Embossed Cotton Specialty Paper. It makes a beautiful backdrop for the lavender and mason jar. Lavender has a lot of health benefits including reducing inflammation, anxiety, pain and stress. So I thought this sentiment, " Sending health and happiness" from the Making Me Smile Glimmer Sentiments set. I foiled it with black foil and cut it with the coordinating die. Finally, I added some clear droplets for interest.
Spring Wreath
I've been itching to make a floral wreath with Susan's Floral dies for a long time now, and I finally took a stab at it! I used a mix of florals including the Camellia and Lavender die sets in this release, plus the Floribunda Rose Dies that were released last year.
I used a gold coloured metal loop/wreath base that I bought off of Amazon. This is just one I got in a set of 5 in various shapes.
I cut out all of the petals and leaves in white cardstock. I find this easier than picking many different colours of cardstock but you can do what works best for you. I also knew that I wanted to add ink in various colours rather than having one tone of colour for each flower. I really wanted to make it look as realistic as possible. You can always cut each piece from a light base colour and then add depth with a darker color and ink blending, which saves some time.
I cut enough pieces for 2 Camellia flowers, 1 Floribunda Rose, 2 buds, 4 stalks of lavender and lots of leaves to build up the wreath with. I then used pinks, greens and yellow inks from Altenew to add colour to these pieces. I then used my Tool N' One and my foam mat to shape and assemble the flowers and leaves. To have a look at how I put together the Camellia flower, click the YouTube Tutorial link nearer the top of this post. About halfway through the video I assemble one of these flowers.
Once all of the flowers were ready, I started to assemble the wreath. I like using the wire wreath base because then I can focus on a few flowers concentrated on one half of the wreath, rather than having to fill in the entire thing. Plus it has more of a spring look!
I used a hot glue gun as it drys quickly and really holds the flowers in place. I also wrapped a couple pieces of green floral wire around the wire circle frame and curled then at the end to look like vines. I added some white ribbon to the top of the wreath for hanging and this project was complete!
And that is my project inspiration for The Victorian Collection!
As always all of the products used here have been listed below - Happy Shopping!
Also, don't forget to check out/follow me on my Instagram account @deezinesbyd. I will be posting reels of these and other creations featuring this months' Spellbinders release throughout the month!
--x-- ```
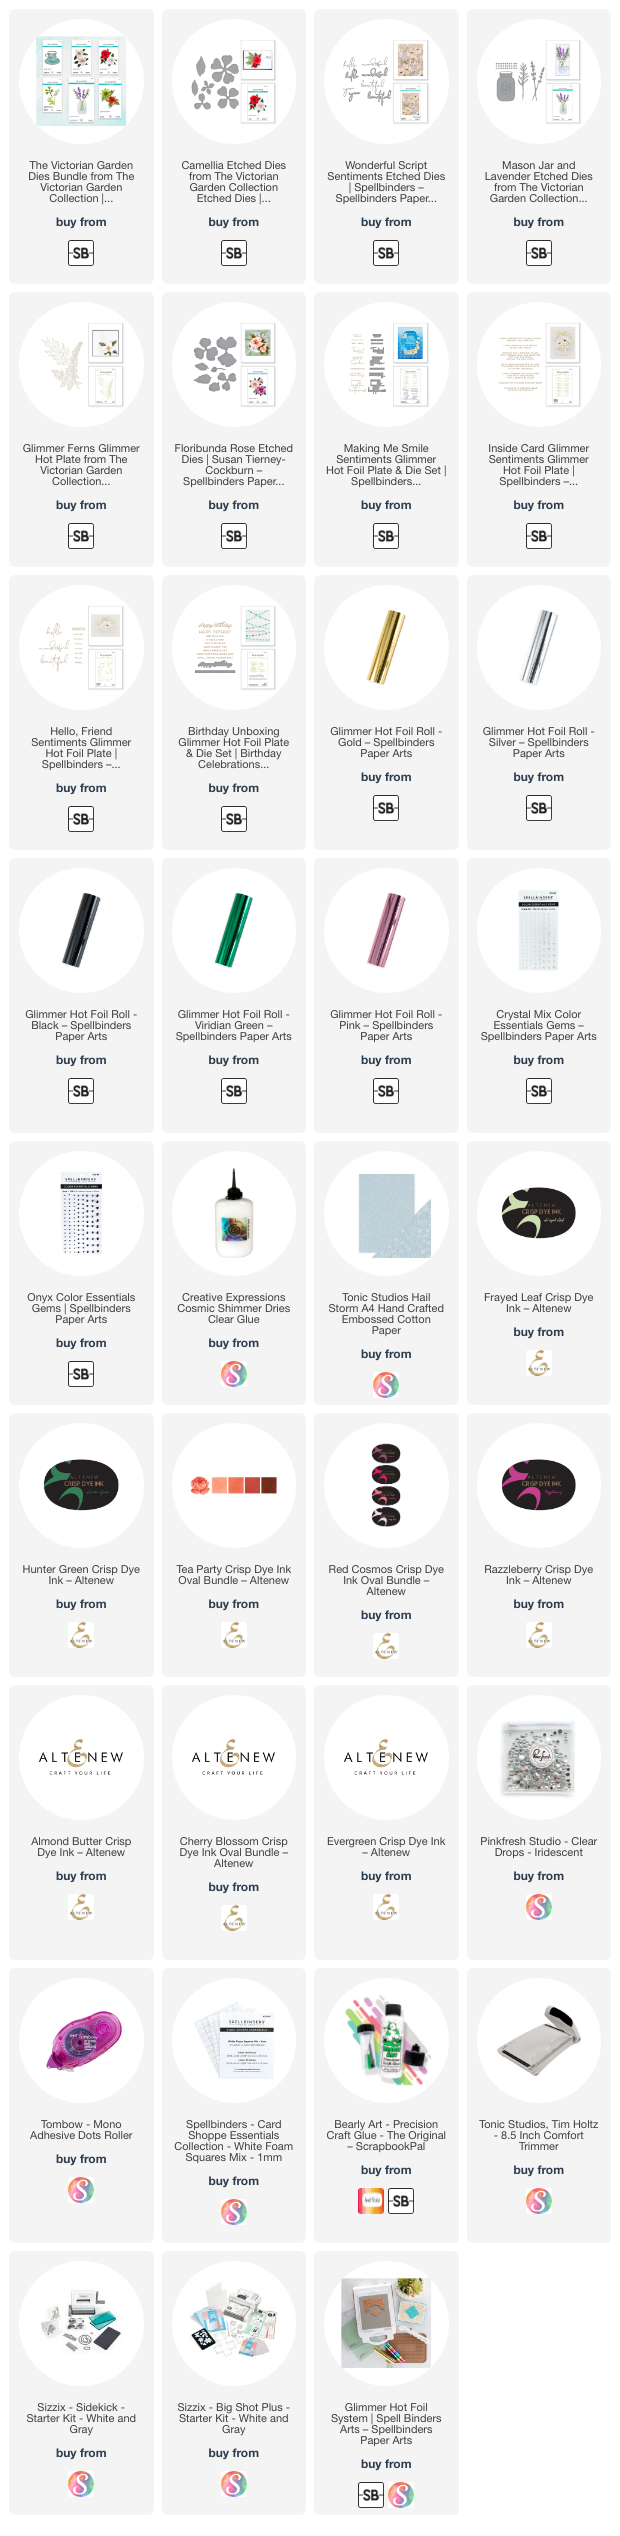
Supplies
.png)


.png)
.jpg)
.jpg)
.jpg)
.png)


Comments
Post a Comment
Please leave me a comment as I always love hearing from you! 😃