Hello Friends!
Spellbinders just released Bibi's Hummingbirds Collection by Bibi Cameron and this is such an amazing one! I know these gorgeous hummingbirds will sell out and they're so fun to work with too!! I've always been a big fan of designing card insides, and this collection has the Pop-Up Hummingbird that you can use on the inside of your cards. I have 3 cards made with these products and the blue hummingbird lily card has this fun pop-up on the inside. Even more, I like that you can choose to make your card small or large, use the hummingbird only, the flower only or both. These sets ae so versatile - I know you will love them as much as I do!
Shop the Collection Here 👇
Watch the Reel on YouTube
(Premieres April 11th👇)
Like what you're seeing? Pin this picture for later on Pinterest!
Card 1
For my first card I was going for more of an artistic look. I saw a painting online that inspired this card and I used my Altenew Watercolors to create the drippy/splatter rainbow background. I simply took my watercolors and added one colour at a time, making sure there was enough water to create the running drip by tapping the card. (To get a better look at the painting process - click the video short linked above.) I went over each colour twice create a vibrant background and set the 5" x 7" panel aside to dry. I also added rainbow watercolours to the hummingbird pieces I cut using the Hummingbird and Lily Die Set.
While the everything dried, I used the floral dies from the Hummingbird Card Creator Set to cut flowers in the various colours of the rainbow. I tried to match my cardstock to the watercolours used.
Next, I assembled the card using the die-cut flowers. I adhered them over the matching watercolours and added the assembled hummingbird to the left of the panel. My sentiment was from the Hello Friend Sentiments and Anemone Glimmer Blooms Sets. I used black glitter cardstock and Opaque White Foil. And I finished this card off with some AB gems and some Diamond Stickles on the bird.
I have been playing with striking colour combos lately and I knew I had to try this with these sets! I started by cutting the lillies, leaves and the hummingbird from white cardstock using the Hummingbird and Lily Die Set. I used a mix of red, pink, green and purple Copic Ciaos to colour in the die-cuts. For the lillies, I found a picture of these gorgeous pinkand white lillies online and tried my best to colour these accordingly. Flicking the marker to give long swooping lines and adding the little dots really make this flower come to life!
Once everything was coloured, I assembled the hummingbird, adding some gold accents, and set these pieces aside. For the background, I used Altenew Starlight ink and applied the ink pad to a 5" x 7" white cardstock panel. I added a bunch of water splatters and lifted the colour with a dry towel. Then, I added some extra splatters with white, black and blue metallic watercolour paints. I dried the panel with my heat gun, ran it through my diecutting machine to flatten it, and then used the Hummingbird Textures Stencil with Gold Pigment ink to add patterns to the panel.

I added a foiled sentiment in Polished Brass foil, using the Seahorse Kisses Sentiments Glimmer set which was just released this month as well. I found that the sentiment got a bit lost in the gold within the panel, so I used a White Sakura Gelly roll pen to add a halo around the letters to make it stand out more.
I adhered the panel to a 5" x 7" white card base and arranged the bird and lillies on the background with foam adhesive. Finally, I added some Pinkfresh Studio Iridescent Drops and Diamond Stickles for shine.
Card 2 - Inside Pop-Up
So this is the same card, however, I've added the Hummingbird Pop-Up on the inside of the card. Even though it looks complicated it is very simple to put together. For further instructions on assembly, visit the product page for this item on the Spellbinders website.
I cut the hummingbird and flower from various glitter and shimmer cardstocks. If I were to do this again, I'd probably stay away from the specialty cardstocks for the flower and choose something thinner. Once you layer the flower, it can get bulky and this may make it harder to fit in an envelope. So my biggest tip is to use thin cardstocks.
There is a double slit die in the Pop-Up Hummingbird Die Set and you place this near the top of your insert for the inside of the card and near the bottom. I didn't measure but simply assembled the hummingbird and flower and marked on the card where I wanted them to sit. Then I positioned and cut the double slit die. I insterted the tabs from the bird and flower and folded them over on the back of the insert. I used strong glue and tape to hold them in place. Then, I added adhesive to the inside of the 5" x 7" card and carefully adhered the insert with the bird and flower.

I added some leaves around the flower and corners of the card inside. And then I added a couple sentiments using and acrylic block and stamps from this month's and past month's Spellbinders Clear Stamp of the Month Clubs.
Card 3
For my final card, I used the Hummingbird Card Creator Dies to cut the bird from Yupo Paper. I then added alcohol inks to each piece depending on how I wanted my hummingbird to look. I thought alcohol inks would give bright colours like real hummingbirds and mixing colours would be easier. I set this aside to dry and cut the lillies from the Hummingbird and Lily Die Set from white cardstock. I added yellow and green ink to the flowers and also cut some small white flowers using the small floral dies.
The background was ink blended using Salty Ocean, Peacock Feathers and Prize Ribbon Oxide inks. I added water splatters and embossed this with the Spellbinders Fan Motif Embossing Folder. I cut the panel to slightly smaller than 5" x 7" and adhered it to a white card base. Then I assembled the hummingbird and added everything to the panel.
My sentiment was cut from gold glitter cardstock and foiled with Blush foil, using the Wonderful Script Sentiment Dies and Hello, Friend Sentiments Glimmer Set. And finally, I added some Pinkfresh Studio Champagne Glitter Drops.
And that is my card inspiration for Bibi's Hummingbirds Collection!
As always all of the products used here have been listed below - Happy Shopping!
Also, don't forget to check out/follow me on my Instagram account @deezinesbyd. I will be posting reels of these and other creations featuring this months' Spellbinders release throughout the month!
Supplies
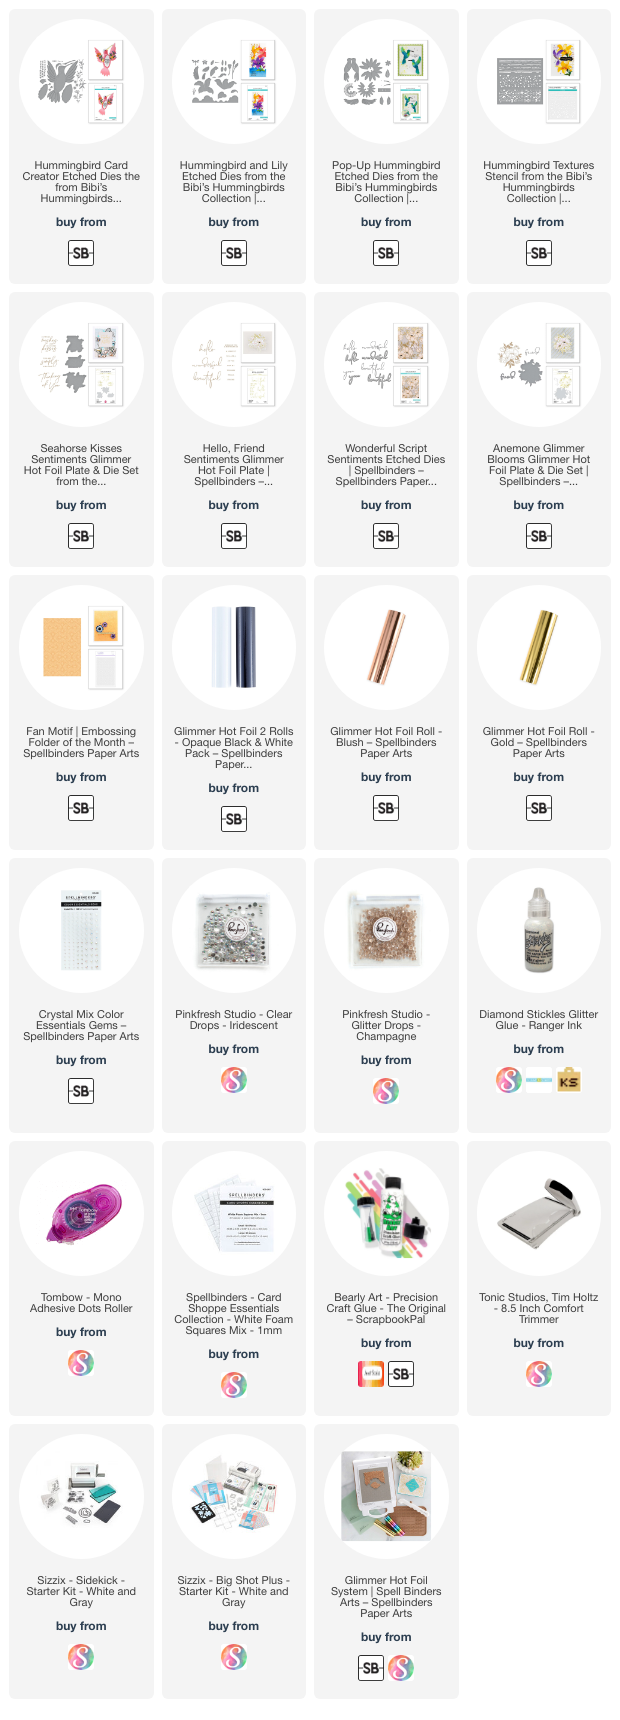


.png)


Comments
Post a Comment
Please leave me a comment as I always love hearing from you! 😃