Light Up Twinkle Night Sky Airplane Card | Pear Blossom Press
✨ Let’s bring a magical glow to the night sky! ✨
Welcome back to the blog!
In today’s tutorial and video, I’m using Pear Blossom Press Twinkle Lights to create an interactive, light-up airplane card. You might expect the lights to illuminate the starry background, but I’m putting a unique twist on this design by lighting up the airplane itself to make it truly take flight!

To add extra depth and dimension, I paired the glowing lights with older dies from the Spellbinders Tunnelscapes Collection, along with the uplifting sentiment "fly high, reach for your dreams"—making this card such an inspiring, magical surprise to send to someone special!
🎥 Watch the Video Tutorial & Shop the Supplies
Before we dive into the step-by-step details, you can watch the full process video to see exactly how to wire and assemble this focal point light-up mechanism, along with all the ink blending techniques!

✨ In this video you’ll learn:
• How to position and secure Pear Blossom Press Twinkle
Lights inside an airplane focal point rather than the background for an
unexpected animated lighting effect.
• Tips for working with Spellbinders Tunnelscapes dies to
create rich, layered dimensional depth.
• Tips for seamless ink blending and layering glitter die-cut
frames to build a dynamic night sky.
• How to pair interactive light-up card mechanisms with sentiments like "fly high, reach for your dreams" for maximum visual impact.
🛍️ Shop Pear Blossom Press: Click shop image below

✂️ How This Card Came Together
Building the Tunnelscape Background: Using dies from the Spellbinders Tunnelscapes Collection, I die-cut, heat embossed and ink-blended multiple layers in deep purples and blues to create a rich, layered night sky framing.

Adding Sparkle & Celestial Details: I layered glitter paper frames, clouds, stars, and flowers around the tunnel layers to create a soft, magical frame for the sky.

Wiring the Twinkle Lights: Instead of placing the Pear Blossom Press Twinkle Lights behind the background, I carefully positioned the LEDs directly behind the airplane die-cut. When pressed, the plane lights up with an animated twinkle!

Final Assembly: I adhered the sentiment strip "fly high, reach for your dreams" across the bottom, keeping the interactive press button easy to find for the recipient.

Let's Connect!
Have you ever tried placing your lights inside a focal image instead of the background? Let me know in the comments below!
Happy crafting! 💖

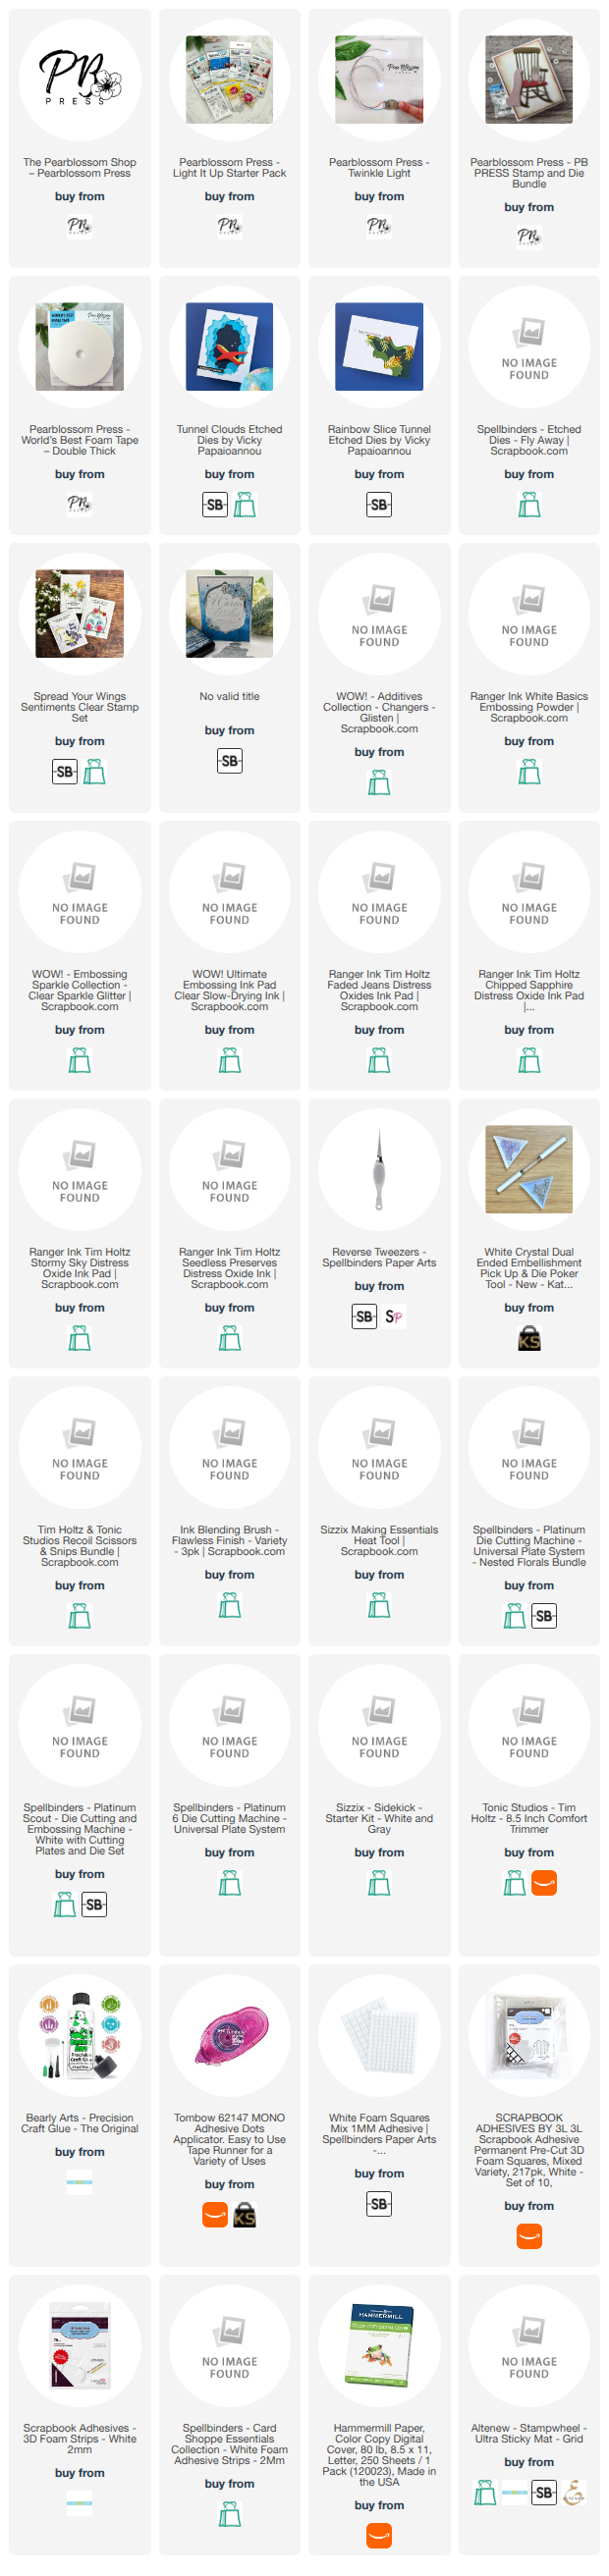
SUPPLIES

Comments
Post a Comment
Please leave me a comment as I always love hearing from you! 😃